|
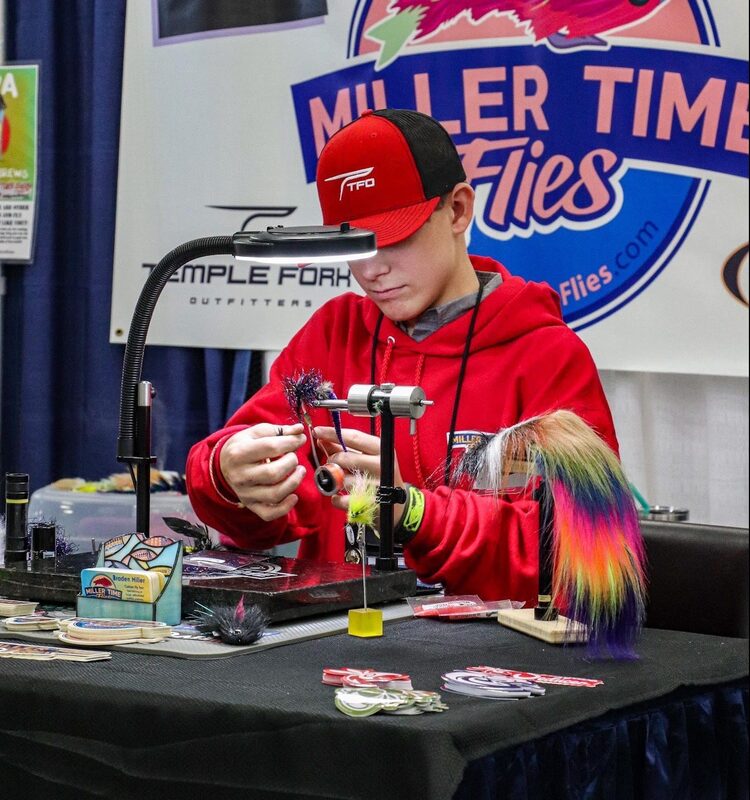
Tonight we look at our ambassador Braden Miller. When you look at all he has accomplished it is easy to forget he is still only 15 years old. We are so fortunate to have Braden on our staff. He (and his entire family) are now family to us. I love this kid like he is my own son and Tyler calls him "the little brother I never had". For a bit of a deeper look into what makes this fine young man who he is read on... Braden was recently asked to do a blog post for Fly Lords Magazine. This is a really good look into a side of Braden many people don't normally see. Personally, we are so fortunate to call the Millers family, that we sometimes forget how hard he works to continue to do the things he loves. You continue to impress us my friend, keep up the fine work you are doing. To get a look a bit deeper into the life if Braden Miller, click the image below. Till next time...
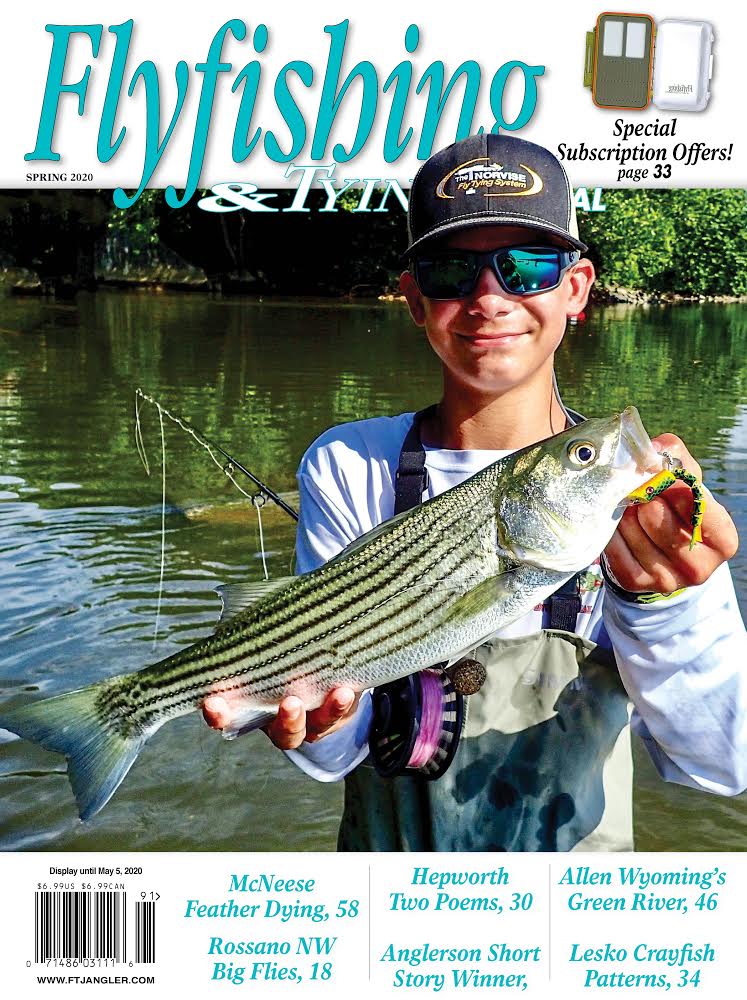
Tight lines - Tim As many of you know Norvise ambassador Braden Miller was recently featured in a 5 page article in "Fly Fishing and Fly Tying Journal. It was a fantastically written article authored by Len Waldron. For those of you who have not yet had the pleasure of meeting Braden he is one of the most respectful, well mannered 14 year old's you will ever meet. Mature beyond his years, yet humble at the same time, Braden is the real deal when it comes to the fly fishing industry. I remember vividly as we were setting the booth up for the Atlanta "Fly Fishing Show" and my phone sounded. I looked at the incoming E mail and it took me a minute to realize what I was looking at...Braden was on the cover! (cover photo by our friend John McMinn) What a great moment that was for Braden, his family and for Norvise. Braden, his parents Will and Casey, brothers Blake, Brantley and Bennett have become family to us and we could not be more proud of his accomplishments. To check out more of his work or to purchase some flies click HERE to visit his web site Miller Time Flies. He is also a great follow on Facebook and Instagram Pretty cool huh? Till next time... Tight Lines... Tim Almost forgot...
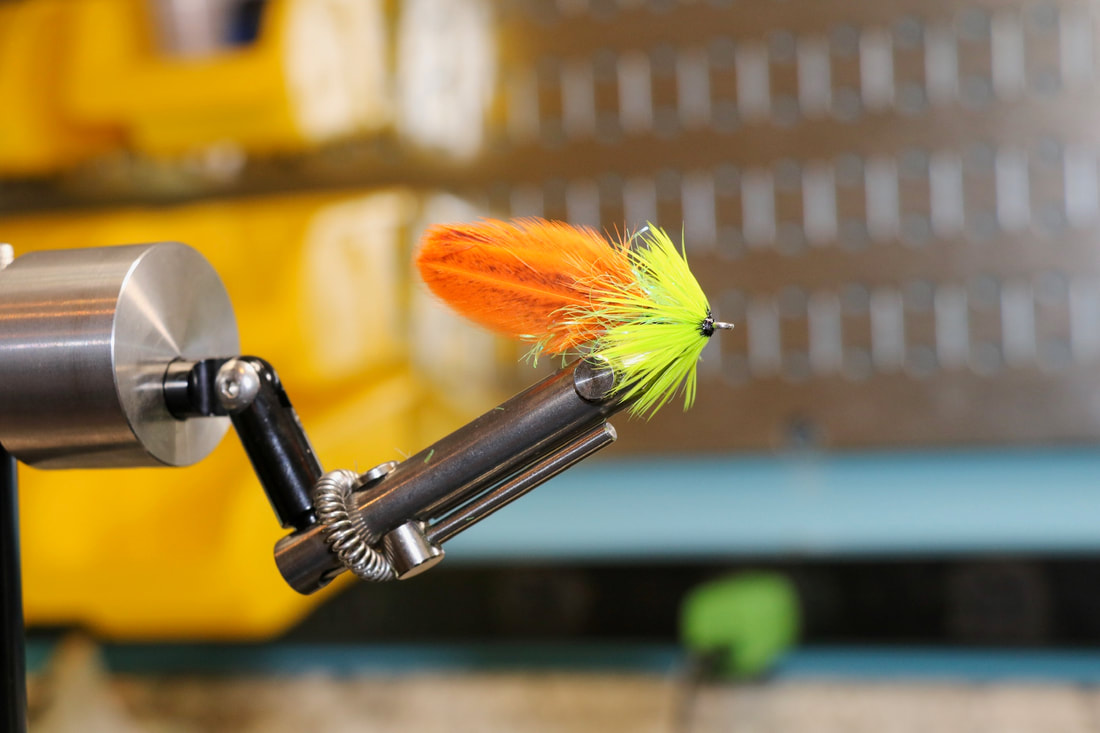
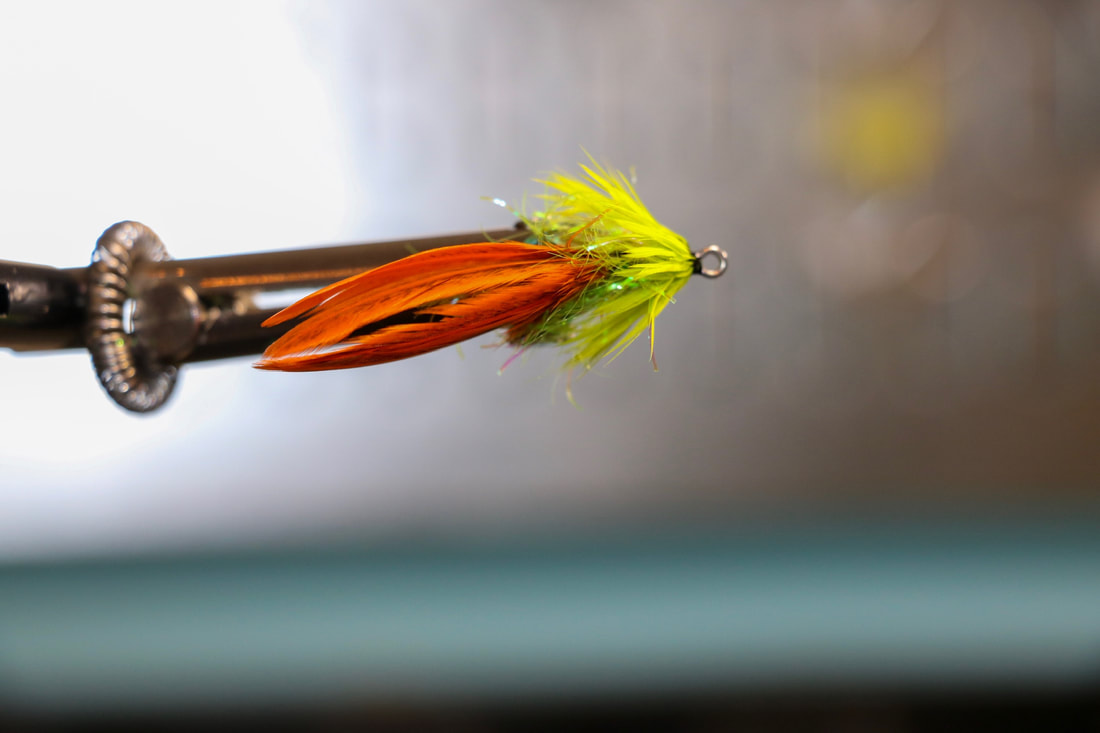
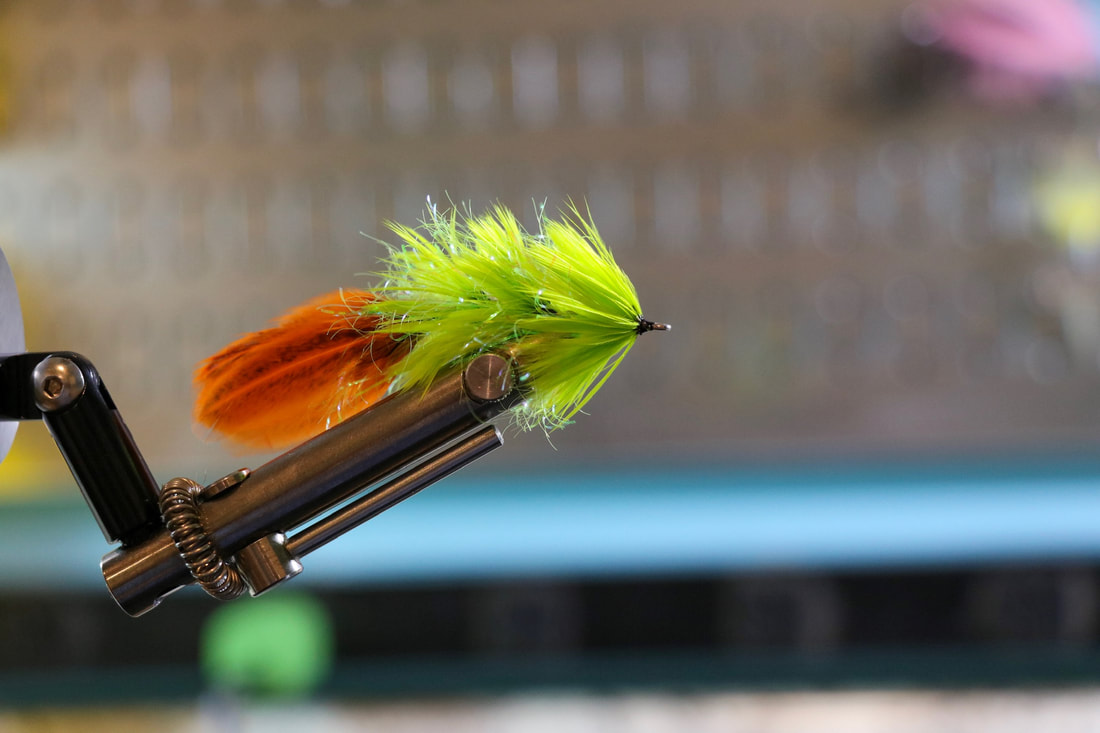
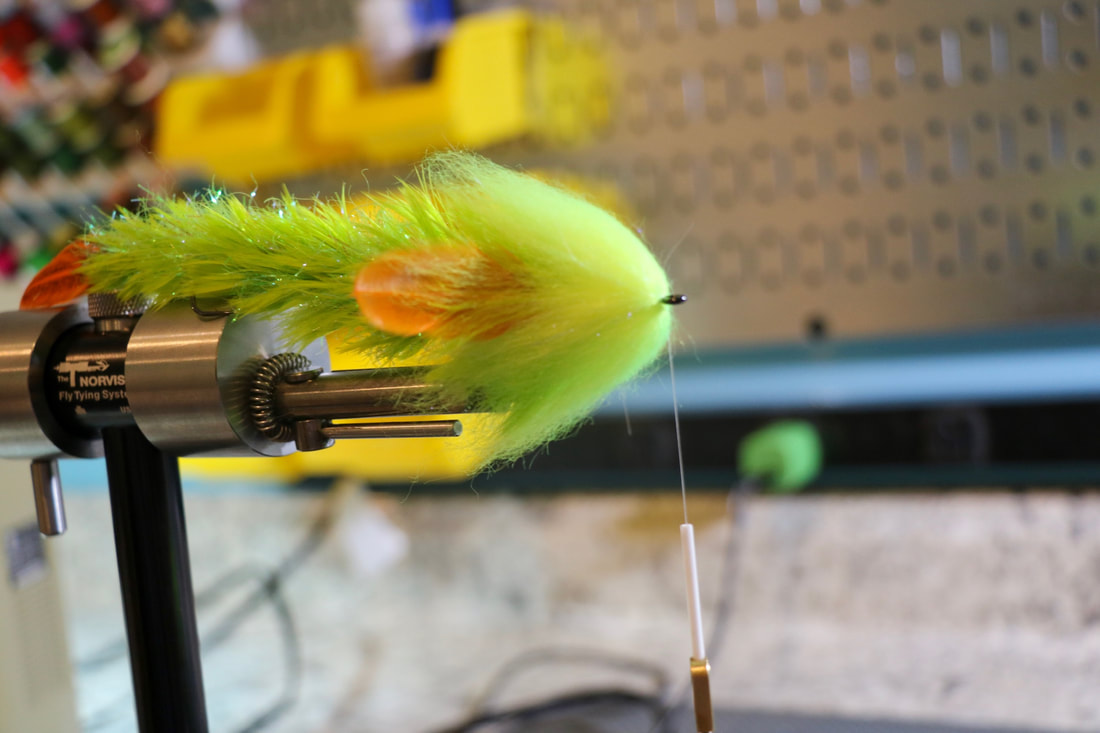
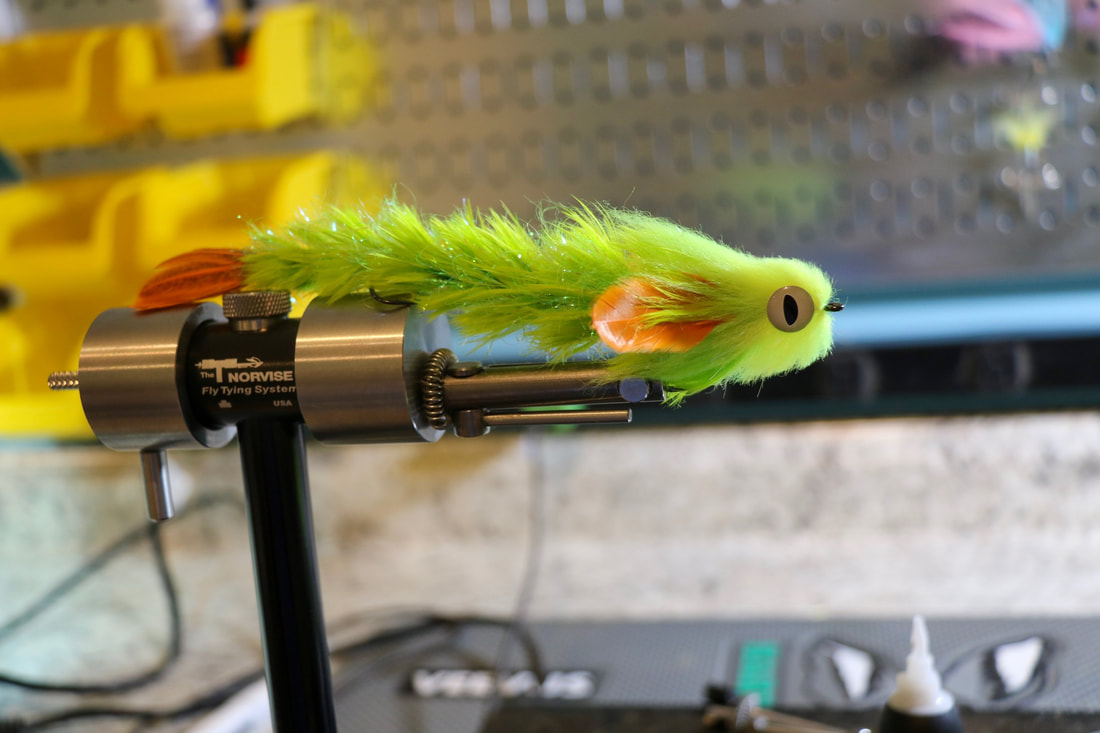
With the advent You Tube, Facebook, and Instagram fly tying has become, in my opinion, a big melting pot of ideas, twists and tweaks of different fly patterns. In our last post, I talked in depth about how the particular pattern we were tying, O'Neill's Controlled Chaos, was really a stripped down version of 2 other flies. I do believe it was different enough from the originals that I could call it my own, some may disagree with that statement and that is fine, what I am saying is in today's day and age it is challenging to come up with a truly new idea for a fly pattern. Think about some of the staple patterns invented years ago; The Clouser Minnow, Lefty's Deceiver, Brooks Blond, The Gurgler, Ray's Fly, The Adams, Pheasant Tail, Zebra Midge, The list goes on and on and on. These patterns are originals and many, many flies have been designed using these as inspiration. I am not saying designing a new pattern can't be done, I am saying that 1) it is not as easy due to the great evolution of fly tying over the past 20 years and 2) many people come up with “original” patterns that are basically the same as flies tied years ago and they really are not “original”. Sorry guys, but it is the truth. Every so often something comes along in the world of fly tying that is truly revolutionary that has never been done before, Blane Chocklett’s Game Changer is one of those patterns. I guess I first saw the Game Changer close to 10 years ago, a bait fish fly that actually moved like a fish…who would have thunk it. The challenge is many times coming up with the idea is the easy part, bring the idea to life well, that can be the challenge. The game changer has gone through many variations over the years and I believe the “Feather” version to be the best. It is a pattern with fantastic movement, both in the design and the materials, it is faster to tie that some of the other versions, and you can tie it in a multitude of colors. It is lighter and easier to cast than some of the original flies, and they are very durable. Truly a revolution, below is a step by step of a Feather Game Changer tied and photographed by Norvise ambassador Braden Miller. Materials;
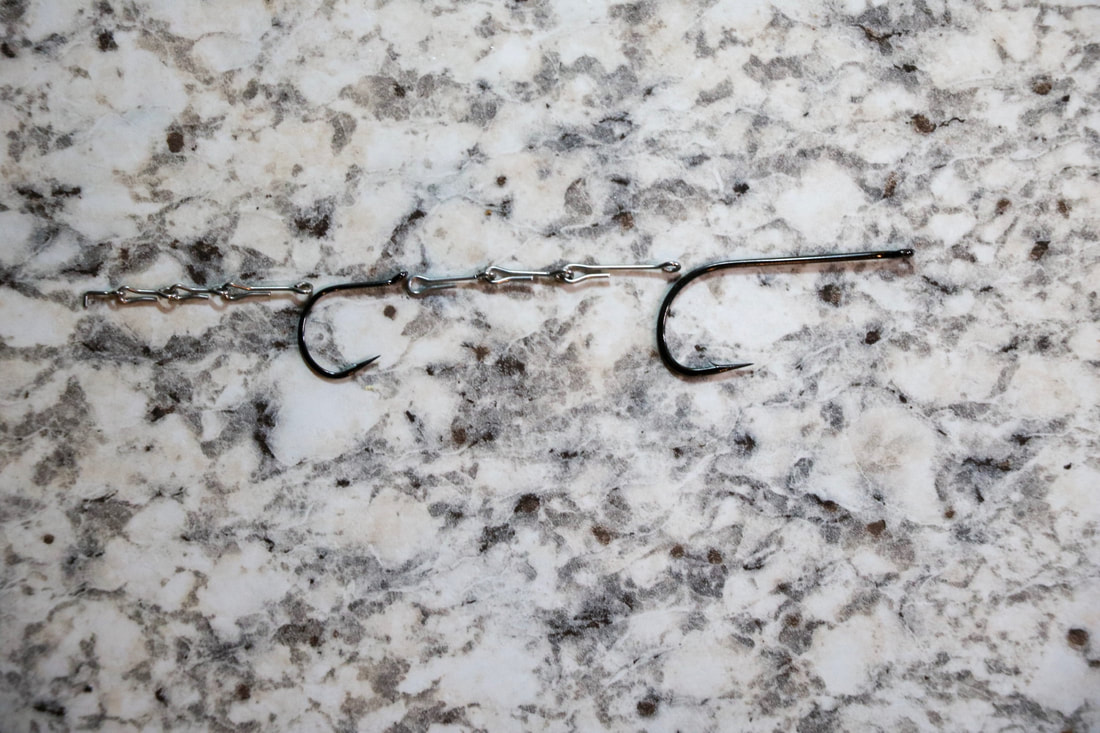
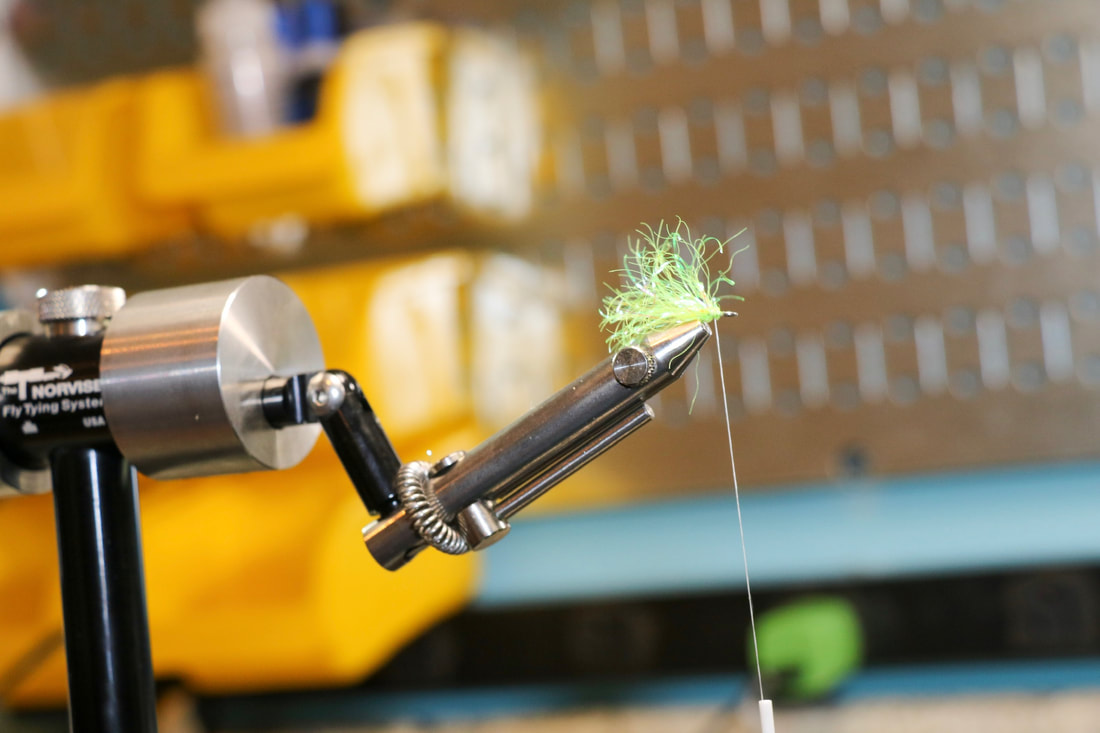
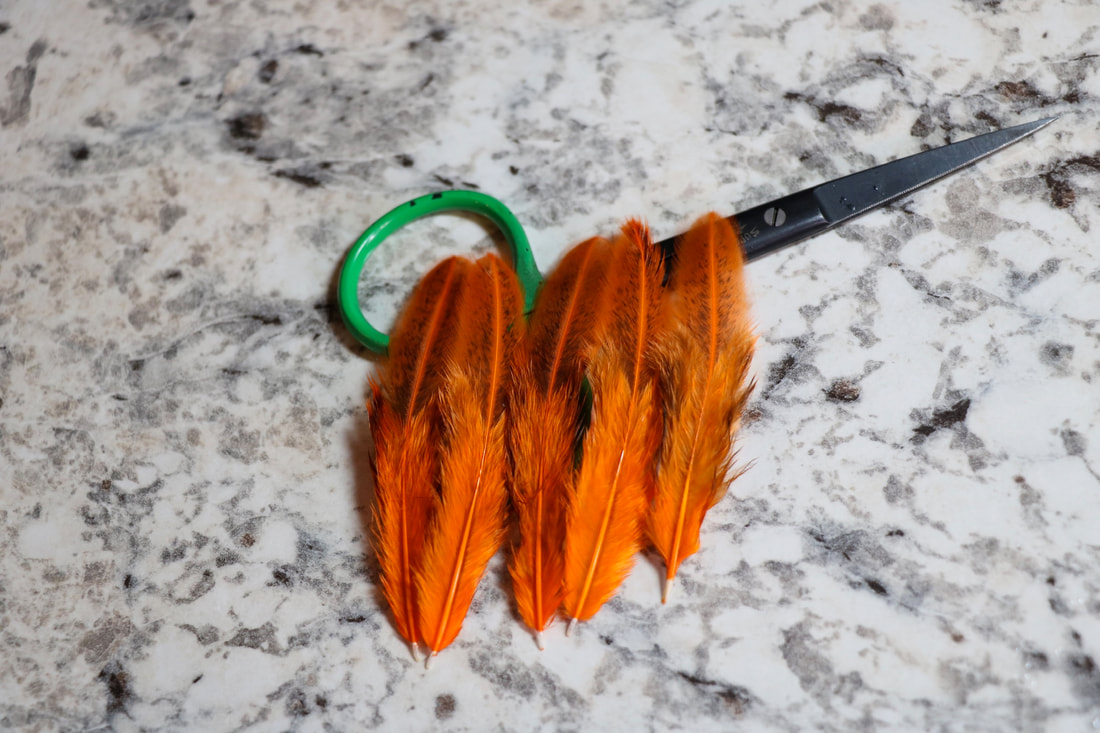
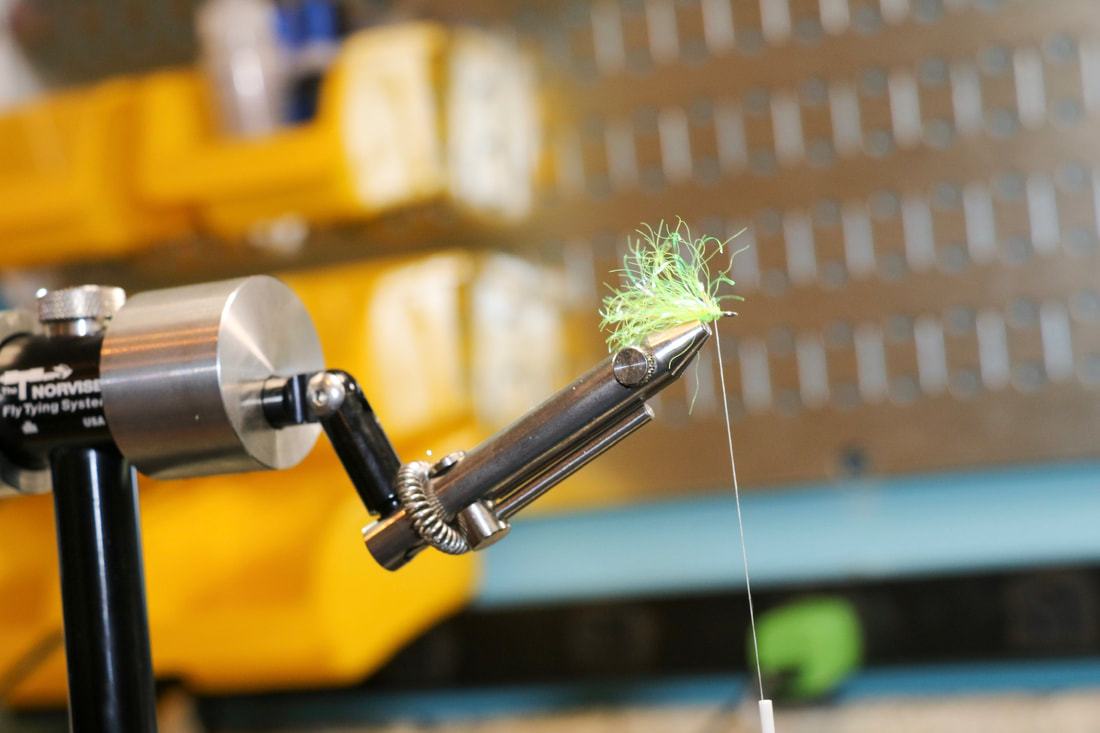
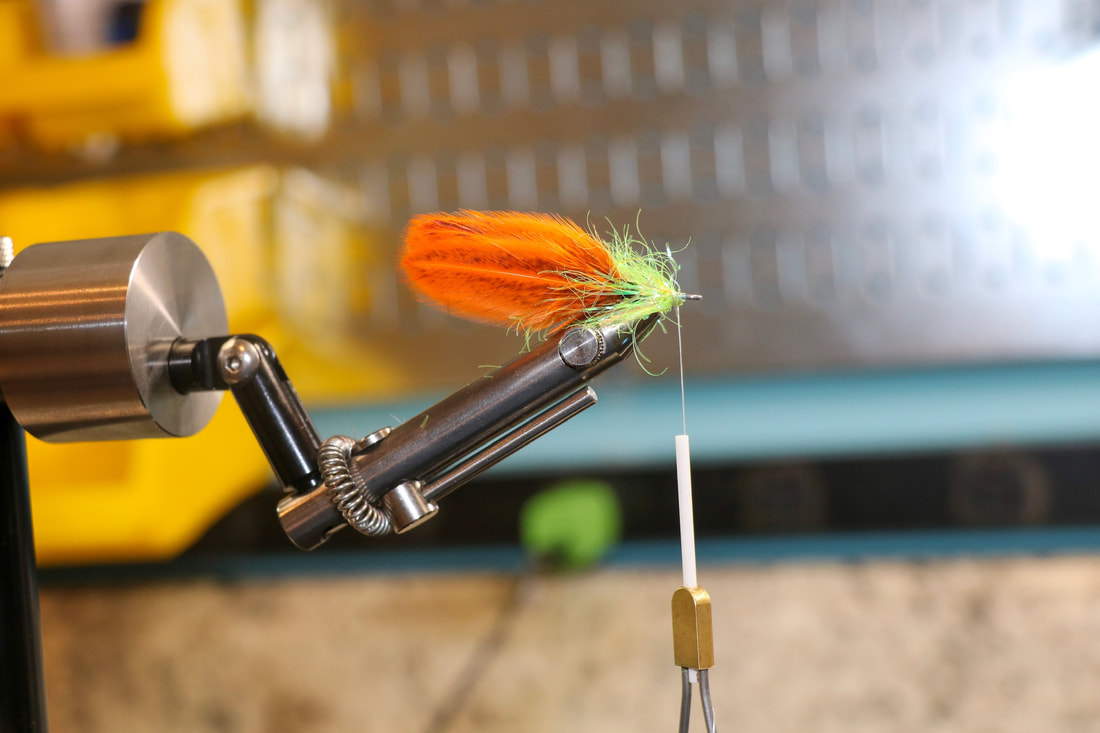
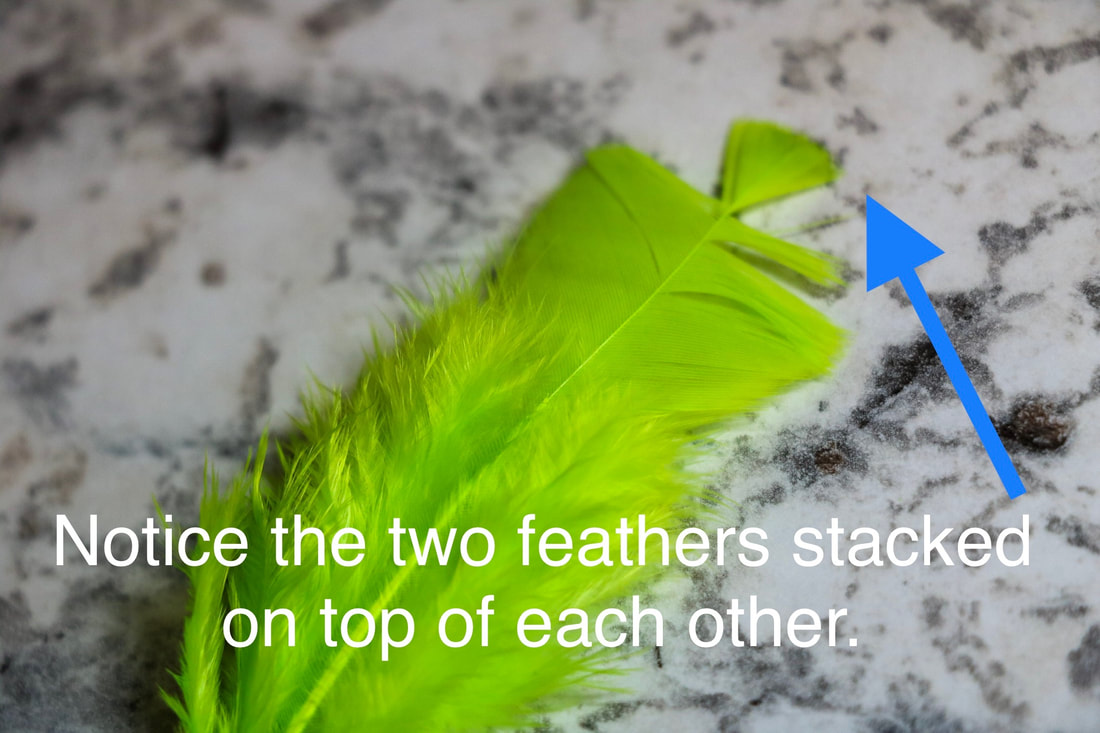
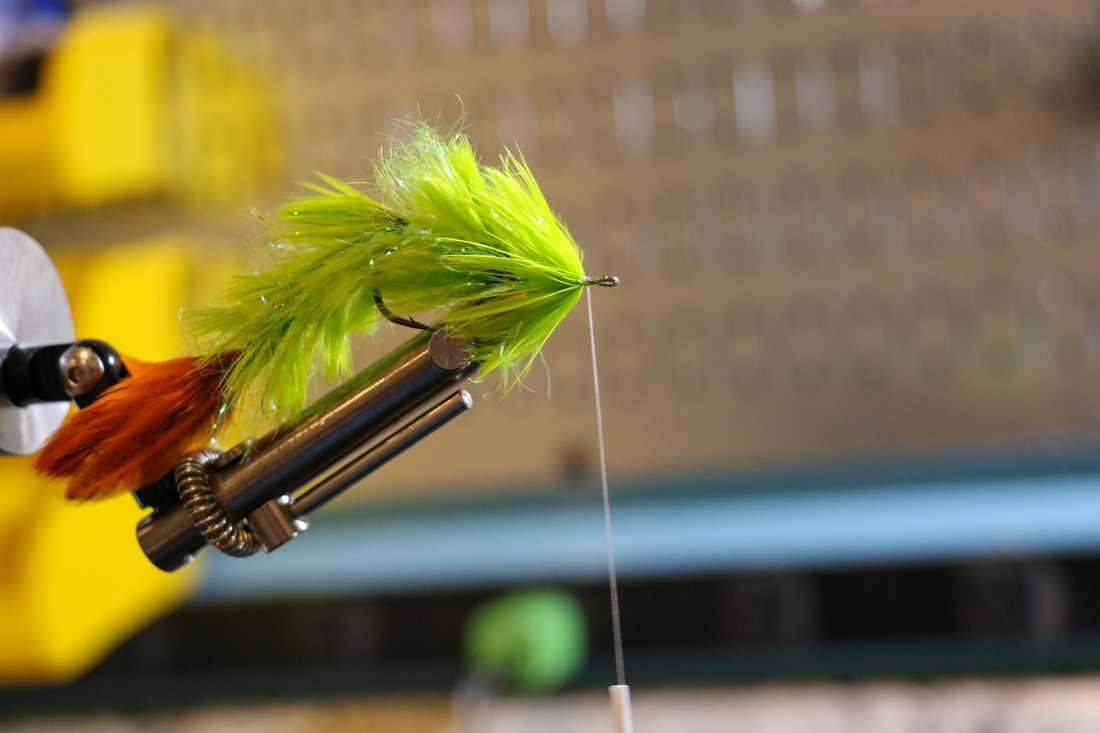
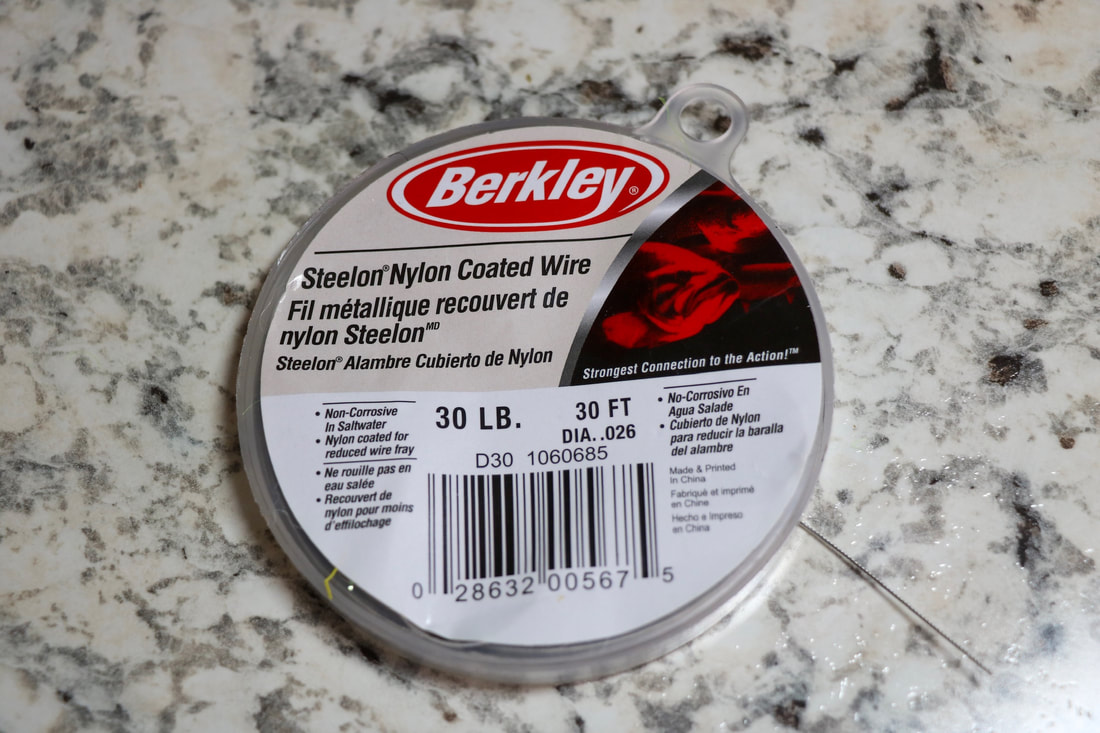
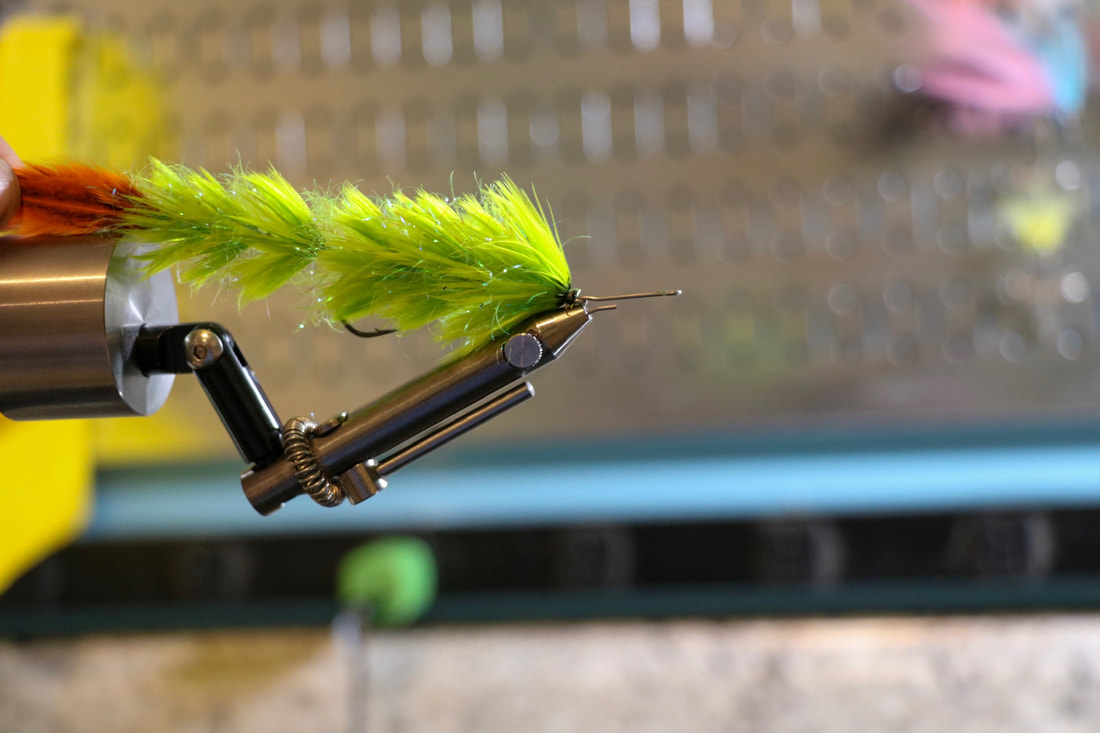
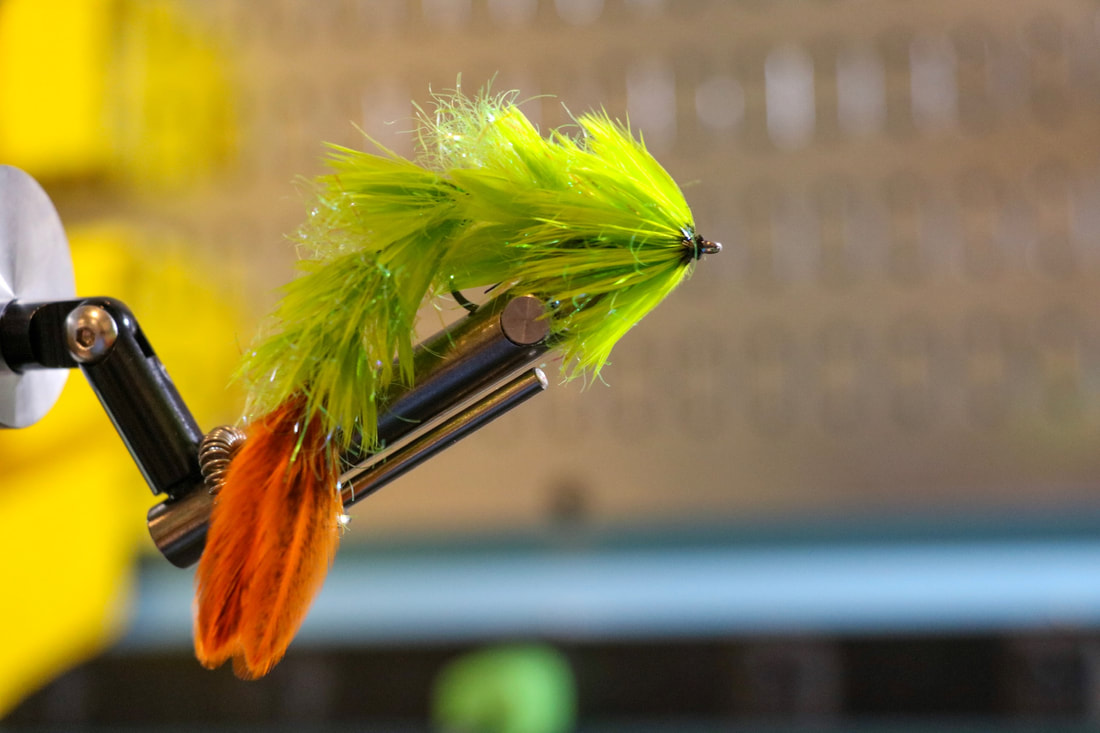
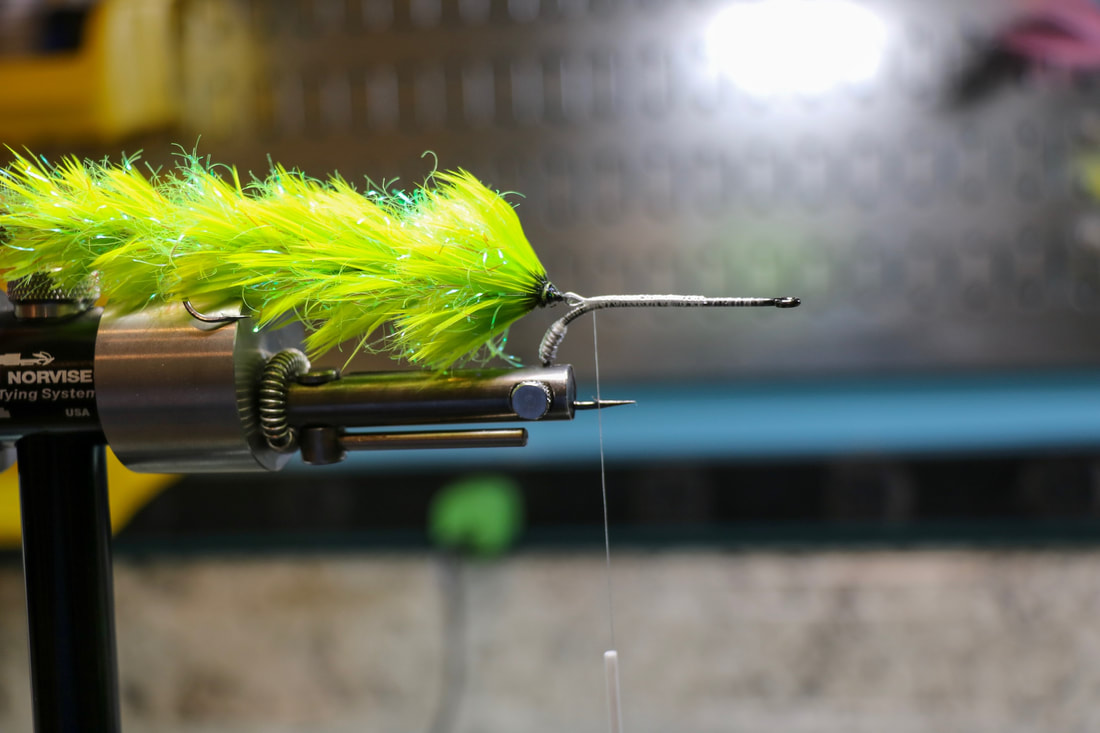
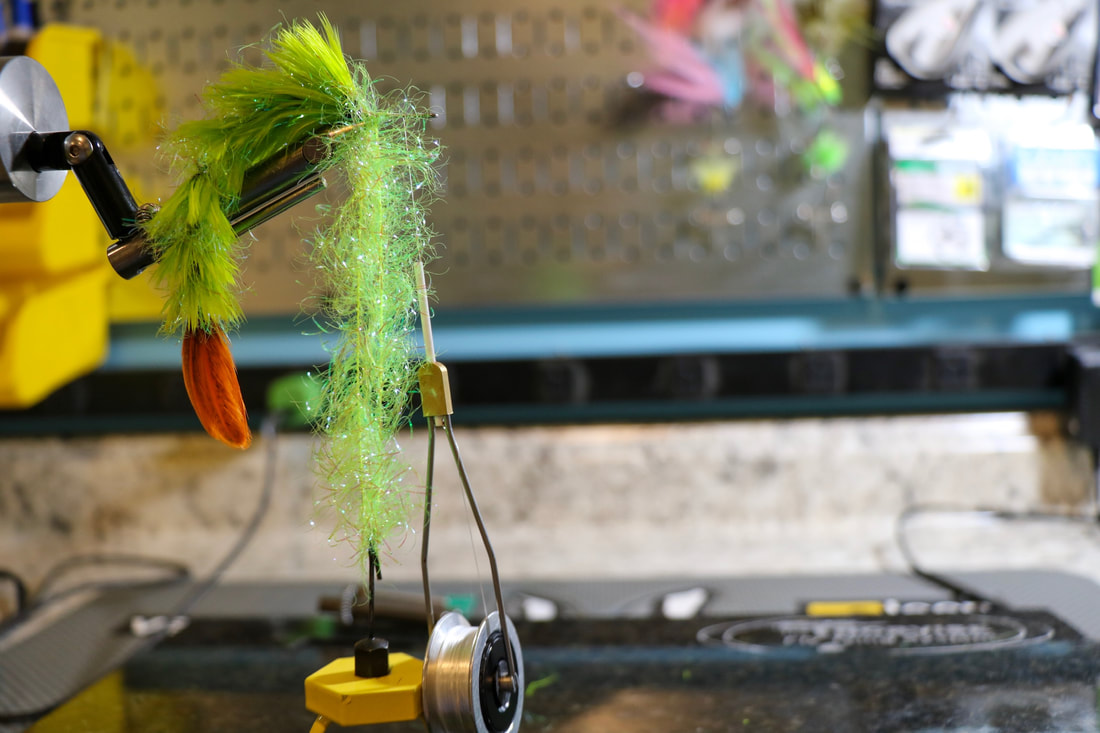
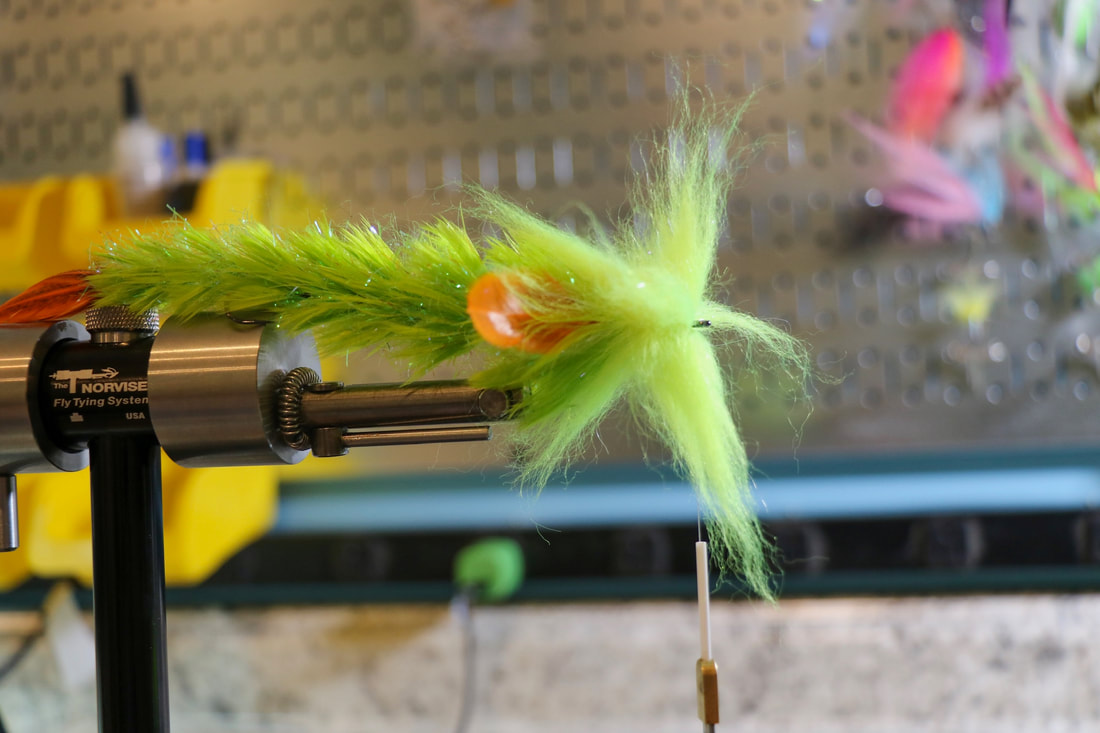
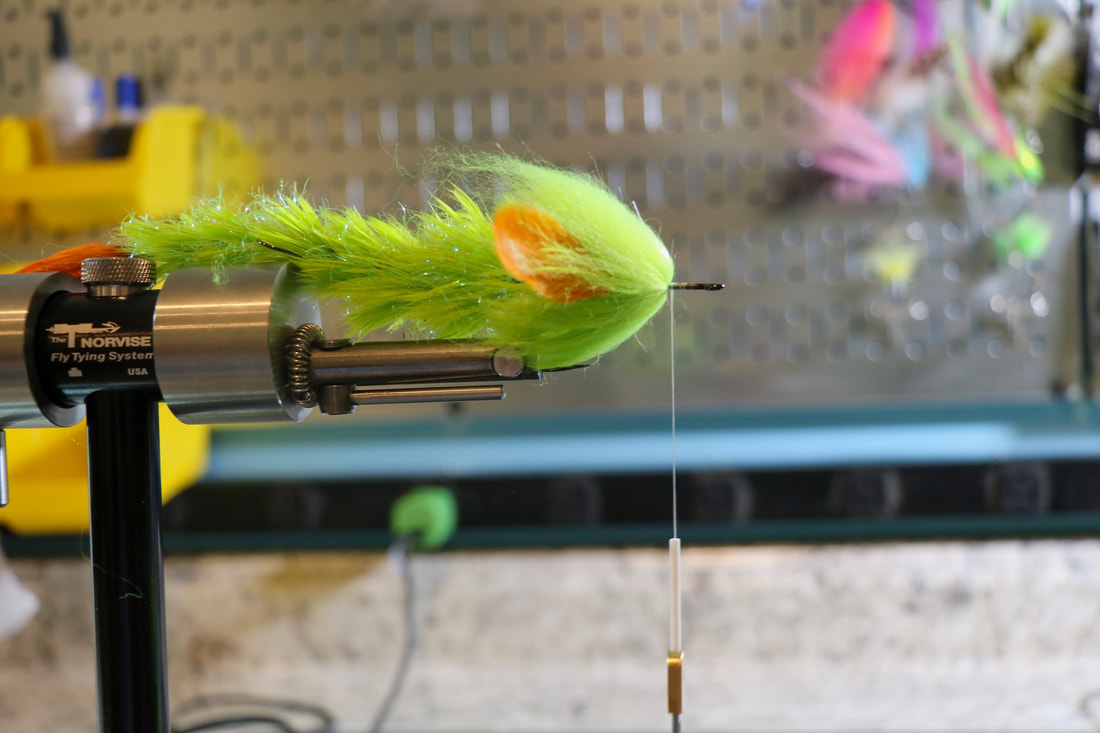
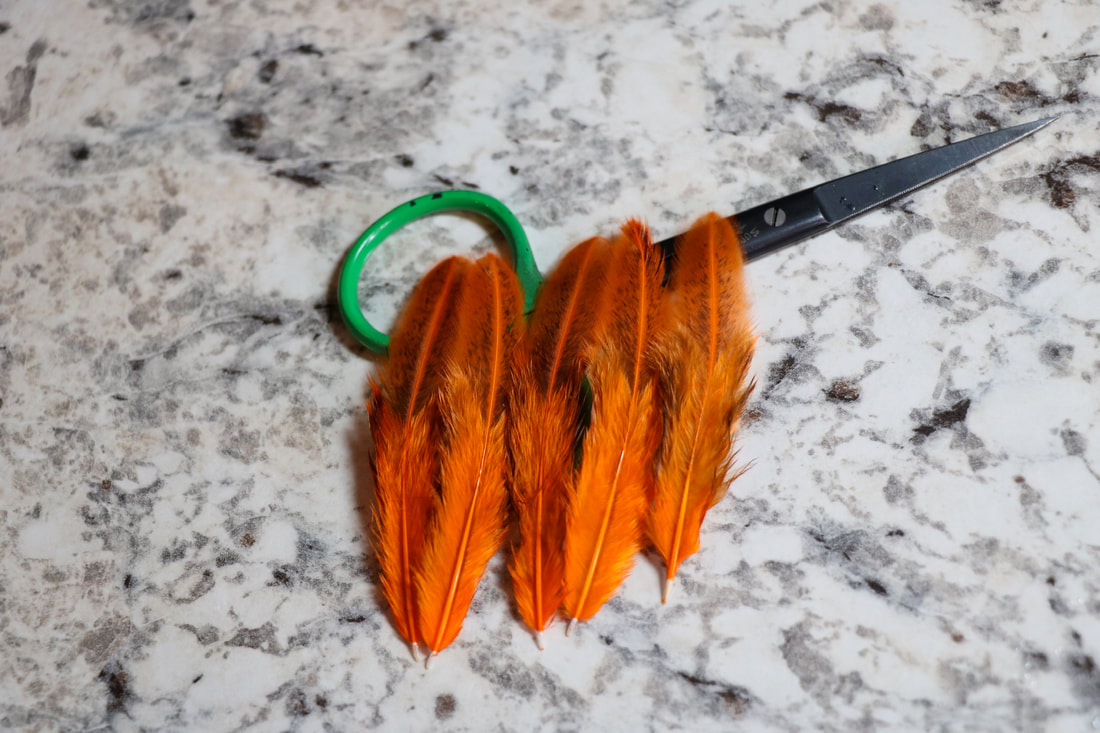
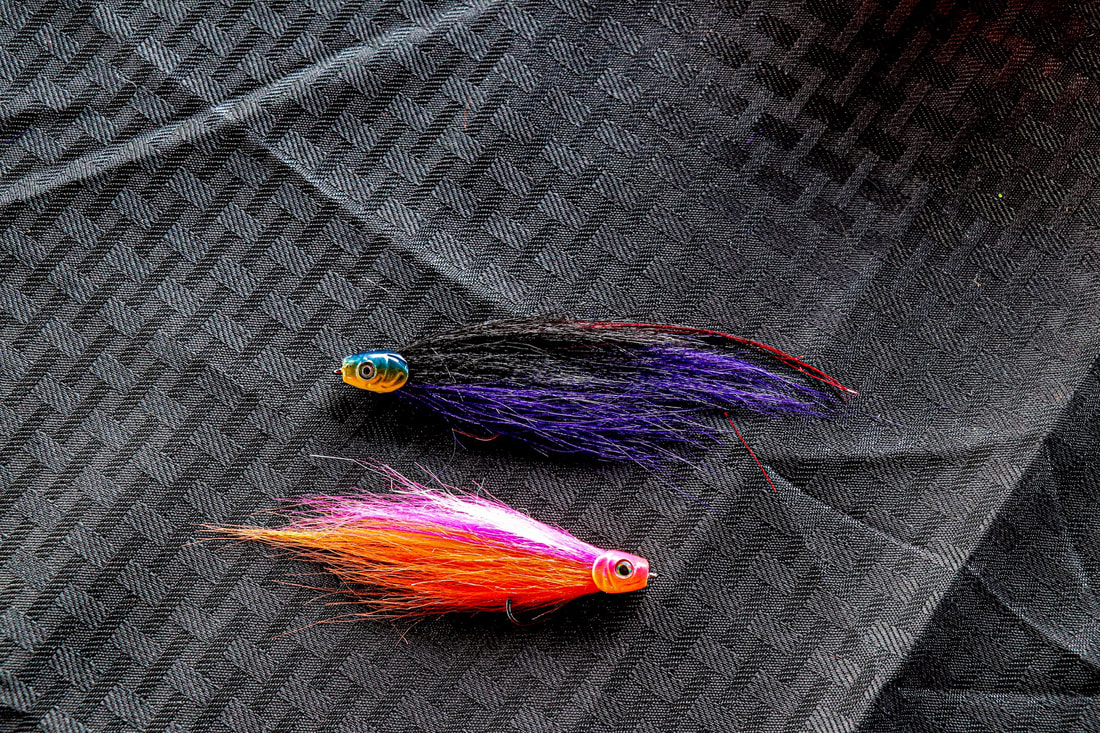
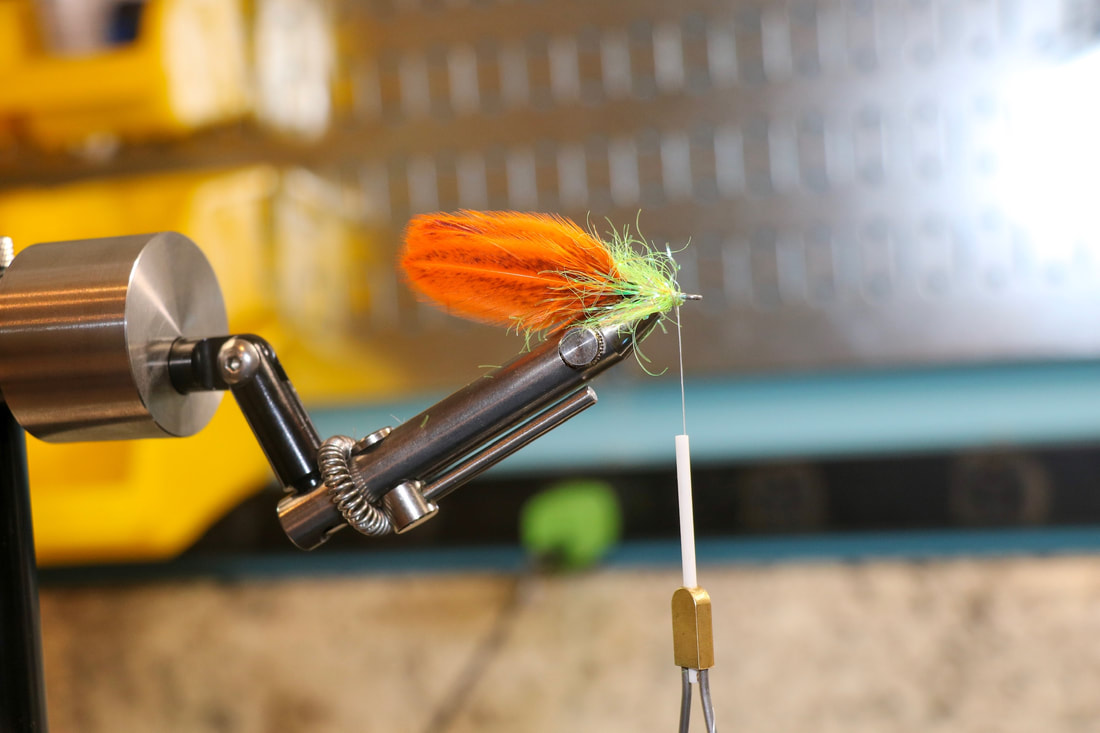
Norvise Legacy Vise Norvise Automatic Bobbin Norvise Standard Inline Jaws Norvise Fine Point Conversion Norvise Magnum Stainless Hubs (Coming soon to a fly fishing show near you) This picture shows how the Fish Spines chain together and where the proper hook placement is. The sequence that we like to use is a tailing shank (the one on the end with the 90 degree bend) 10 mm, 10 mm, 15 mm, Trailer hook (optional) 15 mm, 15 mm, 20 mm, Front hook. The secret is to gradually lengthen the shanks as you move up the fly. You can play with sizing and combo of your shanks, as mentioned, this is what we like to use. After placing the tailing shank in the vise (this is what the 90 degree bend is for) Put a SMALL amount of filler flash at the bend of the shank. 1 to 1 and a half wraps MAX! this bit of material will support and separate the tail. Prep 6 hackle tips to use as the tail of the fly, 3 for each side. You have options here for the tail, you can use marabou, hackle tips, I even saw Blane use material used for tying mop flies here. Put 1 to 1 and a half wraps of filler flash on at the bend of the tailing shank. This will help support and separate the tail feathers. After prepping the tail feathers and cutting the shafts to length tie 3 tips on each side of the shank. The feathers are tied on each side of the shank with the first section of filler in the middle of the feathers. Here we have added second tie in of filler flash at the tail. Palmer it up about 1/2 the length of the shank. Remember this is a small shank, it is VERY easy to overdress these. Less is more, we still have to get 2 Hen Saddle Feathers on here. Here is the completed tail section with the Hen Saddles tied in and palmered to the front. You can see how the filler flash is used to support the Hen feather. All of the materials work together to give this fly incredible movement. Tie off and whip finish a neat head and use head cement on EVERY section. I had mentioned this version of the fly is faster to tie than the original and it is. Fast is a relative term here, you are still going to invest over an hour in this fly. A long time for sure, we typically are throwing these on heavy tippet so you don't really loose that many so you want to glue the heads on each section so they are very durable. I have FGC's that have landed over 50 pickerel and they are still going strong so dont let the tying time scare you off. Here is a view of the tail from the top. You can see the filler flash in between the sides of the tail. You can also see how we are building a natural taper with our materials. Feathers; As mentioned we are using feathers from a Hen saddle. Hen feathers are a shorter, webby feather with softer fibers that make them perfect for this application. To build the taper is simple. As you move from the tail forward to the front of the fly you will select feathers that are progressively longer for each section. The easiest way to do this is to start at the top of your cape for the tail section and gradually pluck from a point lower and lower on the cape as you move up the fly. The lower on the cape you go the bigger (longer the fibers are) the feather is. The longer the feather the more taper you get. The picture above shows how to prep the feathers for tie in. We are tying in by the tip and palmering forward. Do not use the fuzzy part of the feather, I will typically strip this off before I tie in. On the tail sections we are typically using 2 feathers. As we move up the fly we are adding feathers on each section. By the time you get up to the head you are tying 4, maybe 5 feathers in at the same time. Always tie the feathers and palmer them at the same time, regardless of the amount using the filler flash as a support. The progression is actually pretty simple; With the exception of the tail section it is filler flash - feathers - whip finish- glue - repeat. you will need to adjust the amount of filler flash as the shanks (or hooks) get longer. Toward the tail the filler flash may be too wide, you may want to trim it so it is a little shorter (Measuring from the core out to the end of the fibers) than the fibers of the feather you are using. as you get to about the middle of the fly you can use the full width of the filler flash. We will use wider and more feathers as we work up the to the front of the fly. This will build bulk and natural taper into the fly, two very important things you need to get the silhouette and the movement you are looking for. The most important thing to remember is DO NOT CROWD THE EYE OF THE SHANK! if you do the fly will not move the way it is supposed to. Here the second section has been added. Here, several more sections and the trailer hook has been added. When you get to the point where you are adding a hook to the pattern we like to use a wire type leader material. This product from Berkley works well as does Surflon or a product called Beadalon you get in the craft stores. To make your connection cut a small piece of wire (about 4") and thread it through the eye of the shank folding it so the half way point is looped through the eye of the shank and equal lengths are pointing forward. Lay the section of the wire pointing forward on tip of the shank and use 3 or 4 loose wraps of thread to hold the wire on top of the hook shank. At this point you want to adjust the length of the loop coming off the back of the hook so the tail section of the fly has freedom to move, but is not so big it can foul. A good rule of thumb is to make the loop about the same size as the loop in the adjacent shank. Here we are working our way up the pattern by adding more shanks in front of the trailer hook. Here we are ready to add the front hook. This picture is a good example on how to do the wire connection. It also shows that Braden used a few wraps of lead on the bend of the front hook. this will help keel the fly and keep it swimming true. You can use lead wraps for this or, depending on the size of the hook, Tungsten Scud weights work fantastic for this step. Also notice Braden switched from the Norvise Fine Point jaws to the Standard inline jaws. We will typically use a hair clip to clip the back of the fly to the jaw to prevent it from flopping around when we are tying. Clipping the back of the fly to the jaws will also help to prevent us from sticking our fingers with the rear hook point. The Norvise Large, Saltwater jaw would be a good choice here as well. OK, we are tying on the front hook and close to bringing this pattern home. This is a cool technique that will really help bulk up the front of the fly. Tie in a long piece of filler flash in on the hook by the opposite ends at the bend of the front hook. This will make a loop of material hanging off of the shank of the hook. hang your dubbing twister in the loop and twist the 2 halves of filler flash together. This will tighten the core of the flash and really make the fibers stand out creating a platform for the 4 feathers you will use to finish the fly. After wrapping the twisted filler flash and the 4 hen saddle feathers to finish up the body of the fly we have added Hackle tips of either side of the fly to act as pectoral fins. This will help the fly swim and they just look way cool. NO we have a decision to make, what to do with the head. Just like the tail we have options here. We have used spun Deer hair, Slider or Popper heads, Fish Skulls or Masks, or my favorite palmered Schlappen. Here Braden has chosen to do a stacked laser dub head. This is the same technique we used in the collar for the popper and the slider on the last 2 patterns we tied. Pull a clump out, even up the tips and tie on the shank in the middle of the clump. Here Braden has tied 4 clumps, one at every 90 degrees. How far you bring the flash and the feathers will determine how big the head is. I like to use about 1/3 of the front hook shank for the head of the fly. Once the stacks of laser dub are tied in use a brush to brush out the fibers. Brush everything forward first, then brush everything back. This will give a very nice "airy" head that will veil back over the rest of the front section of the fly. Repeat these tie in's until you reach the eye of the front hook. Now you could call it quits here and this will fish just fine. Always tinkering and pushing the techniques of fly design. Here Braden trimmed the head a bit to give it the shape he wants and added some Flymen Dragon eyes. Here is the finished fly!
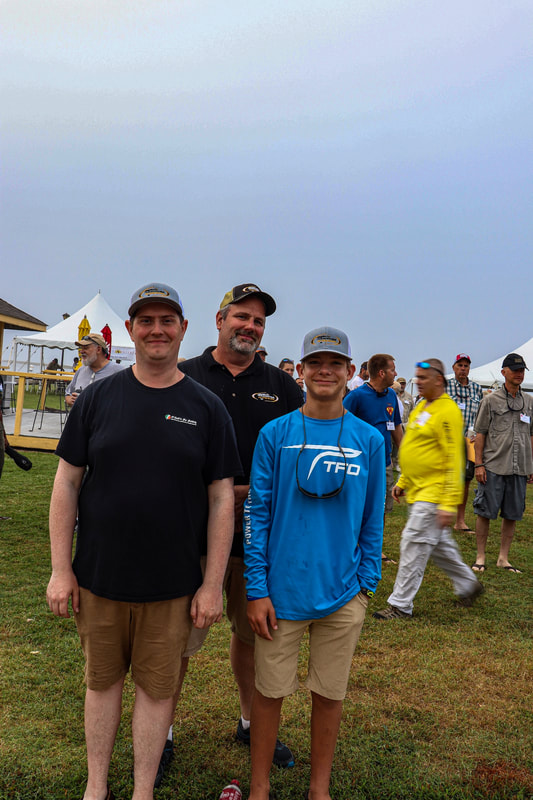
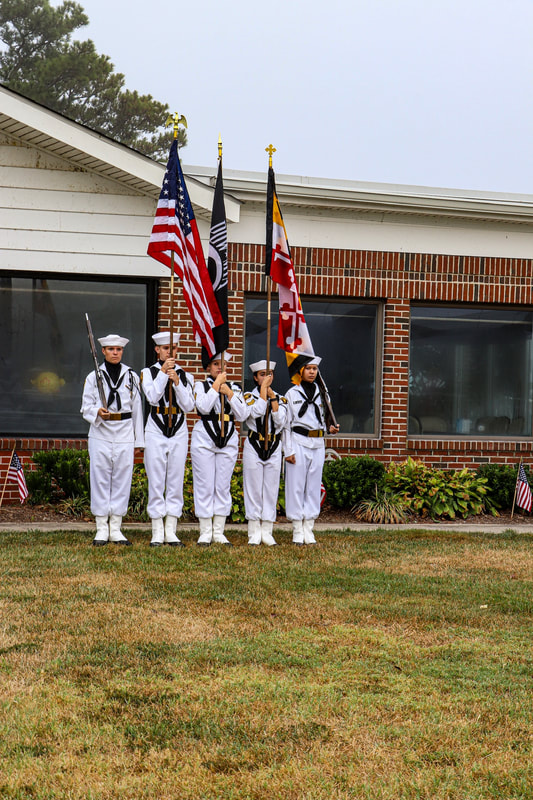
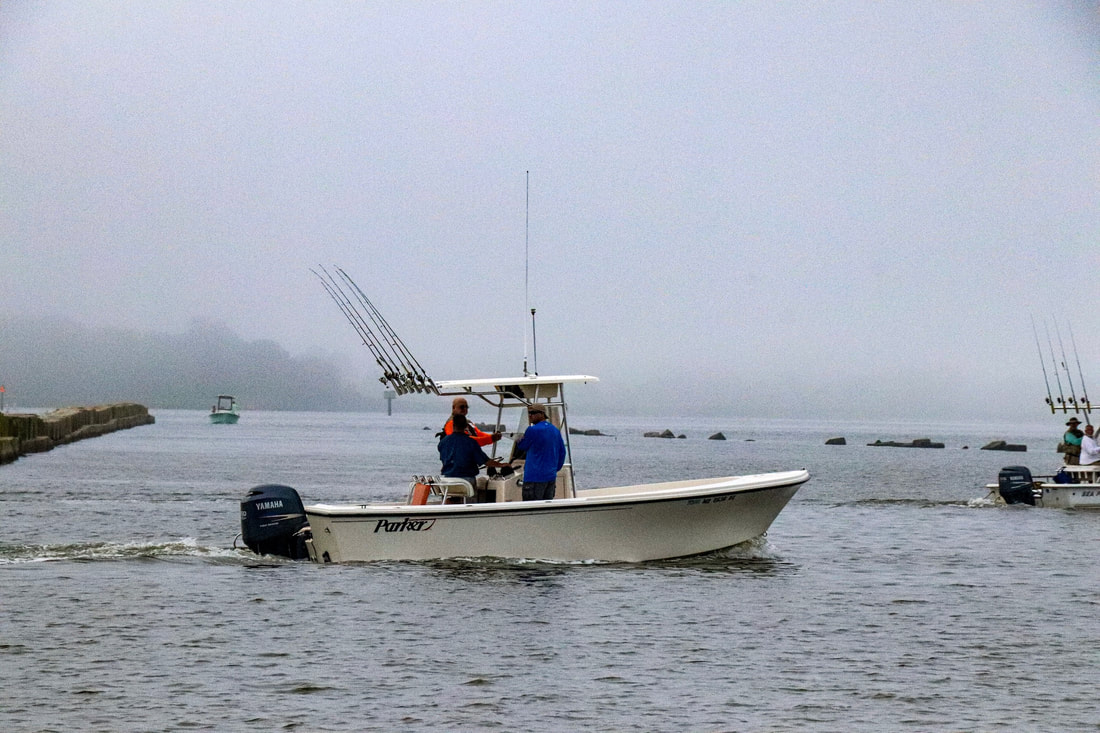
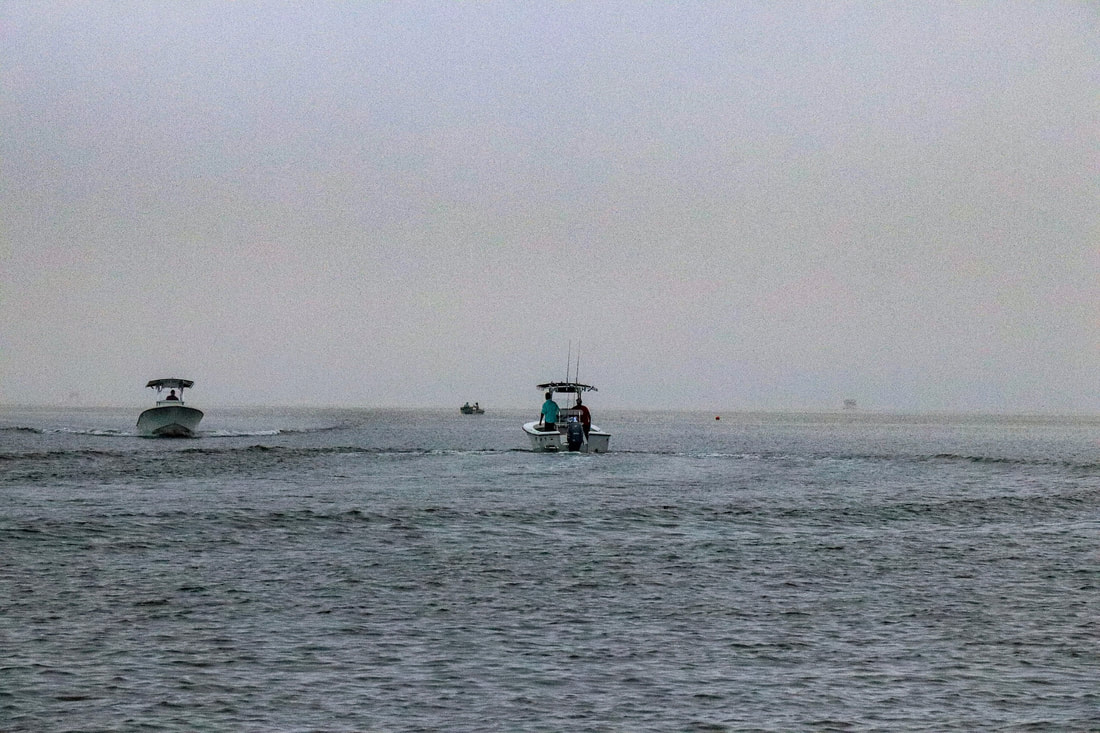
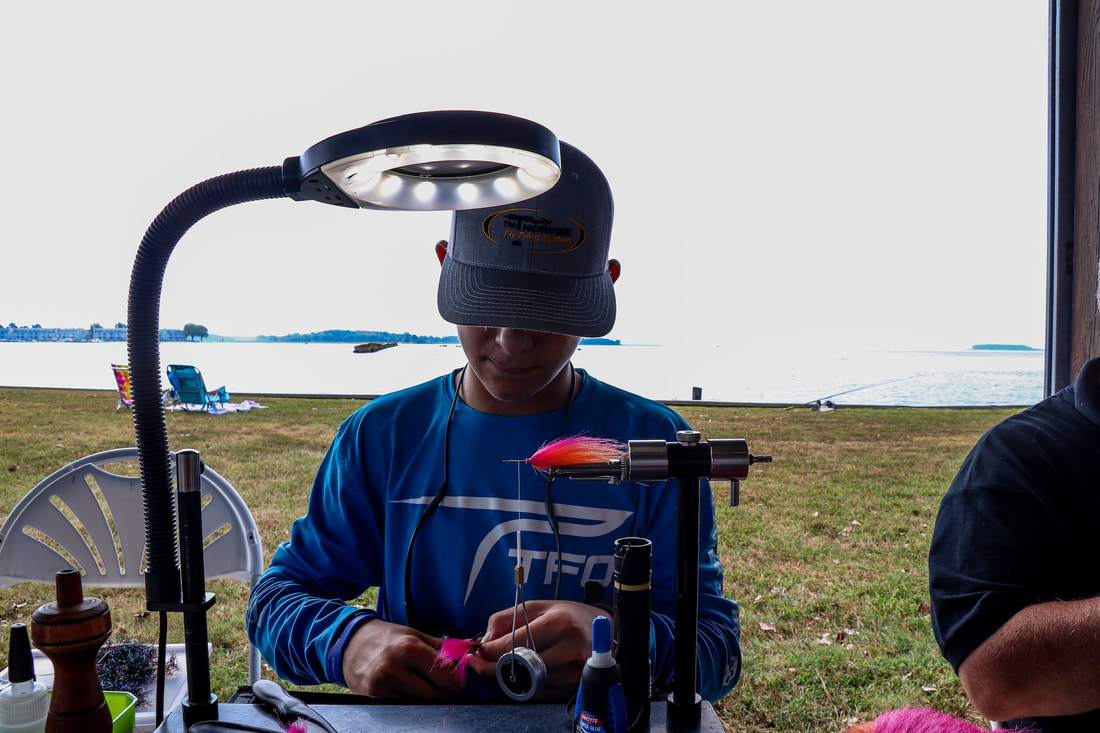
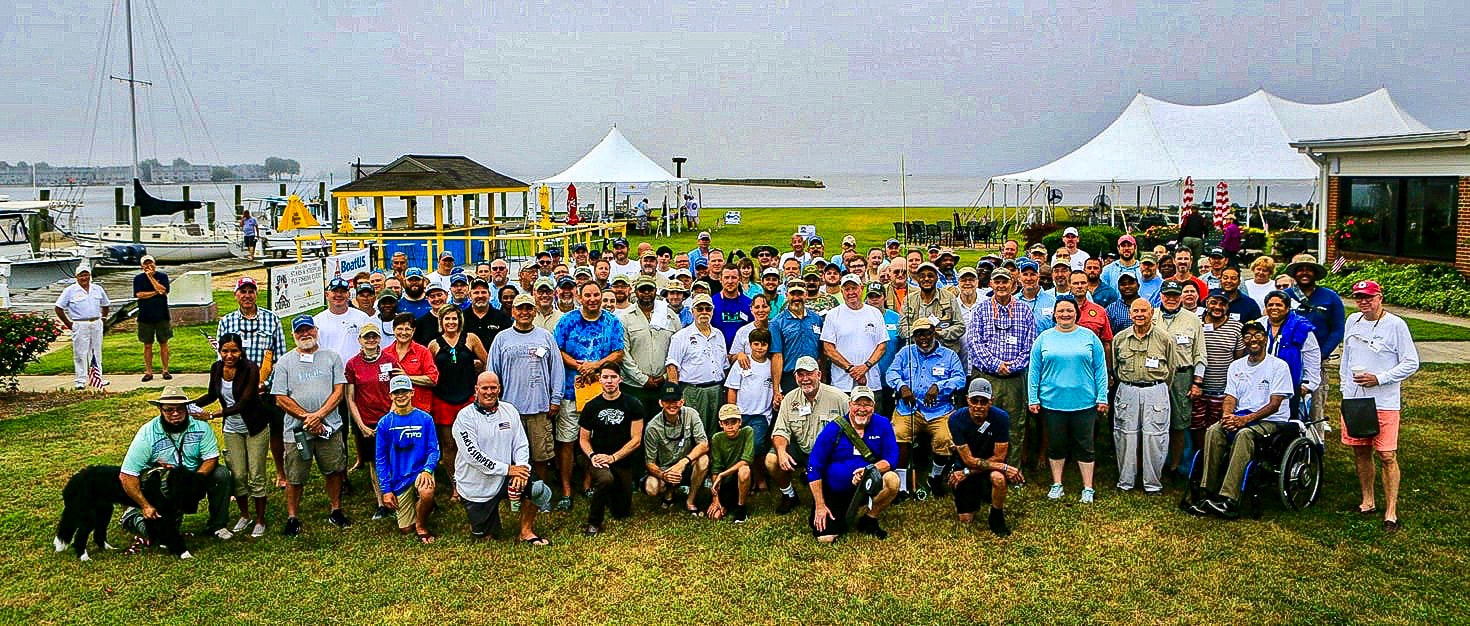
The Feather Game Changer really is not a difficult pattern to tie, it is basically repeating multiple sections of pattern over and over again. Once you see one of these in the water and better yet see how they produce fish I think you will understand why we spend the amount of time that we do to tie these. Your investment will be rewarded, trust me! Thank you Blane for coming up with such a fantastic pattern and a special thank you to Norvise ambassador Braden Miller for tying and photographing this step by step for us. I am sure the Norvise faithful appreciate your effort buddy! Till next time... Tight lines - Tim We have been Pretty busy the past few weekends here at Norvise. We will get back to the top 5 Smallmouth flies next week, I promise. I wanted to share this with you first. Many of you may know that Project Healing Waters is a program that was near and dear to Norm's heart and we have continued that tradition. Anyone involved in PHW as a participant, volunteer, program lead or administrator will receive a 40% discount on any Norvise product. We believe wholeheartedly in this organization and believe it to be one of the best programs out there for helping our veterans. This past weekend we got to see an organization as passionate about PHW as we are. Stars and Stripers is an annual outing for disabled veterans from Project Healing Waters. The Kent Island Yacht club id located right off of Rt 50 in the Stevensville, Maryland area. One day, typically in August many boat captains, mates, cooks, and volunteers descend on the club to host this great event. This year, the tenth year for this event, around 25 boat captains donated their time (and boat) to take close to 50 PHW veterans fishing for the day. We were invited down to set up a area to tie flies and show the veterans how we do what we do. This was such a rewarding day getting to tie and talk with several of the veterans. The event was very well run, and the food was fantastic! We would like to thank the Stars and Stripers organization for having us, we are already looking forward to next year! Check out some of the pictures from Saturday. As mentioned it was a great day, very fulfilling and for a great cause. I would encourage everyone in the fly fishing industry to be involved with Project Healing Waters on some level. These great men and women risk it all so that we can live in the greatest country in the world and do things like this everyday. Honestly, we owe it to them and it is the least we can do. Till next time...
Tight lines - Tim Our buddy and Team Norvise member Braden Miller attended ICAST a few weeks ago in Orlando, Florida. We kept seeing posts on Facebook and the pictures He and his mom Casey were texting us. I asked him to write a Blog post for Norvise about his experience. He just sent it to me today, so here id "ICAST / IFTD through the eyse of a 12 year old" By Braden Miller.
Hi, my name is Braden Miller and I was lucky to attend my very first ICAST/IFTD in Orlando, Florida this July with Temple Fork Outfitters (TFO). In this post I want to talk about my three days at the show, my Facebook live interviews with TFO, what booths I visited and some of the famous fisherman and youtubers I meet. My mom and I arrived in Orlando Tuesday, July 10th and we stayed at the Hilton Orlando with everyone from TFO. There were many people/companies that stayed here too. As soon we walked in the doors the first people we ran into in the lobby was Mr. Duke Davis and Mr. David Folkerts with Project Healing Waters Fly Fishing (for those of you who are not familiar with PHWFF, they are a non-profit organization that has volunteers and partners that work with veterans to teach them classes in fly tying, rod building, casting and they have fishing trips/tournaments, with over 200 programs throughout the country). You can check out all the exciting things PHWFF has going on by visiting their site at http://projecthealingwaters.org/ Tuesday was a very relaxed day, we checked in, mom unpacked, while I tied a Blake Chocklett feather game changer with a spawn fly head, and then we spent the rest of the day at the pool. |
Archives
June 2024
Categories
All
|

 RSS Feed
