|
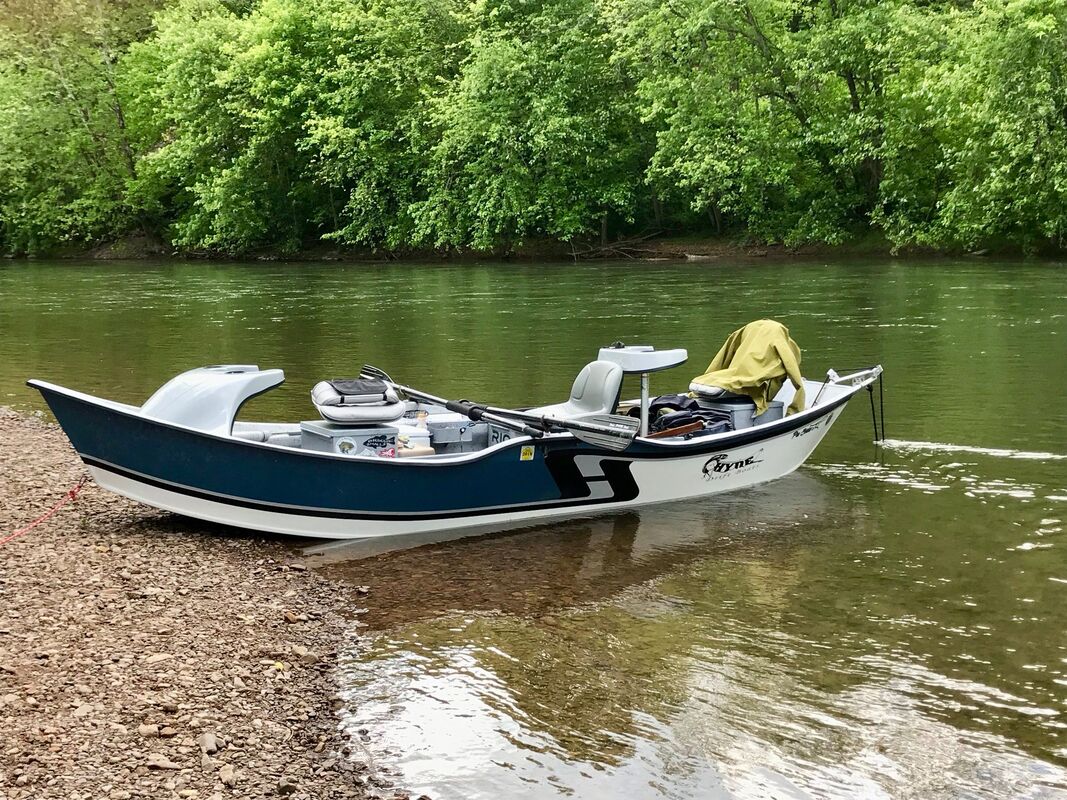
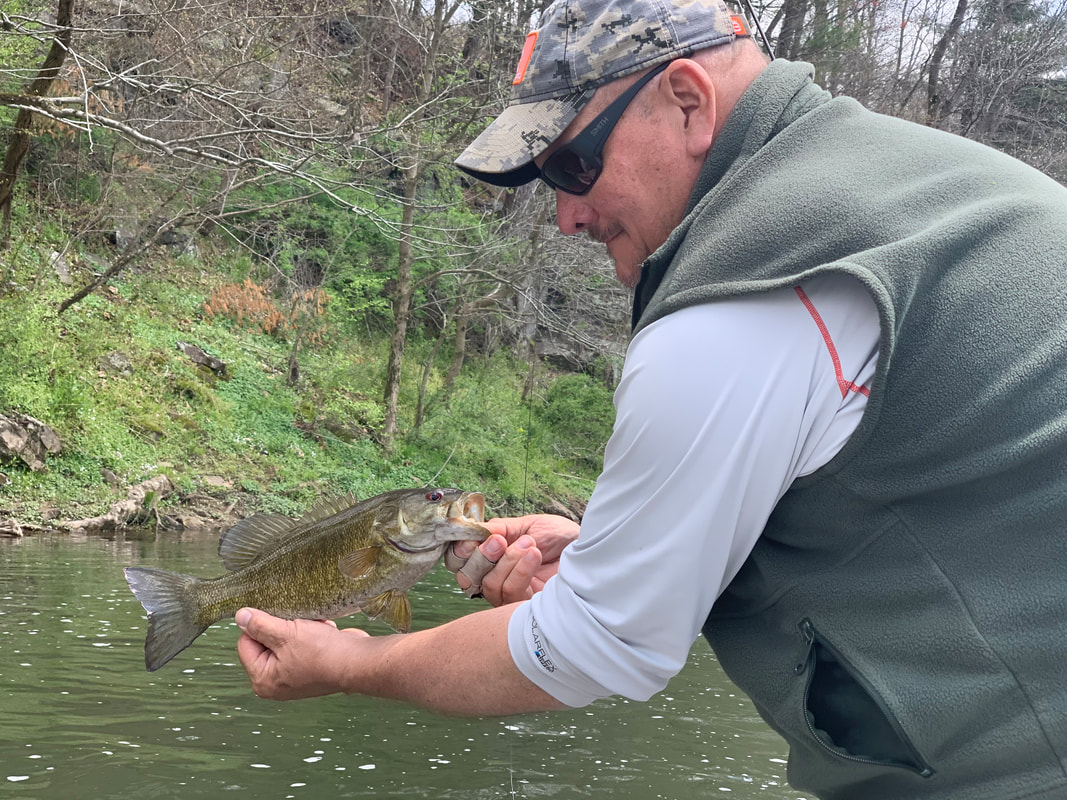
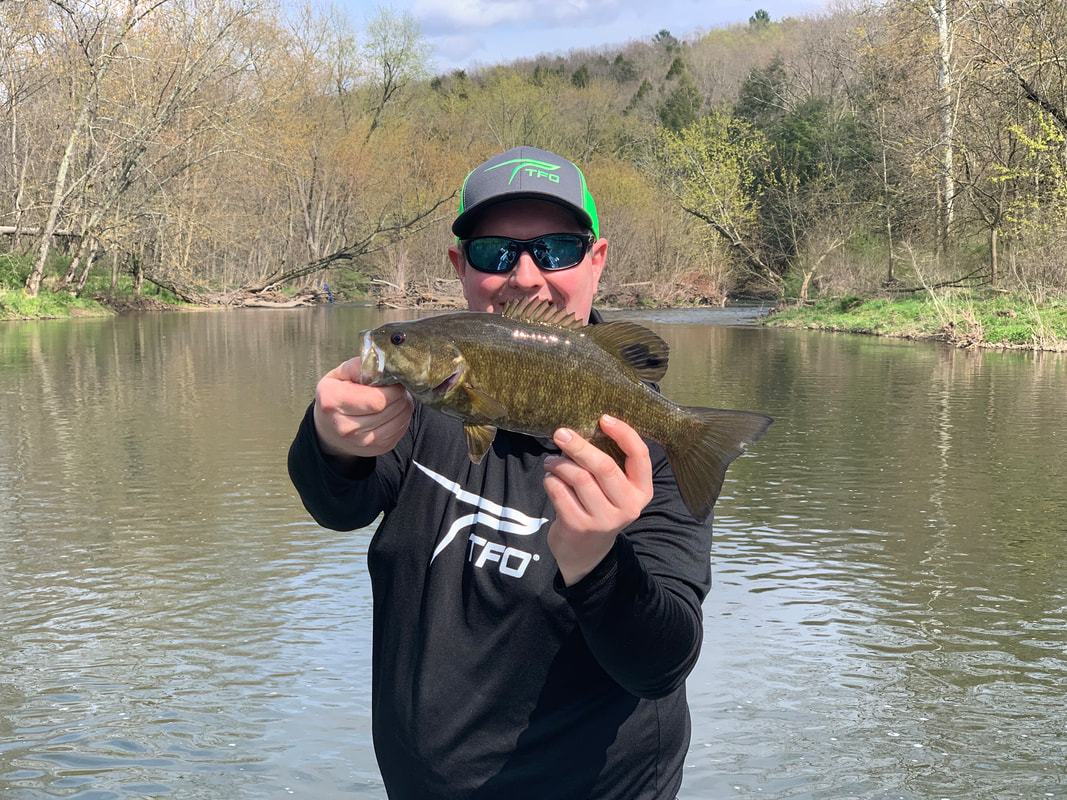
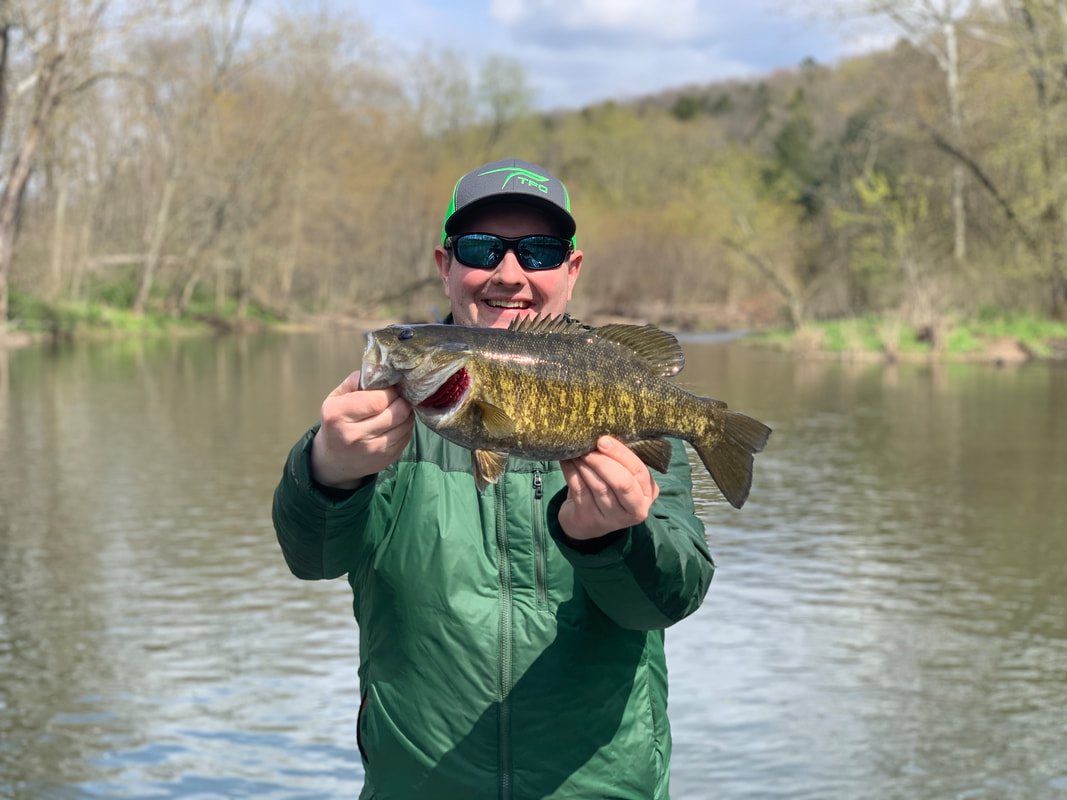
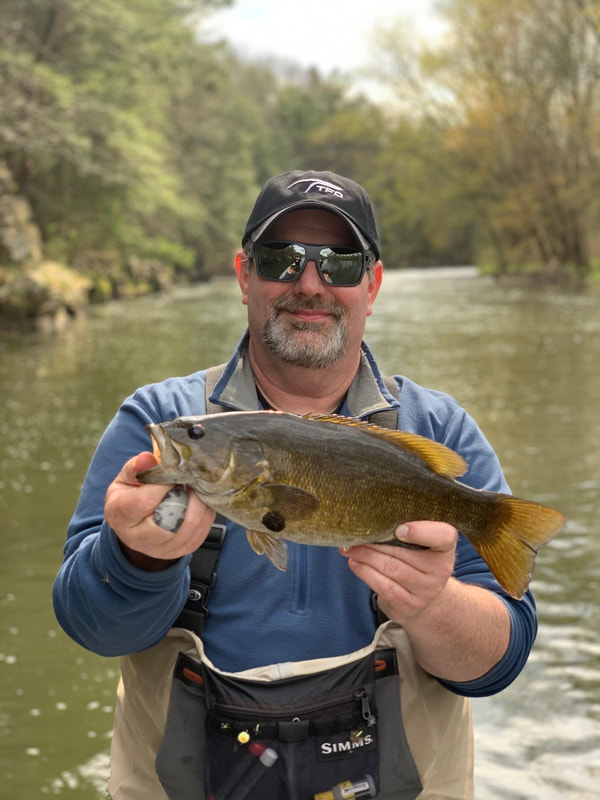
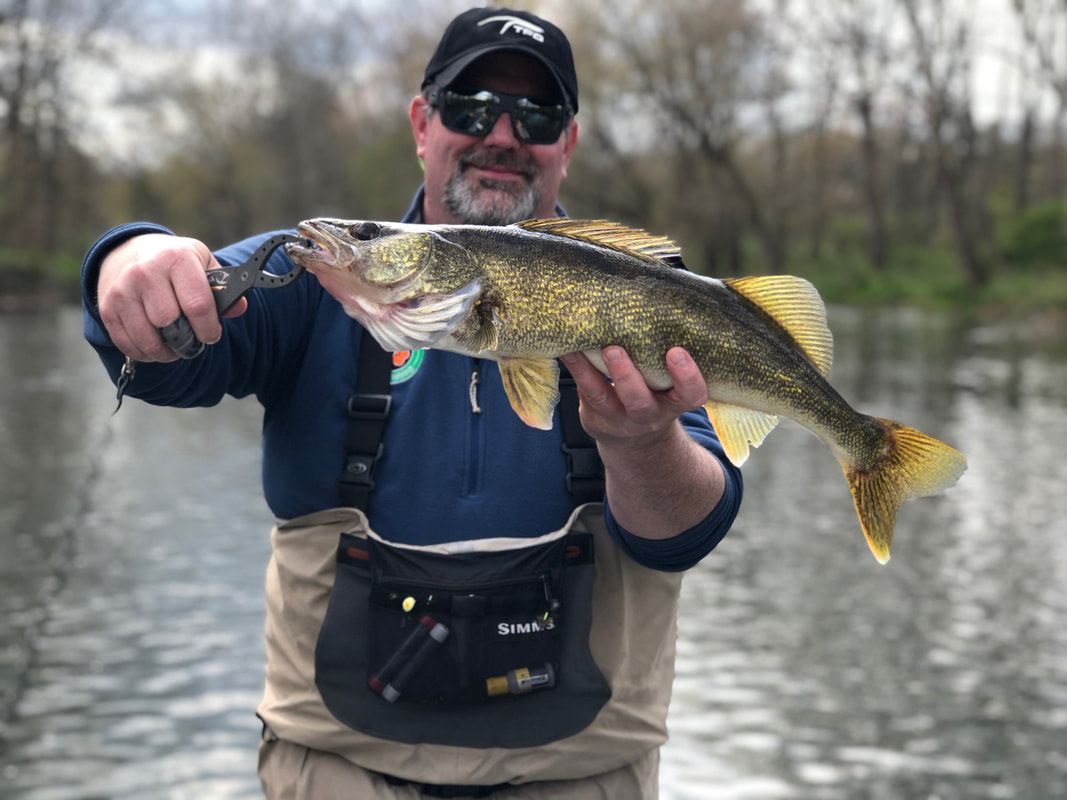
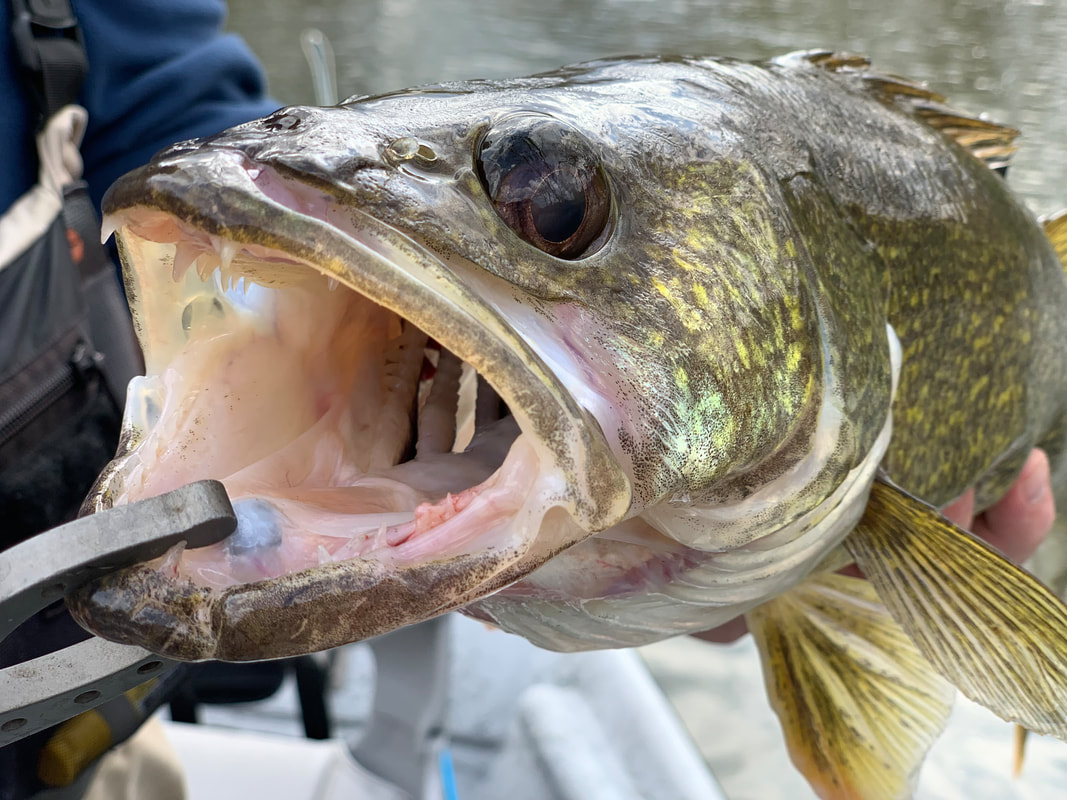
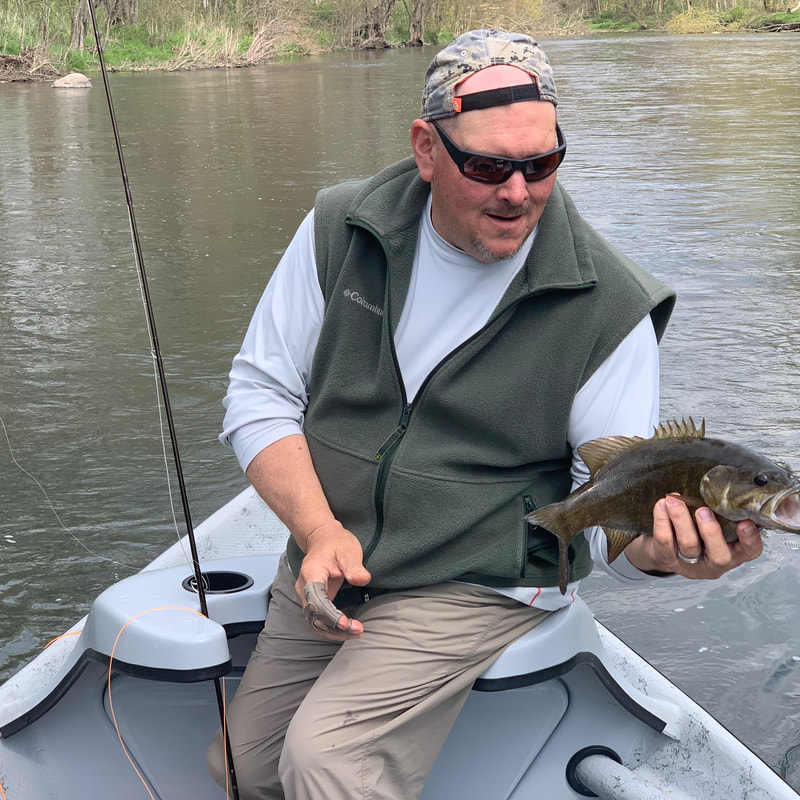
Tyler and I had the pleasure of fishing with central Pennsylvania's premier Smallmouth guides, Brian Shumaker. Brian is the owner of Susquehanna River Guides and has spent the past 30 years floating the rivers in and around west central PA including the fabled Susquehanna and Juniata rivers. Brian has become a good friend over the years so we jumped at the chance to spend a day on the water with him. We did the 2 hour ride from our place to the meeting spot in record time where we then followed Brian with his Hyde drift boat in tow to the um, well, we will say...boat ramp. We were on a smaller piece of water Brain can only float in his hard hull during the Spring. later in the year there is simply not enough water to get down this particular river. Getting the boat in the water was interesting, but we got it down the bank and we were soon on our way. Smallmouth are my favorite fish, they are beautiful, hard fighting and are tailor made for fly fishing. We spent the day pounding the banks and back eddies with streamers and slowly stripping them back. "Stripping them back" is really a bit of a misnomer, really we were just letting the flies hang and swing a bit and just keeping the line tight as the boat drifted down river. This is a cool technique as once you "get" it you can literally hold the fly in one spot for an extended amount of time to entice a big ole' bronze back to come up from the deeper water and smash it. We started off a little slow, typical with spring time smallmouth fishing as the water was still a bit on the cool side at 52 degrees. When the sun got up and the water warmed so did the fishing. As soon as he stepped up on to the front casting position Brian was tight to a solid smallmouth. Literally it was on his first or 2nd cast! nThis was not a guided trip, it was what we call a "row and go" meaning three guys are in the boat, 2 guys fishing and 1 rowing the boat. We would switch positions so every got to fish and every one would row. If rowing a drift boat is not something you do every day you will soon appreciate the skill of an accomplished oarsman. It is not as easy as a good rower makes it look...just ask Tyler. I really think you should spend some time on the oars if you can, it will give you a better appreciation of how everyone needs to work together for the boat to be successful. Tyler was picking it up toward the end, I am very excited for our Smith Fly raft to be completed so we can start floating some of our local (and not so local) rivers this summer. On his second stint on the bow Tyler stuck a good fish followed by an even better smallie. Tyler and I were fishing some of TFO's new gear, mainly the Axiom 2 X rods and the new BVK sealed drag reels. As mentioned smallmouth are my favorite fish to fish for, coincidentally we spend a lot of time chasing them each year. For years my go to set up has always been a 7 weight. We throw some pretty big flies when chasing smallies; Game changers, O'Neill's Controlled Chaos, O'Neill's Hovercraft, weighted crayfish patterns and the like. For me a 6 weight just doesn't have the muscle needed to punch these bigger, wind resistant flies through the air. It is not uncommon for us to be on the water all day and honestly an 8 weight was just too heavy to cast for 10 hours straight, that is why I prefer a 7 weight. Until now. During one of my turns in the back of the boat I looked down in the rod holder and low and behold there was Tyler's Brand new A2X 8 weight. Will, I am not one to let a new rod to go to waste so I figured I would break it in for him. As mentioned earlier I am a huge fan of a 7 weight. That being said, if you get a little more than I light breeze the shortcoming of the 7 weight quickly comes to light, especially if you are trying to punch 60' casts with big flies. This was the first time I really got to spend with the A2X 8 weight. The first thing you notice is the overall weight of the rod. If you didn't know any better you would swear it you were holding a 6 weight. Load it up to cast and it is quite apparent what you are holding. Paired with an aggressive, weight forward shooting head this stick is an absolute rocket. It is light in the hand, you can cast it all day and it has plenty of punch to drive a big, articulated fly through the air with ease. It is a bit early to say it is my new favorite, but it will be a staple in my quiver for sure. Several hours later and sever rotations on the oars we were at the take out. We had had a fantastic day with several Smallmouth landed along with a bonus Walleye, my first ever. If you are looking for a fantastic central Pennsylvania Smallmouth experience Give my buddy Brian a call or check out his Facebook HERE. You will be glad you did. Till next time...
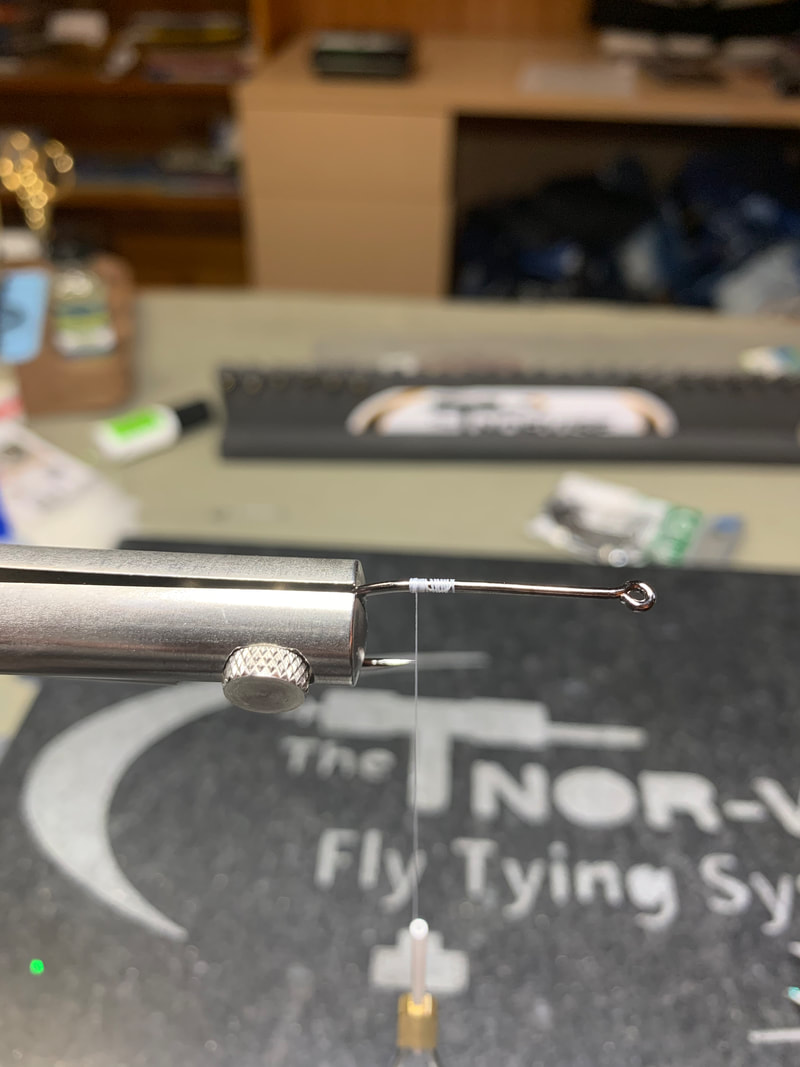
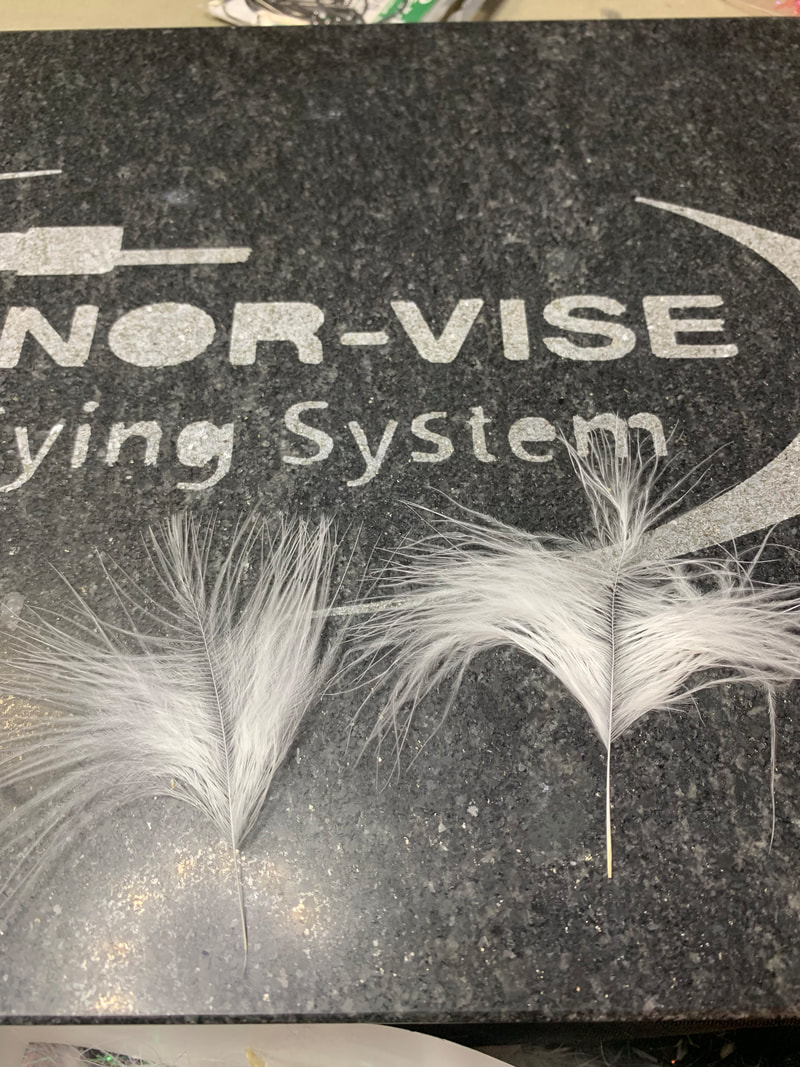
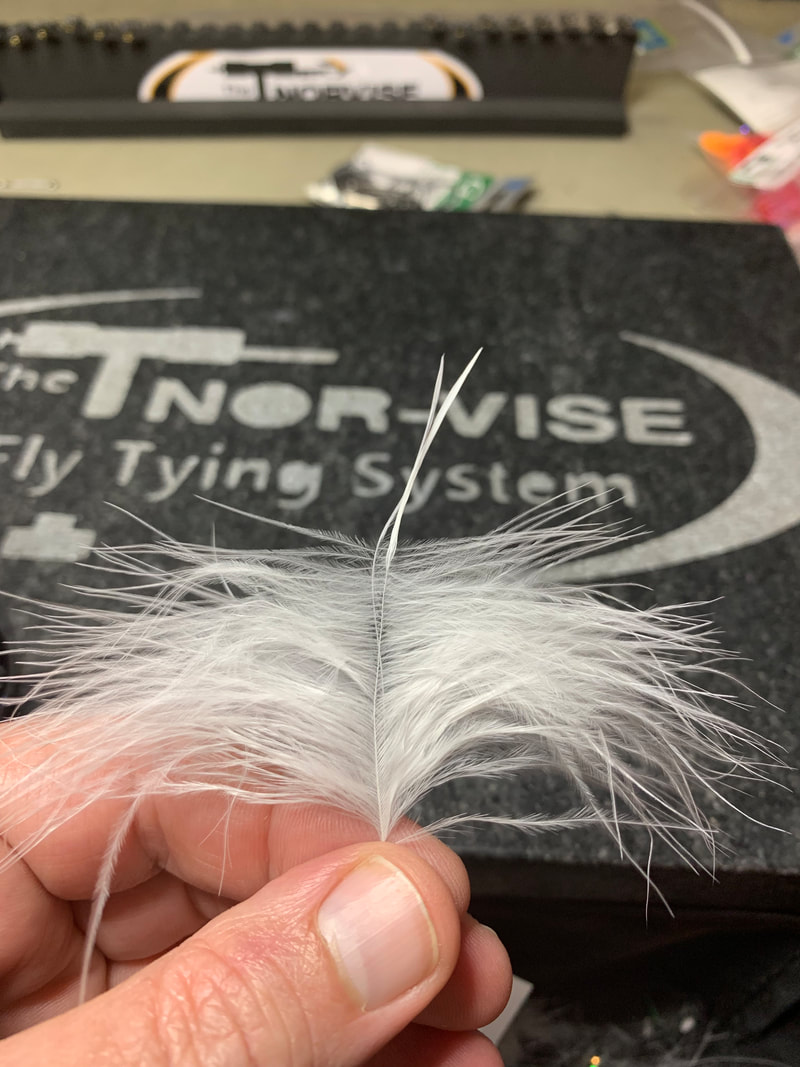
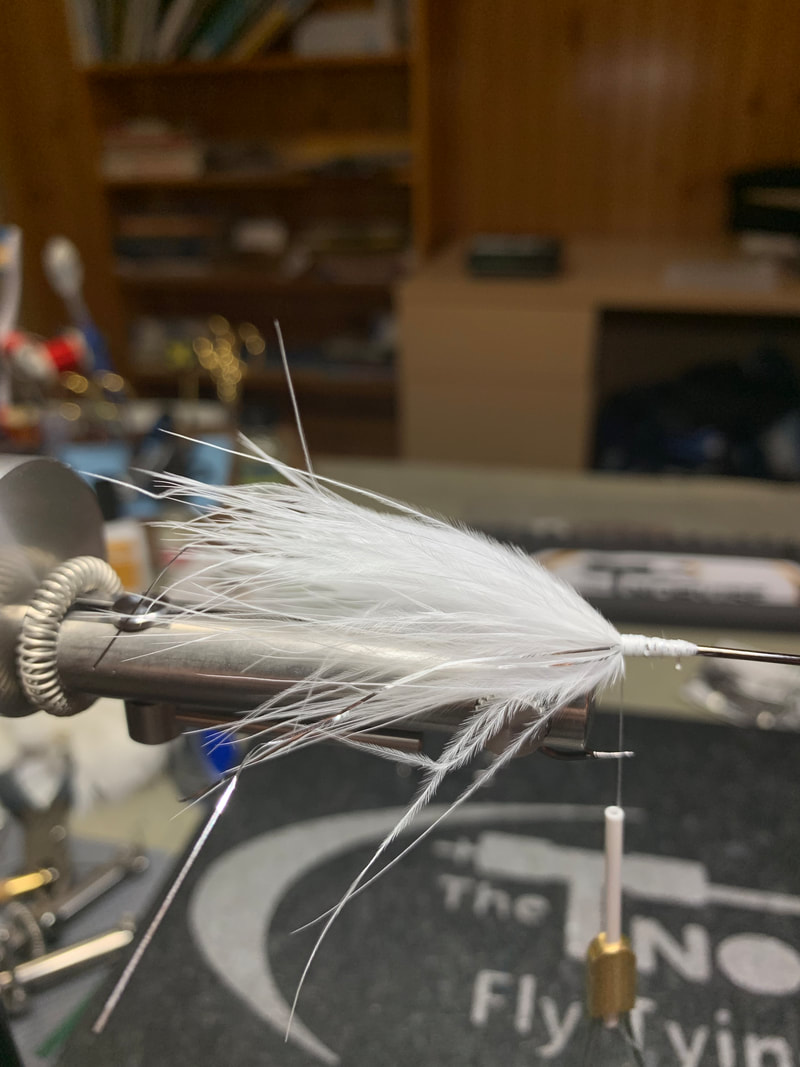
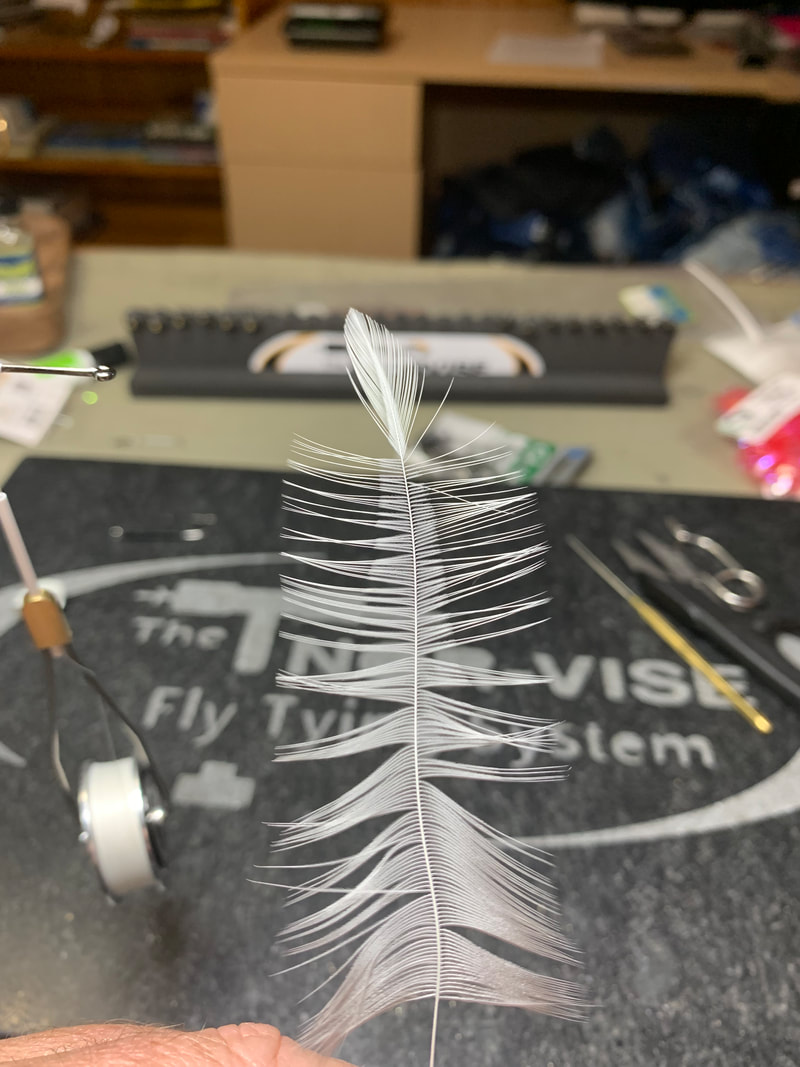
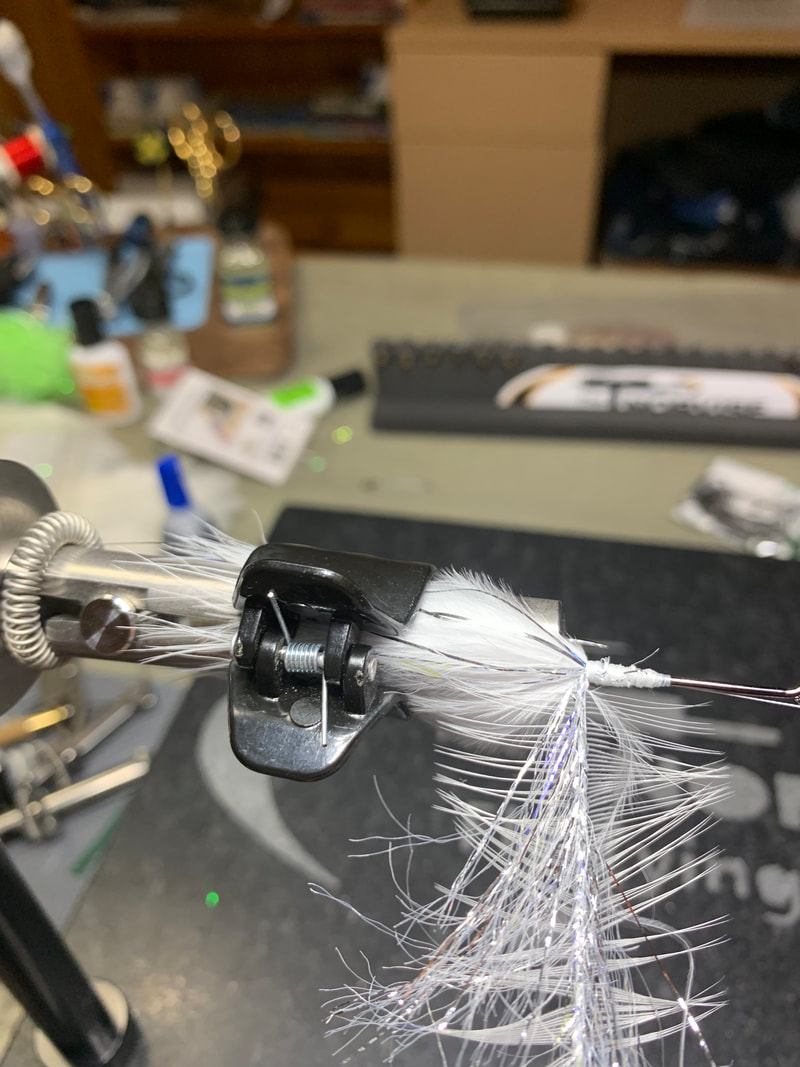
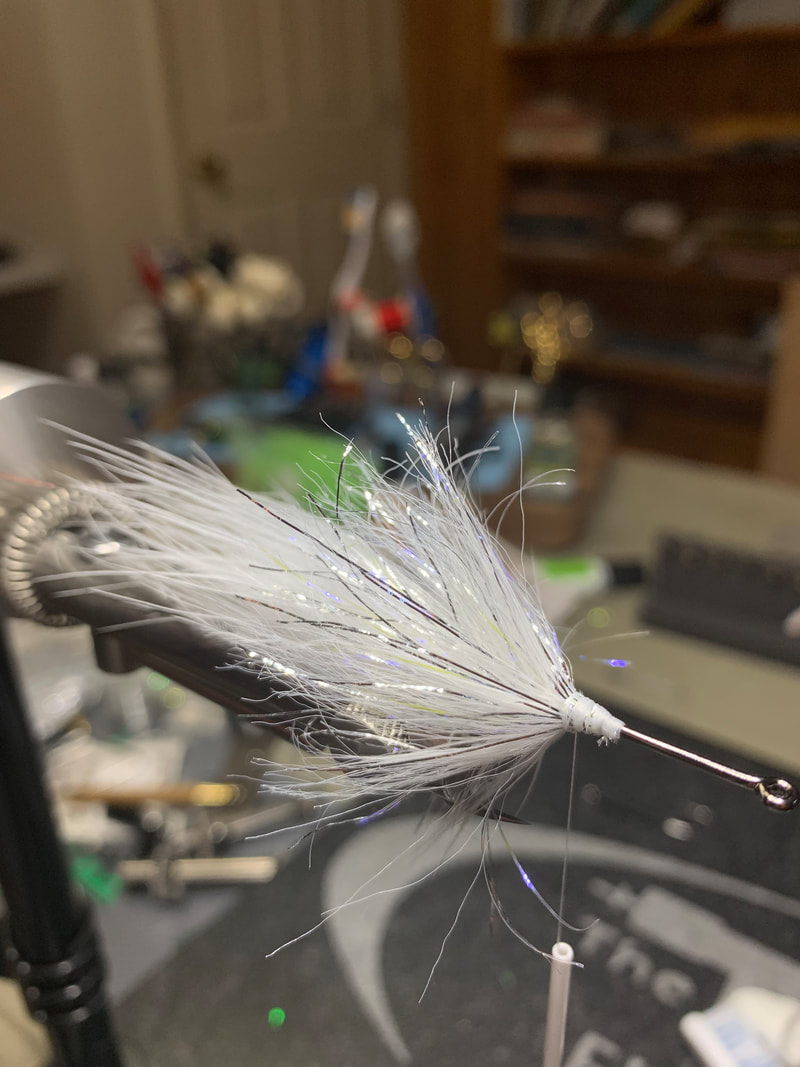
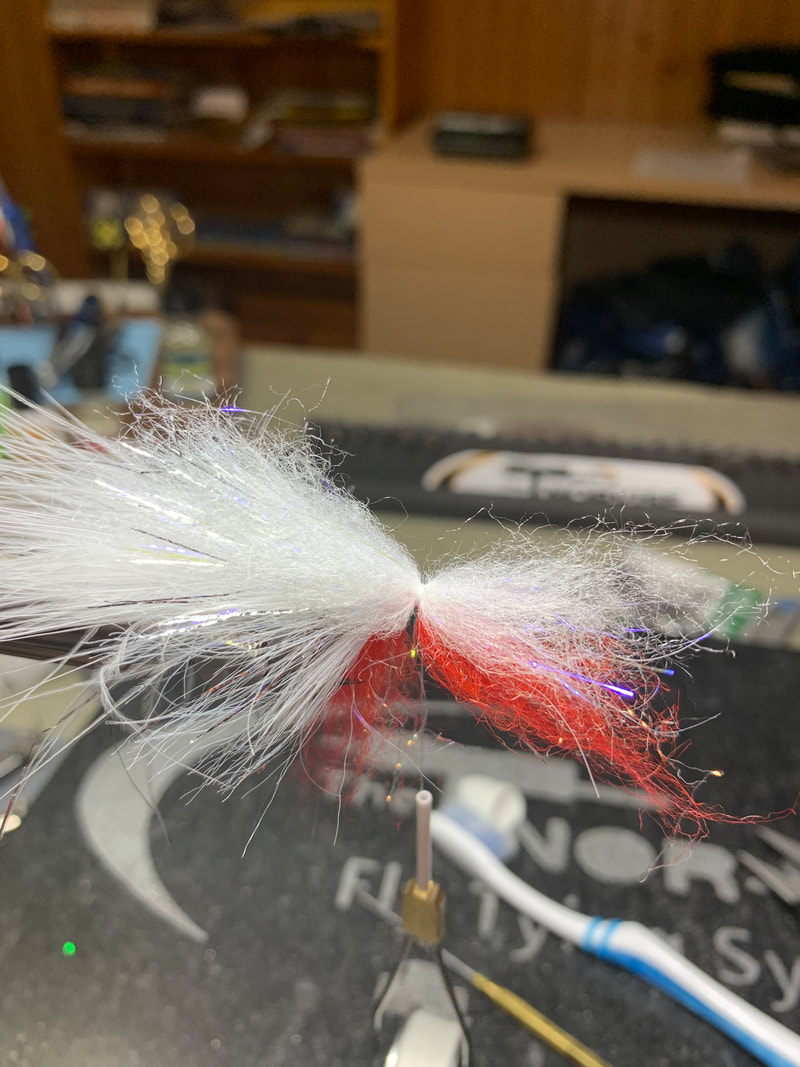
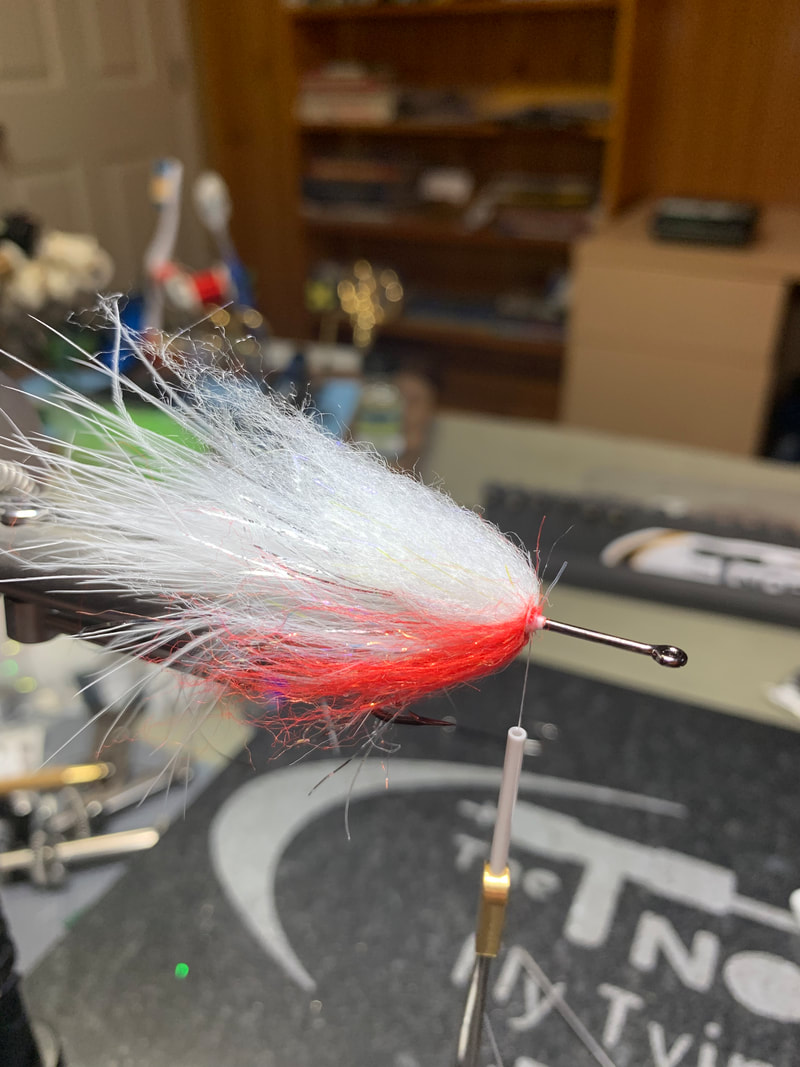
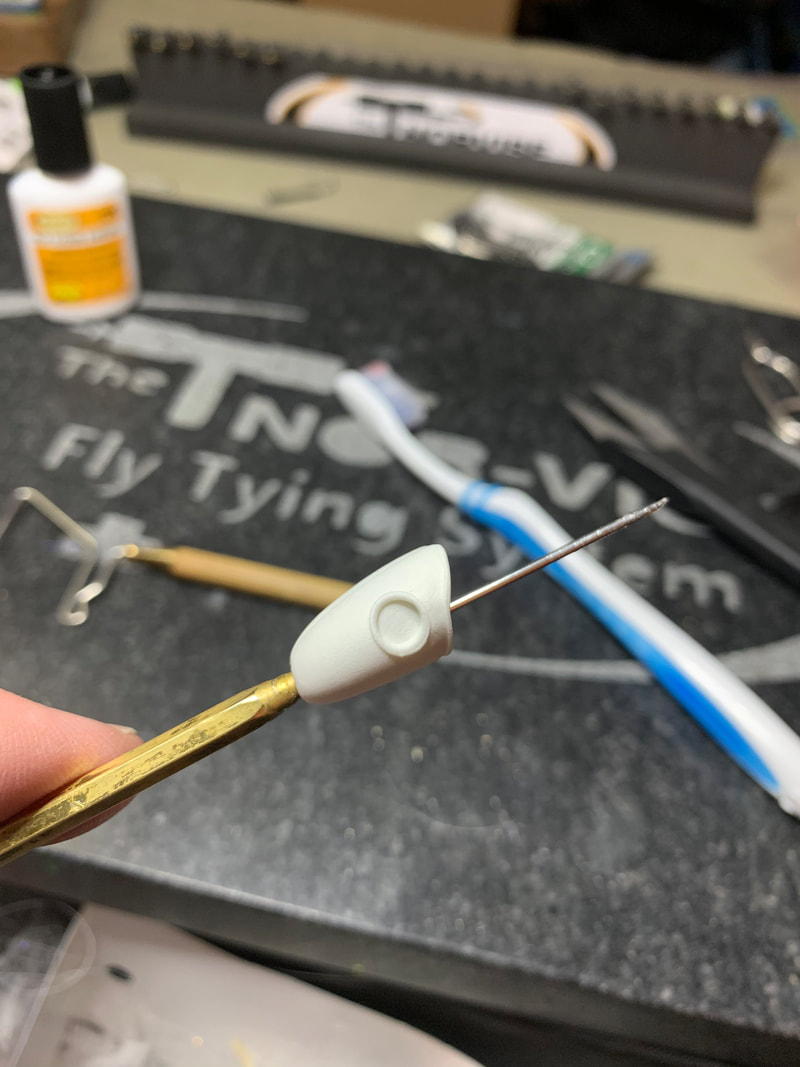
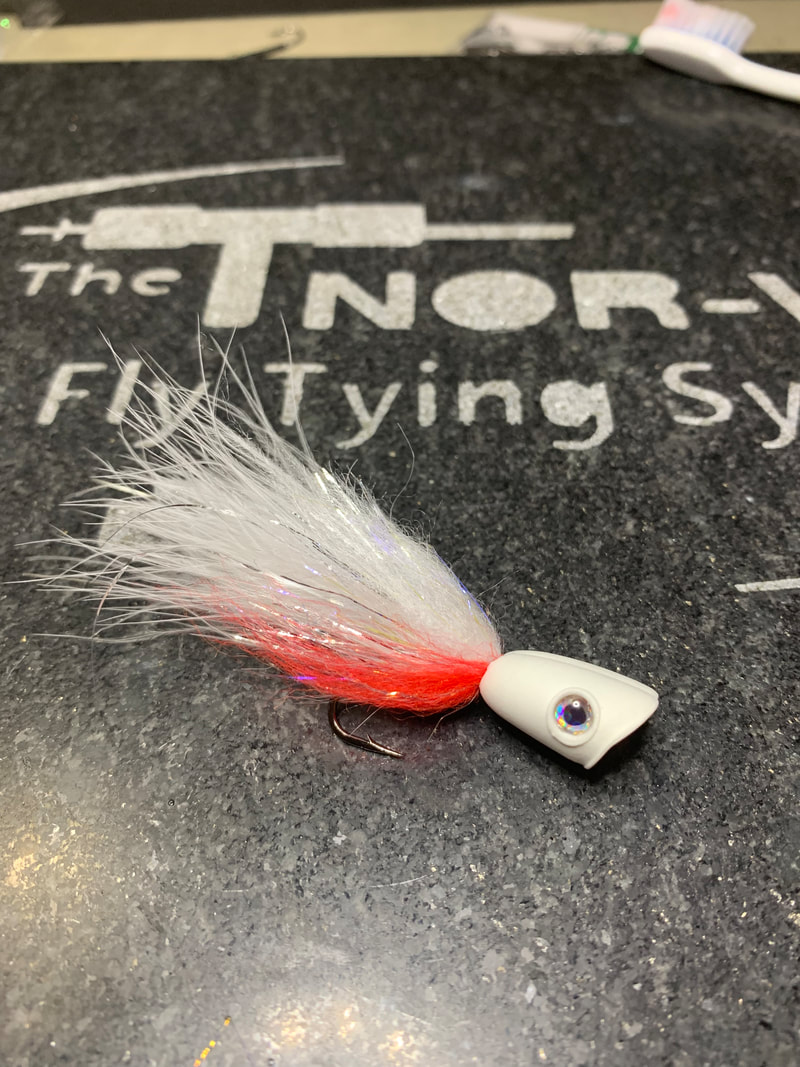
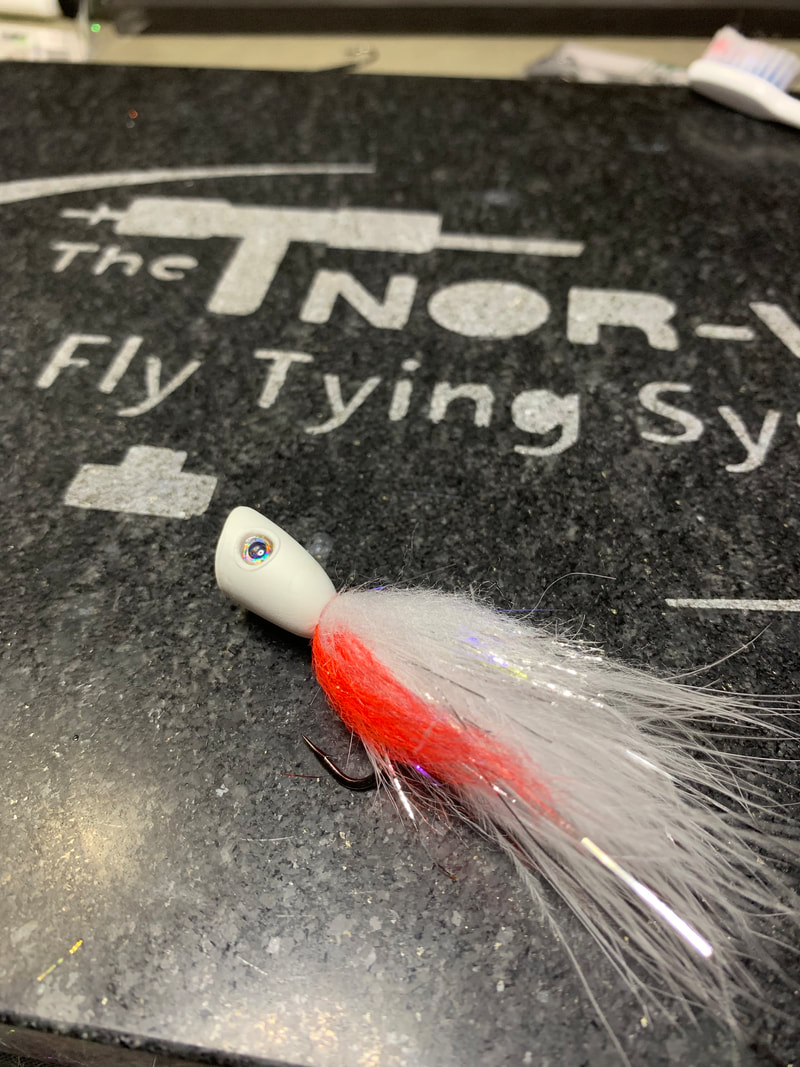
Tight lines, Tim As mentioned in my "5 favorite Smallmouth Flies" post a few weeks ago, any Smallie fisherman worth his salt has a large assortment of Poppers. Smallmouth bass were tailor made for fly fishing. I have often said "pound for pound Smallmouth are the hardest fighting freshwater fish that swims". I dont think any true Smallie addict would argue that statement. Add to that a fish that is willing, dare I say prefers, to take a fly off the surface and you just may have the perfect fly rod fish! I love poppers! I love fishing them, I love tying them, I love designing new ones, I just plain love poppers. What is better than watching a huge frog or fish popper disappear in that tell tale "flush" of water then when you throw the steel to them, they just loose their mind. Watching a popper be eaten may be one of the most exciting things in fly fishing! Below is one of my favorite popper designs, it can be tied very small say on a #4 hook to very large, on a 4/0. This is the pattern I base most of my other popper designs off of. You can change the tail to Cohen's Creatures frog legs for a frog popper, bucktail and saddles for a longer profile or you can even articulate it. Check out this great pattern below... Recipe; This is for the "Bleeding Shad color, we also do Fire tiger and Burple (black / purple) Hook; Gamakatsu B10S (this is a size 1) Thread; Tyer's choice, color to match body (I am using Veevus 6/0) Tail; One white and 1 grey Marabou blood quill tip tied and palmered. Body; complex twist of 1 white schlappen feather and UV Polar chenille, silver Collar; Senyo's laser dub Head; Flymen double barrel Popper hers (this is a medium head) Eyes; Flymen 4mm Ice eyes I am using the Norvise Large Inline , Norvise Magnum Hubs and Norvise Material Clip to tie this pattern. 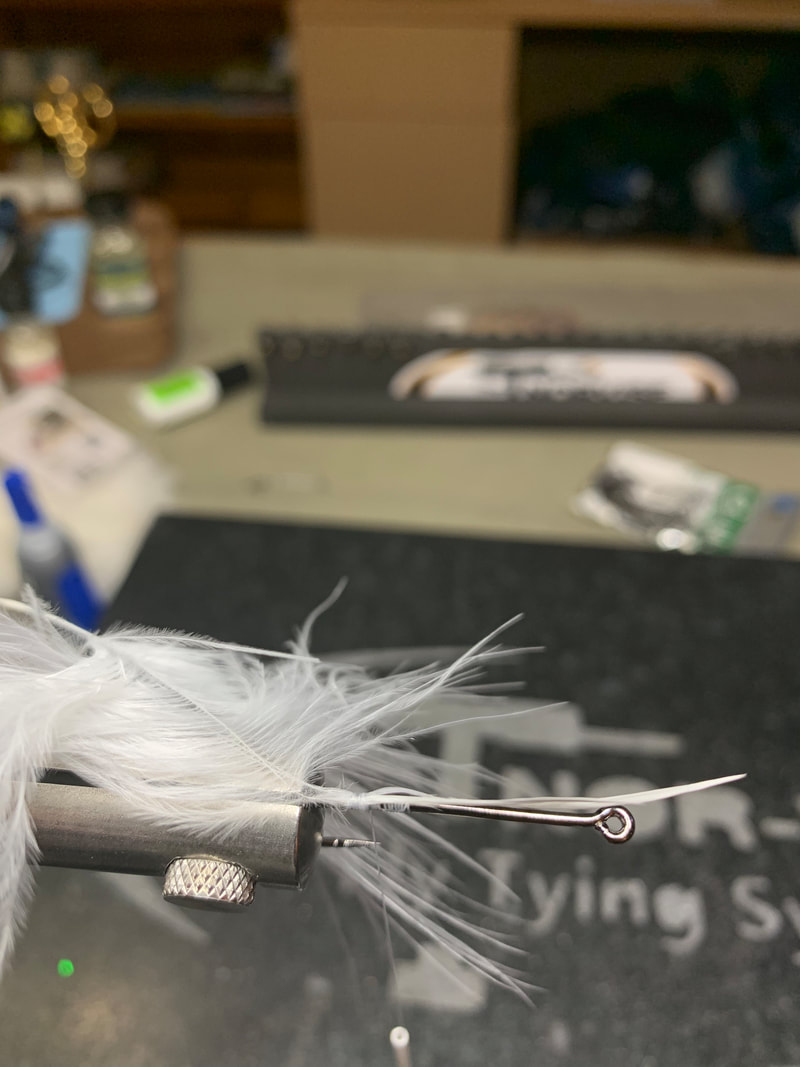 Tie both feathers in at the same time by the tip at the point where the thread ends right above the barb. Wrap 3 or 4 turns forward, Fold the tip back and wrap back over 3 or 4 tight turns back to front. This "fold in" method will keep the tips from pulling out while you are palmering the feathers forward. 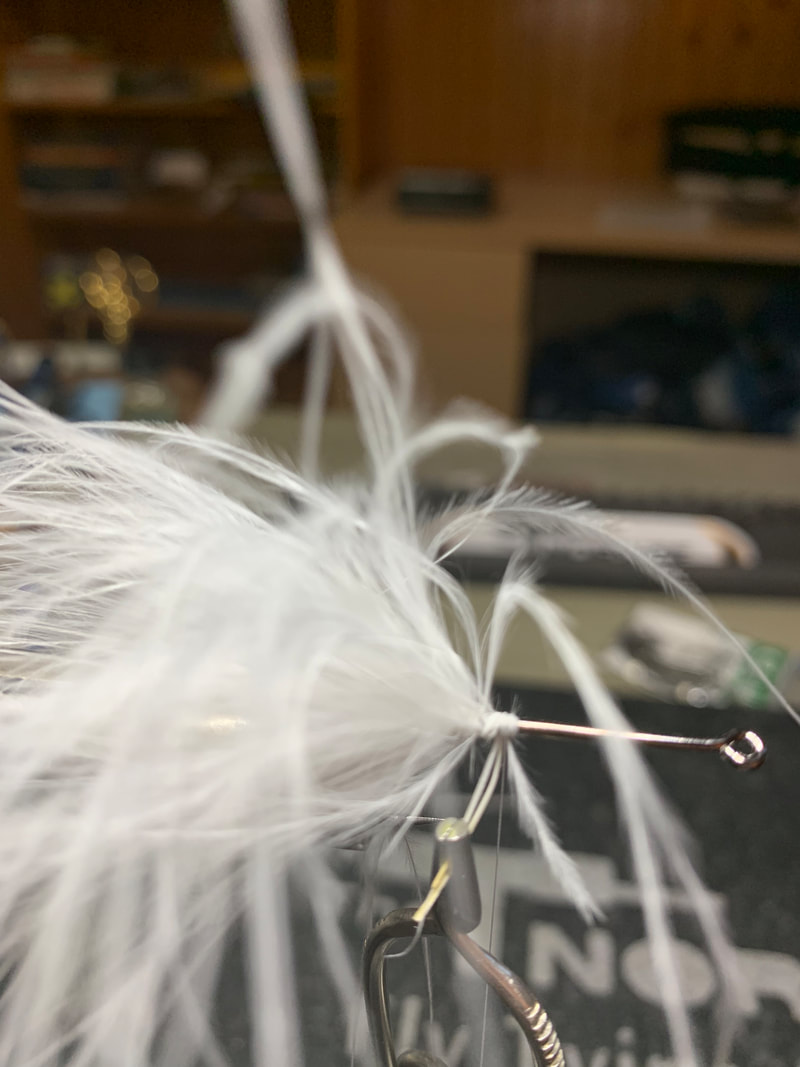 Advance the thread forward to just past the tie in point, half hitch and place the bobbin on the thread post. I like to grab the feather stems with a pair of hackle pliers. Now wrap the feathers forward (or spin your Norvise) taking care not to trap any of the feather under the stem. Once you have wrapped the whole 3/4 of an inch of feather tie off the bare stems with several tight wraps. 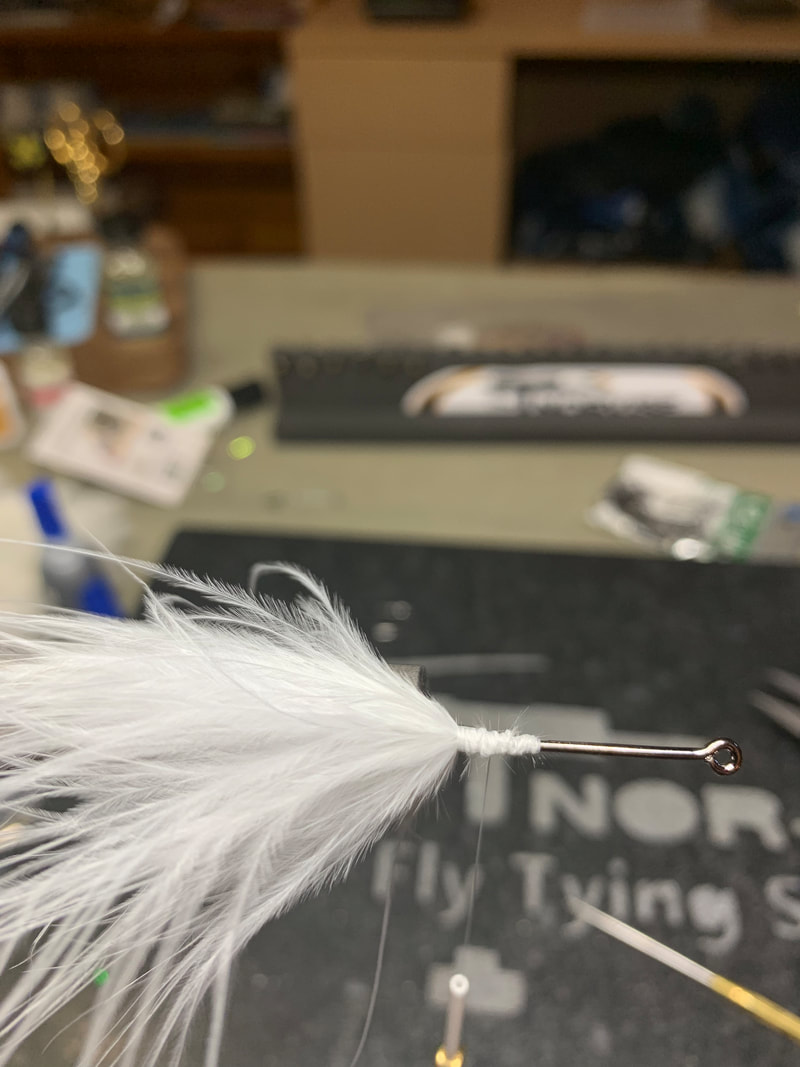 Marabou gets a bad rap in my opinion for not being durable, here is how to make it very strong. Use your bodkin or a tooth brush and stroke back all the marabou, Take care to make sure they are evenly distributed around the hook shank. Now, take your thread and COMPLETLY cover the stems with thread. A drop of Flex Cement here is a fantastic idea. By covering the stems you are protecting the weakest part of the tail. If the stems don't blow up, the tail will last a very long time. I have tales tied in this manner with well over 50 Pickerel landed and the tails look almost brand new. Remember, a Pickerel is a cousin of the Pike and Musky! 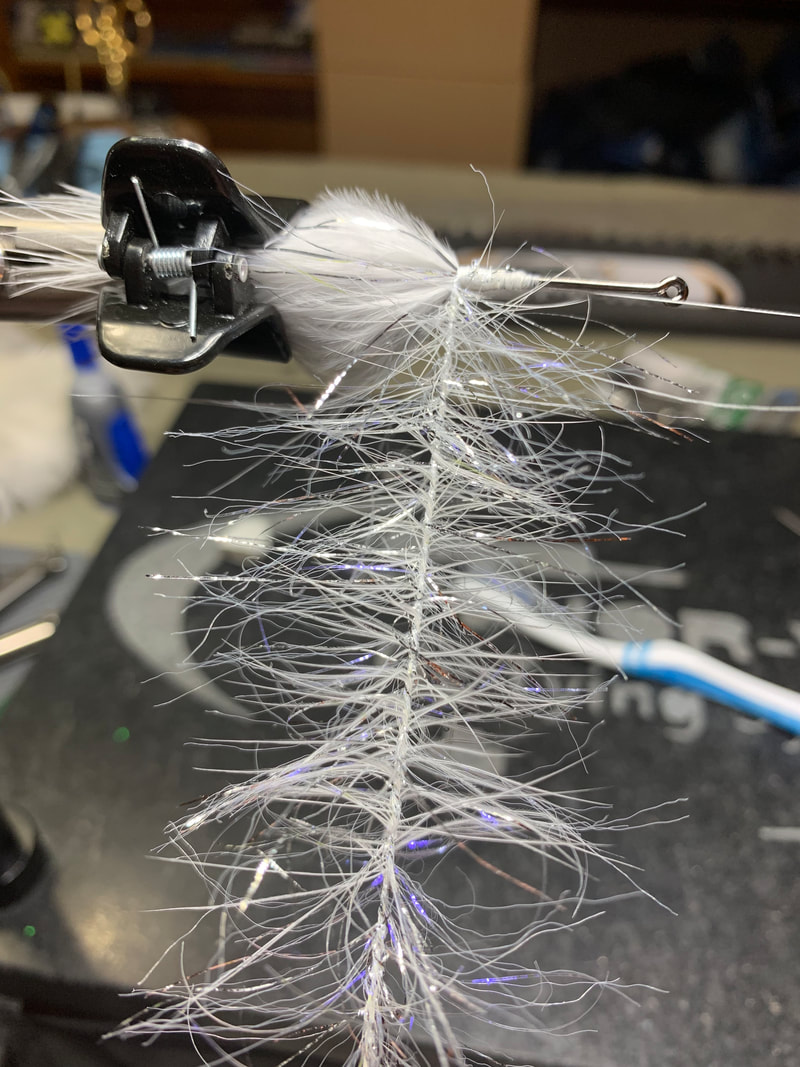 Now, hold the feather and the Polar Chenille together with a pair of hackle pliers at the base and spin them together. This will make a dubbing brush of sorts. This "Complex Twist" will blend the feather and the polar chenille together, it will also strengthen the feather by wrapping the core of the polar chenille around the feather stem again, protecting the weakest part of the brush. You will have to use a brush of your bodkin to pick out the fibers. Spin a little and brush, spin and brush, etc. Note; at the bottom there is a link to a video showing how to do this step by spinning your Norvise, it is pretty cool. 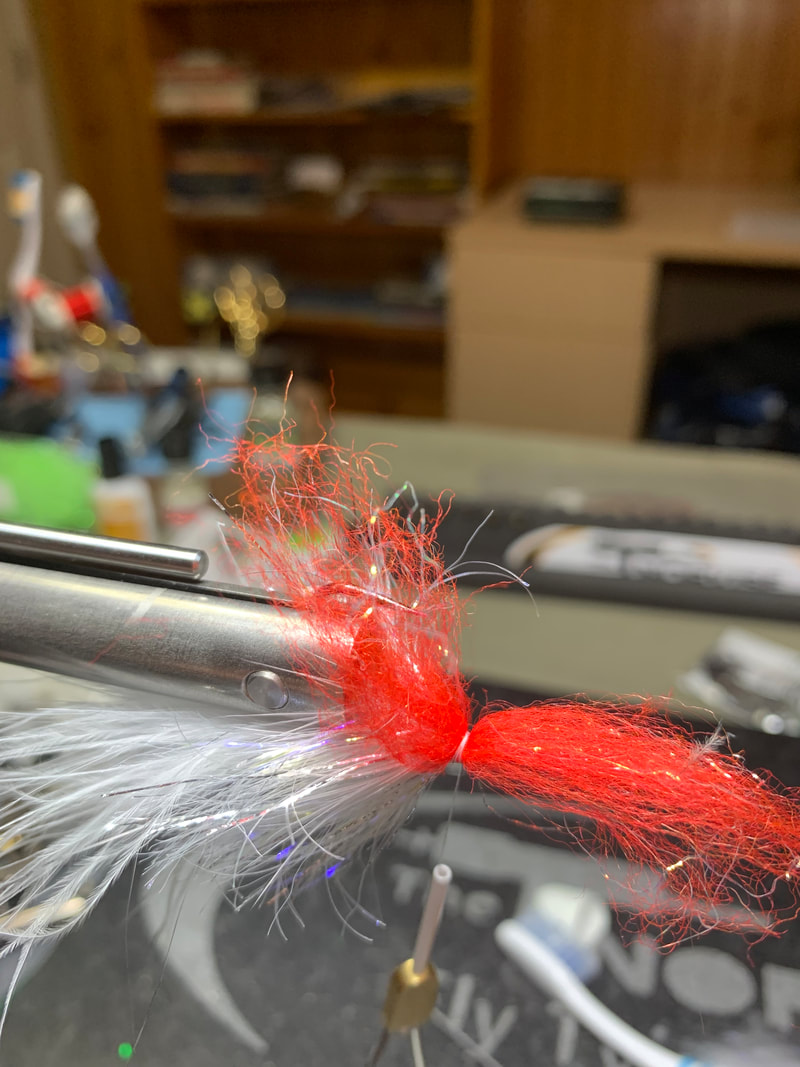 Now we are going top build the collar. We will use Senyo's laser dub, red on the bottom and white on the top. Select a small bit, about the thickness of a match stick. Align the the fibers and tie the clump to the hook in the middle. Make sure the material is distributed 180 degrees around the bottom of the hook. Repeat this step in the top with white laser dub. 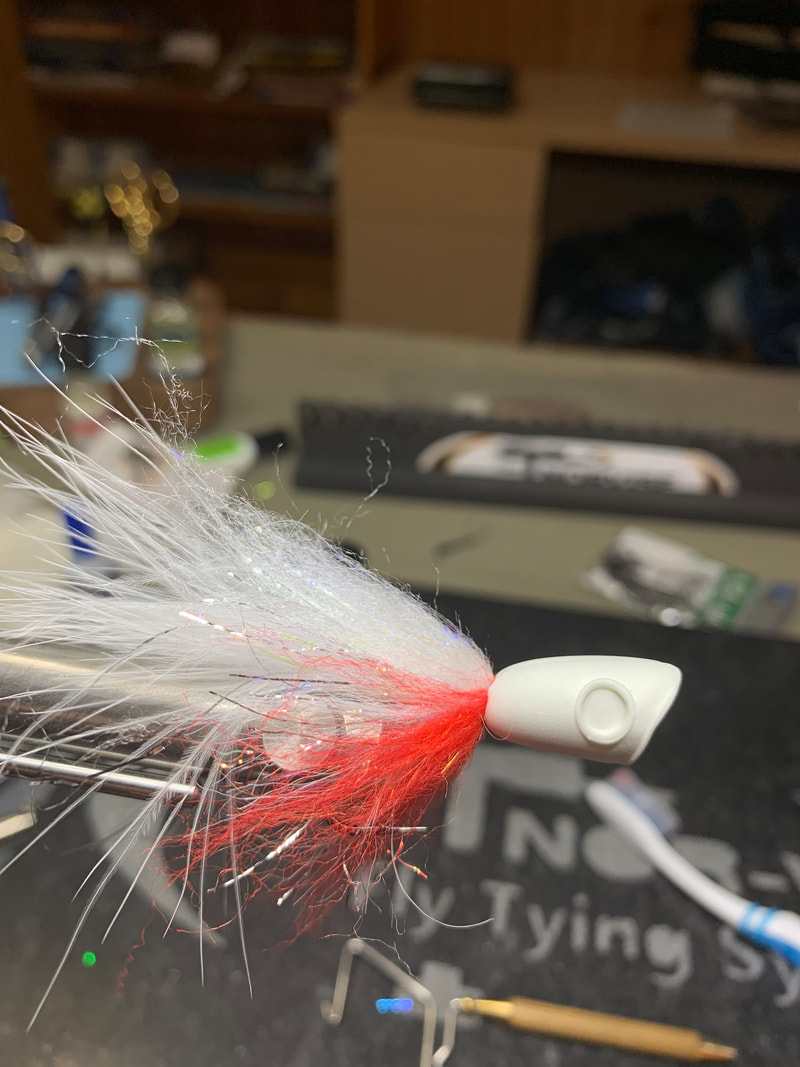 Cover the entire front of the hook with several layers of thread. This will give the glue something to grip on TEST FIT THE HEAD FIRST! once you are happy with it use ZAP-A-Gap to glue the head to the hook. Warning; you have 1 shot and about 7 seconds before the glue takes hold! Get the head on and situated quickly, if not you may be cutting a perfectly good popper head off and trying again! This is one of my favorite of my designs. I say "My" designs, The palmered tail I learned from Rich Strolis and the body I learned from Eric Snyder. Thanks guys for being part of a great pattern! Till next time...
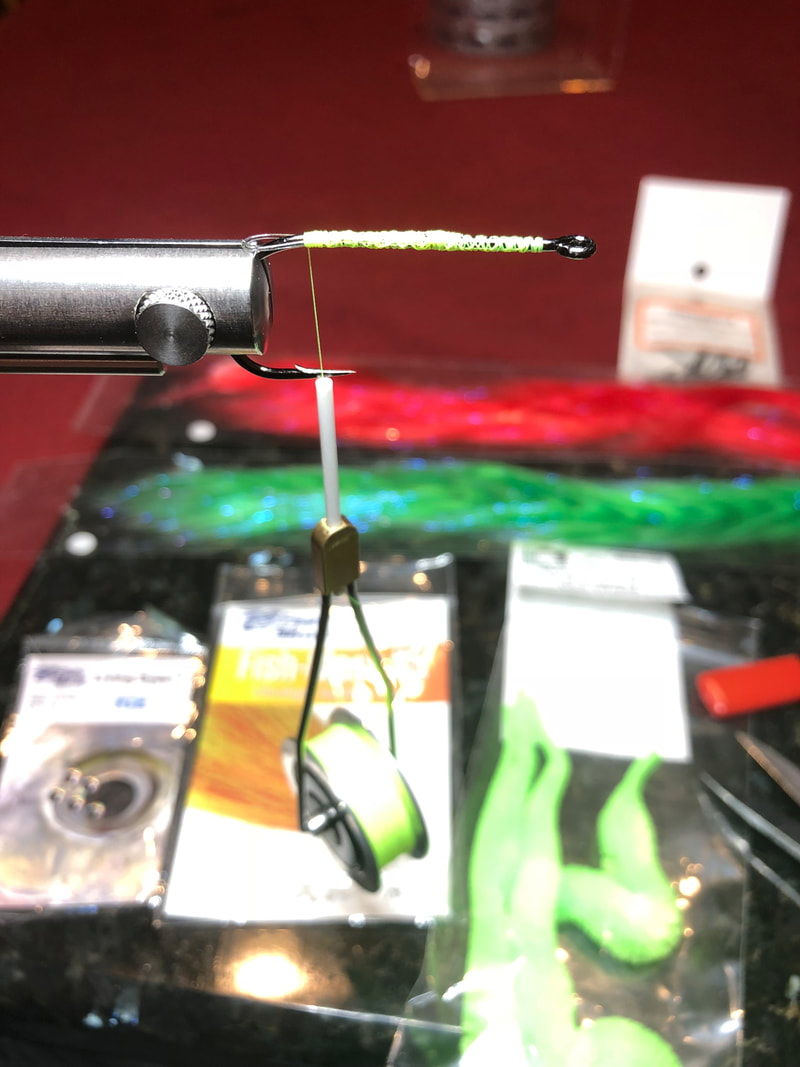
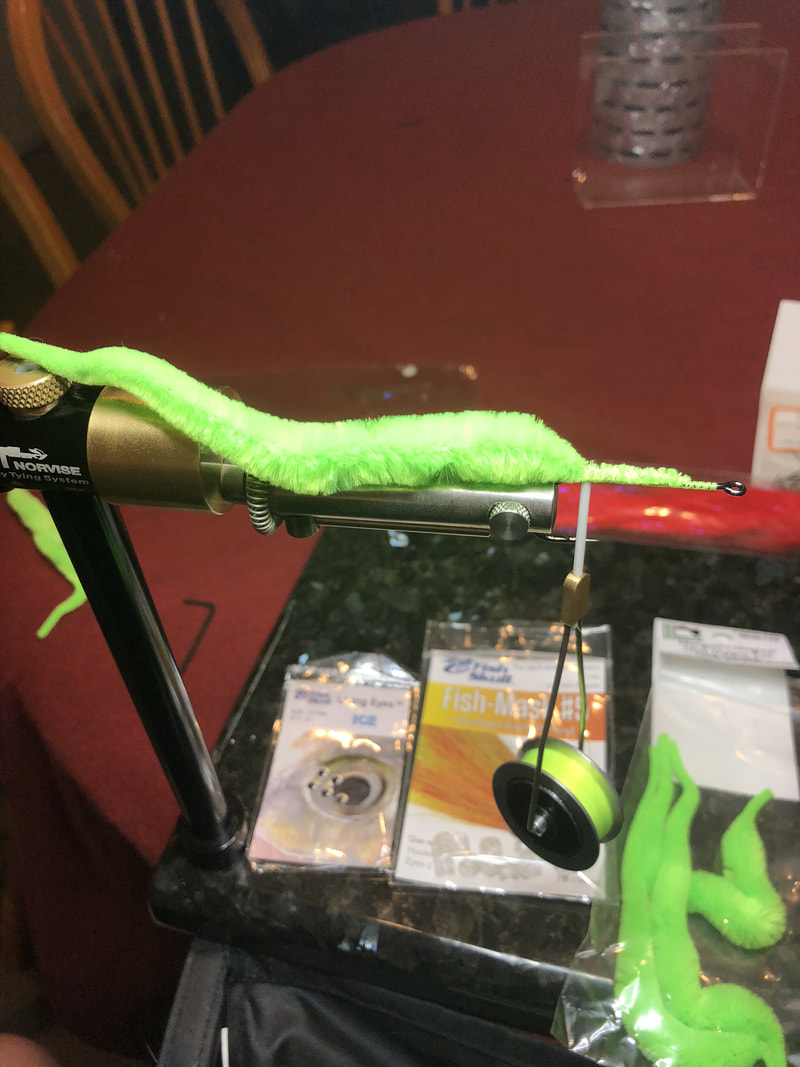
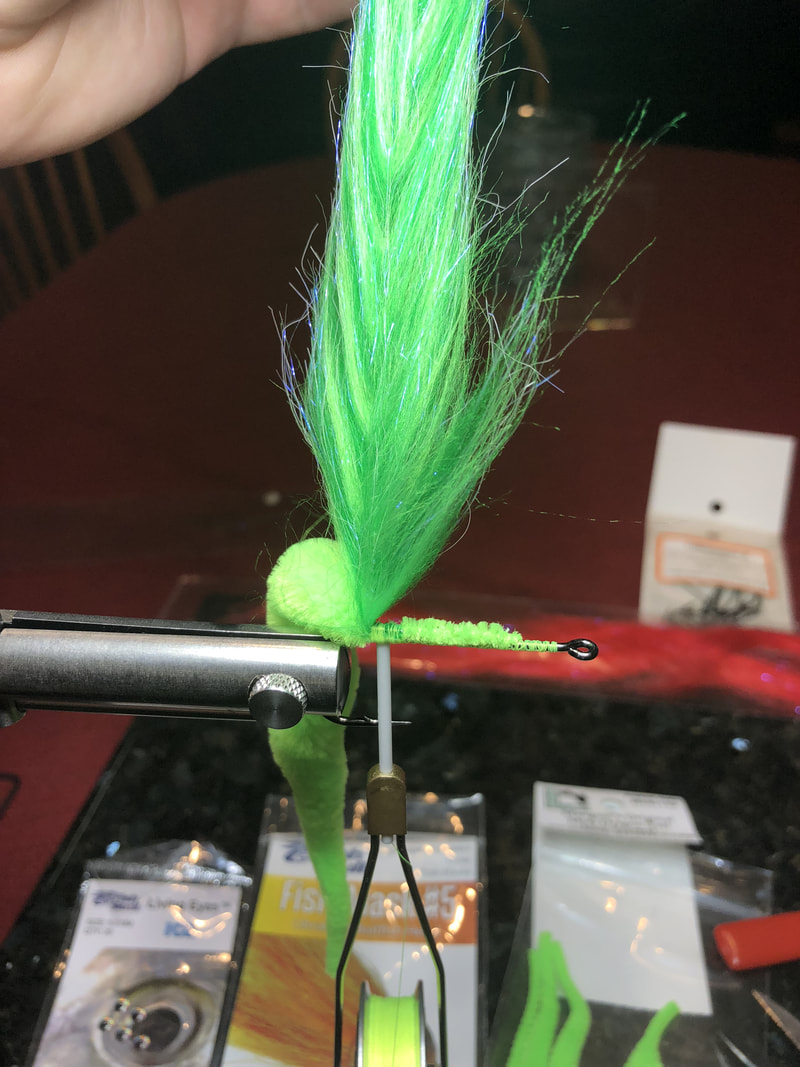
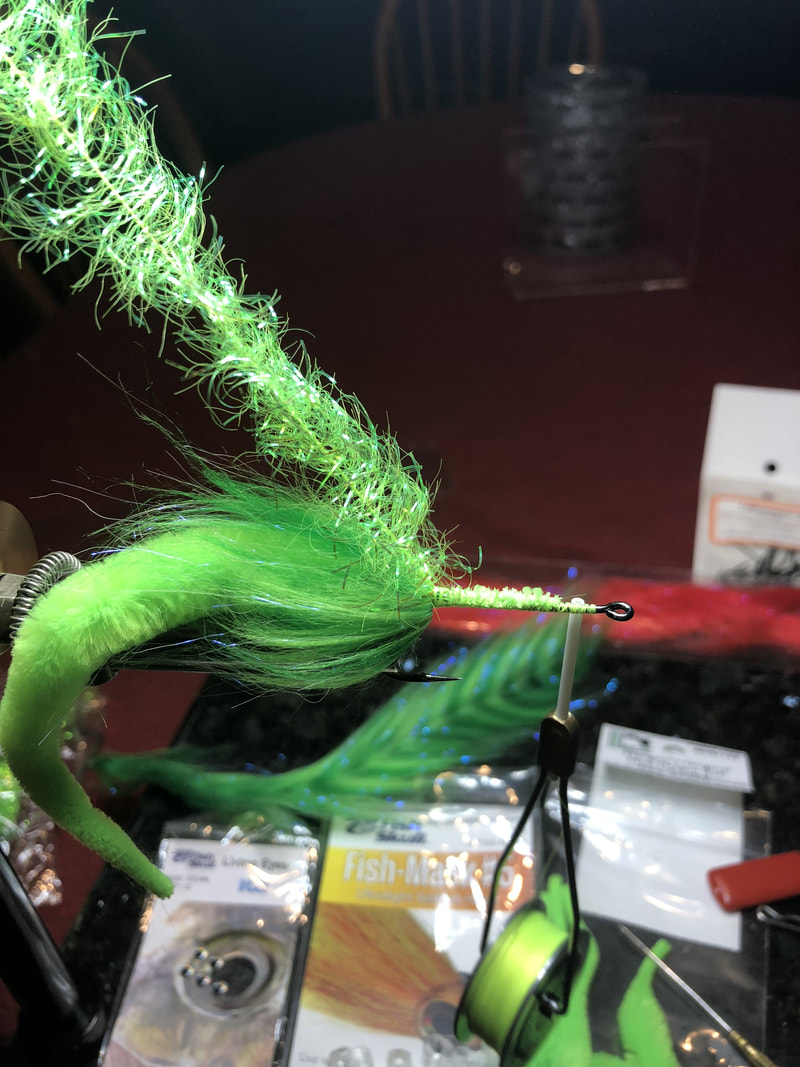
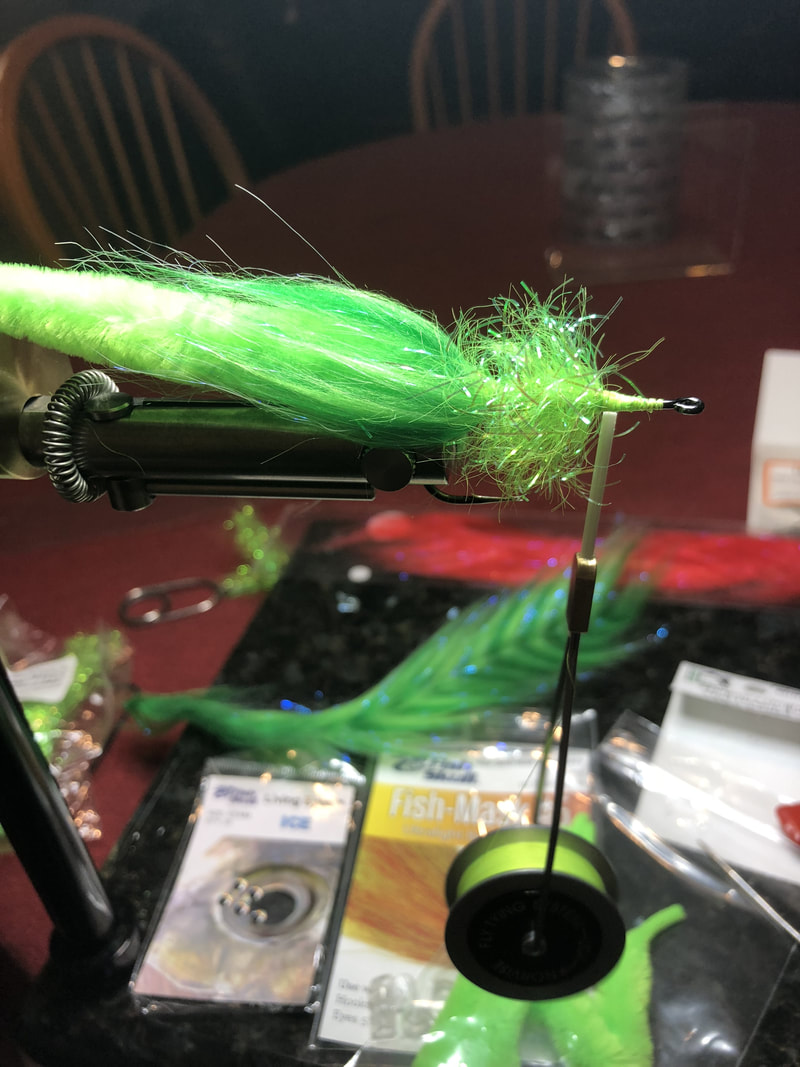
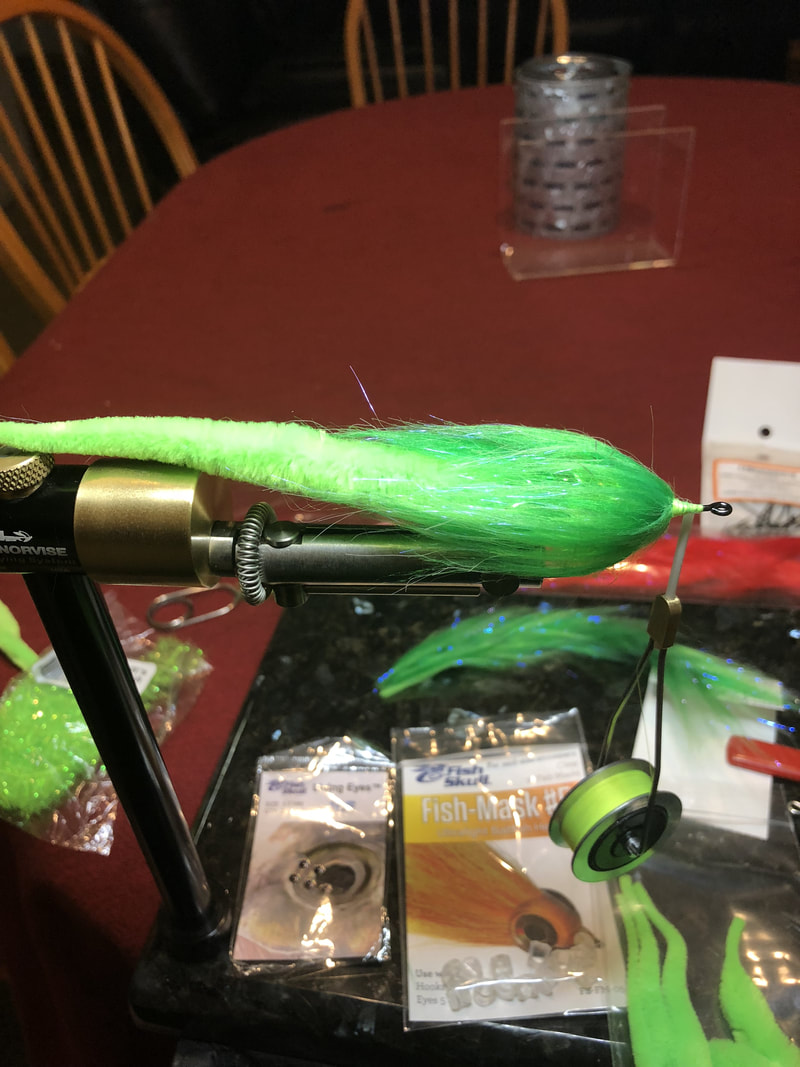
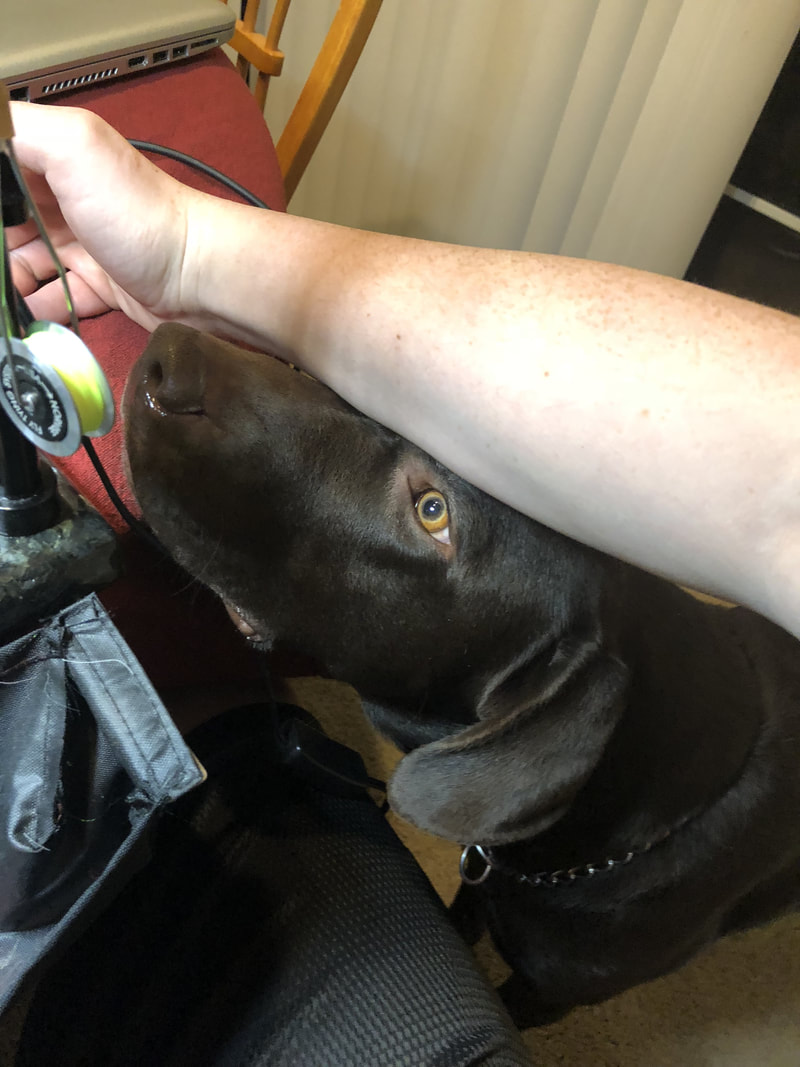
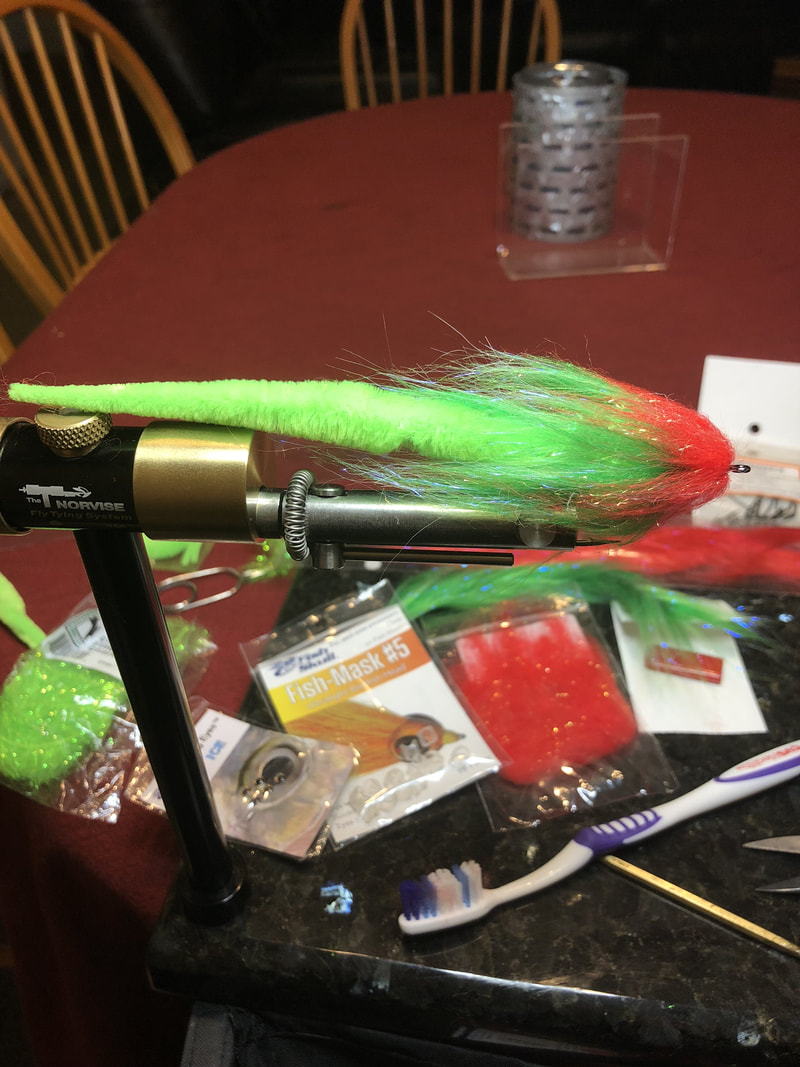
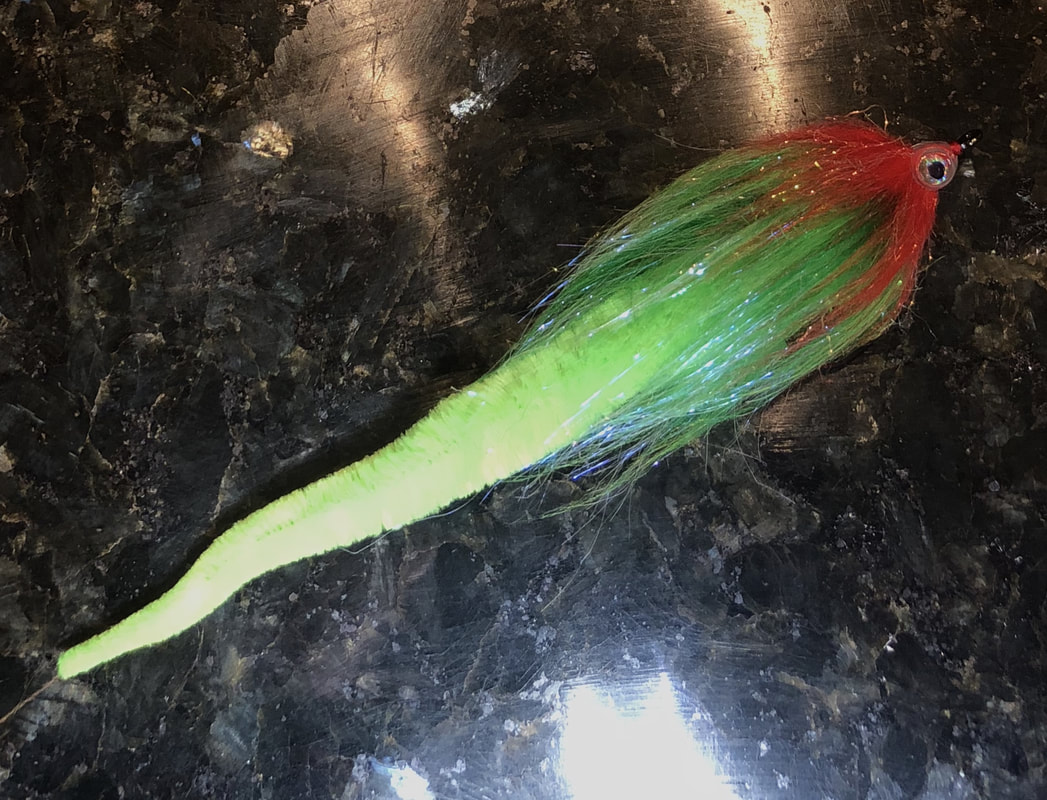
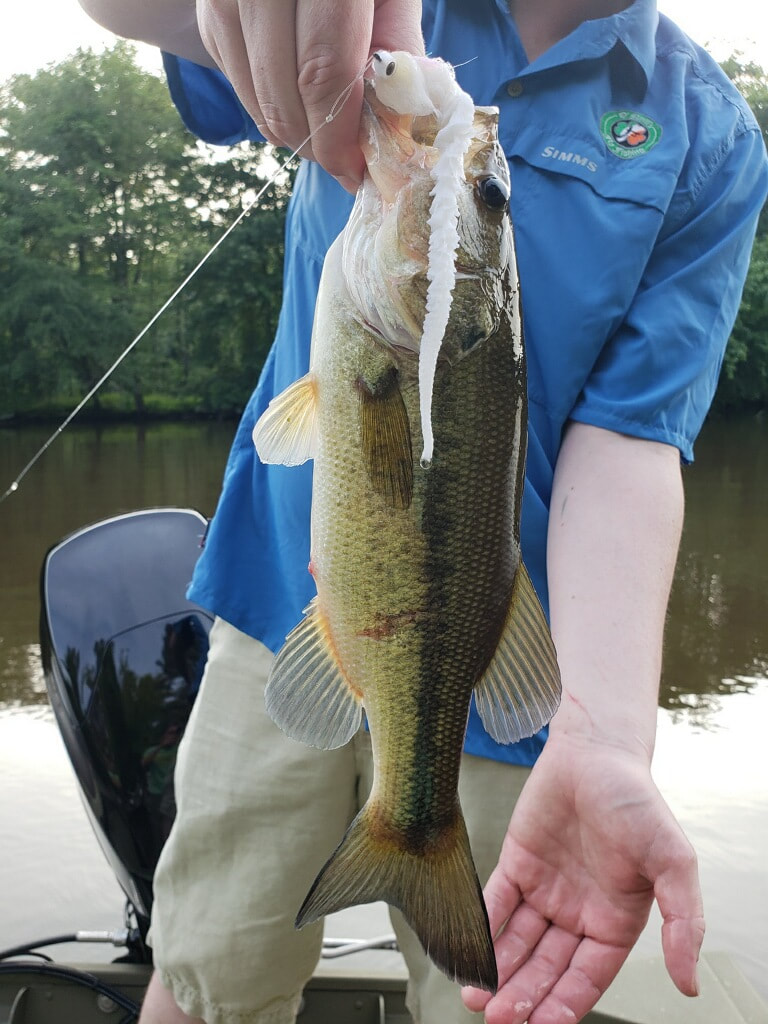
Tight lines - Tim For a link to a quick video on how to do the complex twist using the Norvise, click HERE. O'Neill' Bearded Dragon Fly Here at Norvise we always get excited each year when all of the new tying materials come out. We always wonder what new products we can work into our existing patterns or, a totally new pattern may emerge. The Bearded Dragon is a great example of new materials and new techniques coming together to make a functional pattern. This fly is one of Tyler's creations and it fills just about all of the O'Neill criteria for a successful pattern. It can be tied in multiple sizes and colors, it can be tied rather quickly, it can be used on many different species and will work equally well in fresh and salt water. We are full on into our Smallmouth Bass season and this little (or BIG) fly packs quite a punch, responsible for many landed Smallmouth, Largemouth and Striper so far this summer. Check out the O'Neill's Bearded Dragon and tie a few up. When you see them in the water you will be glad you did. Till next time... Tight Lines - Tim Recipe: Hook: Ahrex TP610 2/0 Tail: Magnum's Mini Dragon tail Rear Body: 3" RD Fly Fishing Polar fiber Brush, 3 wraps Middle Body: Blane Chocklett's Filler Flash Front Body: 3" RD Fly Fishing Polar fiber brush, 4 wraps Collar: Senyo' Laser Dub Head: Flymen Fish Mask (appropriate size for pattern) Eyes: Flymen Living Eyes (Appropriate size for Mask) After clamping the hook in the jaws and "spinning" on a thread base use some 20# mono to form a loop at the bend of the hook. This is to prevent the tail from fouling around the hook shank while casting. The loop should extend back past the entire bend of the hook. This one should be a bit longer. Also notice, beings this is a 2/0 hook Tyler is using his Norvise Large Inline Jaws for this tie. Tie in the Dragon Tail. It may be a good idea to lay down a little Flex Cement on the hook shank / thread wraps prior to tying down the tail. Also, you may want to dab the tip of the tail with a little Flex as well to prevent it from fraying. For the rear body, apply 3 wraps of RD Fly Fishing's 3"Polar fiber brush, stroking backward each wrap For the mid body, wrap roughly 3/4" of the shank with Blane Chocklett's Filler Flash. Filer Flash is one of our favorite new products. It is a great way to build bulk under the body material and gives the fly just the right amount of flash showing through. This is what the Body will look like after the Filler Flash is tied off. For the front of the body, add 4 more wraps of the 3"polar fiber brush, stroking back each time. We are trying the get the Craft Fur Brush to "veil" over the Filler Flash. The flash will help support the Craft Fur giving the illusion of bulk without adding actual weight to the fly. This is a great technique to build "shoulders" into your pattern. At this point, Sadie, the Norvise Chocolate Lab approves so we can continue. Finish off the body with a Senyo's Laser Dub Collar. Use the hi tie technique for this. We will will typically do one clump on the top and one clump on the bottom of the hook. Here we have used all red, more often we will use 2 colors to give a little contrast to the pattern. Example; when we do a collar on all of our Bleeding Shad series of flies the top will be white or grey laser dub and the bottom will be red. After applying the Flymen Fish mask and the Living eyes you are ready to fish! They always say the "proof is in the pudding" well, first time out with the Bearded Dragon, third cast....
|
Archives
June 2024
Categories
All
|


 RSS Feed
