|
Back in August Tyler and I had the pleasure of spending 2 days in the boat of Pennsylvania's premiere Smallmouth Guide Brian Shumaker. Brian is a friend that has been guiding Pennsylvania's Susquehanna river for over 30 years. For those not familiar the Susquehanna is the river where arguably the most famous streamer ever tied, the Clouser Minnow was born! Bob and Brian are close friends and have spent years bouncing ideas and theories about Smallmouth off of one another. You can check out Brian's guiding service, Susquehanna River Guides HERE The "2 rivers in 2 days" package is well worth the investment.
During lunch the second day the conversation turned to fly design. We had worked our way through many patterns, the in's and out's and what makes a certain pattern effective. About this time Brian pulls two Shimmering Minnows out of his box, one he tied and one tied by somebody else. He was pointing out the differences between the two flies and what made one of them "right" and what made the other one well, not so right. I will give you 3 guesses and the first 2 don't count as to who tied the "right" one. Anyway after pointing out the differences, subtle, but different for sure, we swam each of the two flies on the same rod / reel / line and leader. The swimming action of the fly tied correctly was un-mistakable! The subtle differences in the fly made a BIG difference in how it swam. I knew this post was coming up and at that point I asked Brian if he would do the step-by-step for me. I figured, "who better to show us how to tie it than the guy that invented the pattern" I want to extend a personal thank you to Brian for taking time out of his busy guiding schedule to do this step-by-step for Norvise, we really appreciate it. Below is the un-altered step-by-step sent to me from Brian, I assure you, this is the "right" way to tie this fly! Shimmering Minnow By Brian Shumaker The Shimmering minnow is a pattern I developed to catch smallmouth bass somewhere around 2012. I was looking for something that was quick to tie and that I could easily match the bait fish that I would find in the rivers that I fished. I also wanted something that I could fish in the middle water column. I started out using a single hook and it worked well and caught fish, but I still wasn’t satisfied. I started playing around with shanks trying to add articulation to the fly and it worked very well, I had some trouble with the shank fouling so I add a bead to prevent this. The Shimmering Minnow was catching a lot of fish and I was happy and so were my clients. I was tying at a show one winter and stumbled upon the Flymen Fishing Company Fish Mask and I decided to try it on the Shimmering Minnow and it was the last piece that really made the fly look complete. What is good about the Shimmering Minnow is that you can tie the fly to match the baitfish that are common to the water that the angler is fishing, by coloring the fly using different colored markers. The possibilities are endless, from the different color combinations to the size you can make it by adding shanks. So far, the Shimmering Minnow has caught, smallmouth bass, largemouth bass, trout, stripers, speckled trout, redfish, and snook. (Norvise note; it has caught Steelhead too) Materials: Fish Skull Articulated Fish-Spine 15 mm Shank Gamakatsu B10S Size 2 hook or Fire Hole 811 Competition Size 4 Thread 6/0 white Strung Marabou White, Olive, Burnt Orange Palmer Chenille Med Pearl Fish Skull Fish-Mask #5 Fish Skull Living Eyes-Ice 3D Beads: White, Black, Gray, Light olive Rio Powerflex Wire Bite: 20 lb Flashabou: Pearl, Sliver, Gold Loon UV Clear Fly Finish Thick and Thin UV light Marker: Copic Warm Gray, Baby Blue, Spanish Olive Norvise products used; Norvise Standard Vise Norvise Standard Inline Jaws Norvise LED Lamp / magnifier Norvise Magnum Stainless Hubs (Coming soon to a fly fishing show near you) With the advent You Tube, Facebook, and Instagram fly tying has become, in my opinion, a big melting pot of ideas, twists and tweaks of different fly patterns. In our last post, I talked in depth about how the particular pattern we were tying, O'Neill's Controlled Chaos, was really a stripped down version of 2 other flies. I do believe it was different enough from the originals that I could call it my own, some may disagree with that statement and that is fine, what I am saying is in today's day and age it is challenging to come up with a truly new idea for a fly pattern. Think about some of the staple patterns invented years ago; The Clouser Minnow, Lefty's Deceiver, Brooks Blond, The Gurgler, Ray's Fly, The Adams, Pheasant Tail, Zebra Midge, The list goes on and on and on. These patterns are originals and many, many flies have been designed using these as inspiration. I am not saying designing a new pattern can't be done, I am saying that 1) it is not as easy due to the great evolution of fly tying over the past 20 years and 2) many people come up with “original” patterns that are basically the same as flies tied years ago and they really are not “original”. Sorry guys, but it is the truth. Every so often something comes along in the world of fly tying that is truly revolutionary that has never been done before, Blane Chocklett’s Game Changer is one of those patterns. I guess I first saw the Game Changer close to 10 years ago, a bait fish fly that actually moved like a fish…who would have thunk it. The challenge is many times coming up with the idea is the easy part, bring the idea to life well, that can be the challenge. The game changer has gone through many variations over the years and I believe the “Feather” version to be the best. It is a pattern with fantastic movement, both in the design and the materials, it is faster to tie that some of the other versions, and you can tie it in a multitude of colors. It is lighter and easier to cast than some of the original flies, and they are very durable. Truly a revolution, below is a step by step of a Feather Game Changer tied and photographed by Norvise ambassador Braden Miller. Materials;
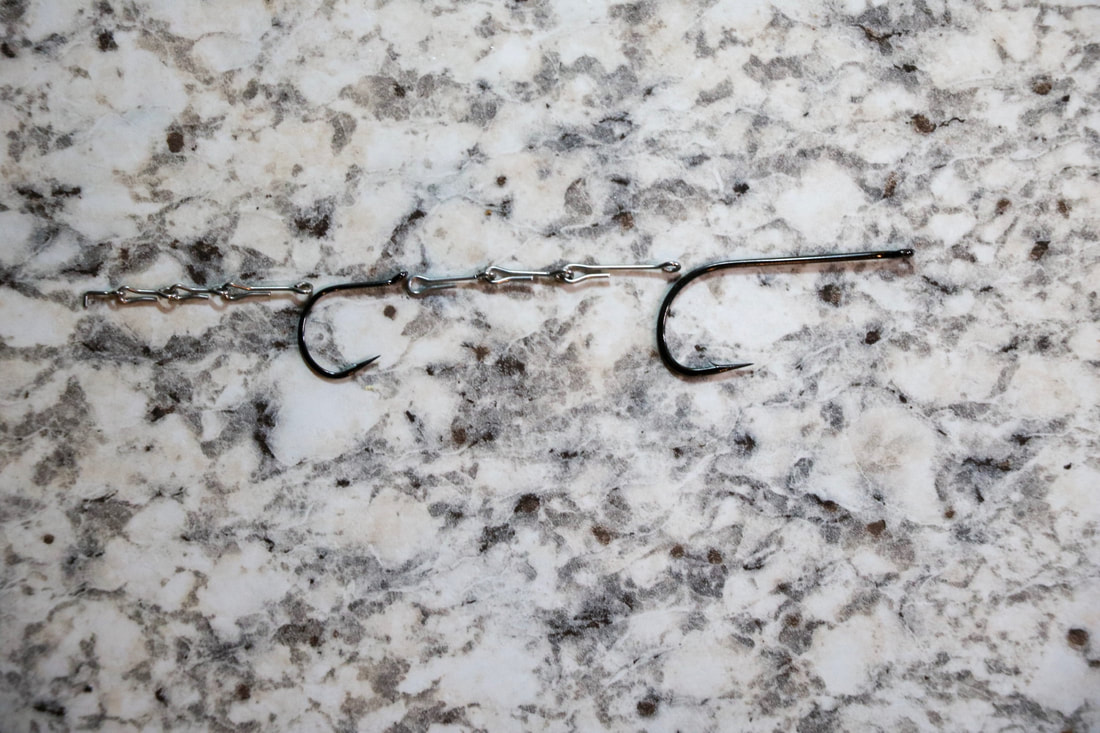
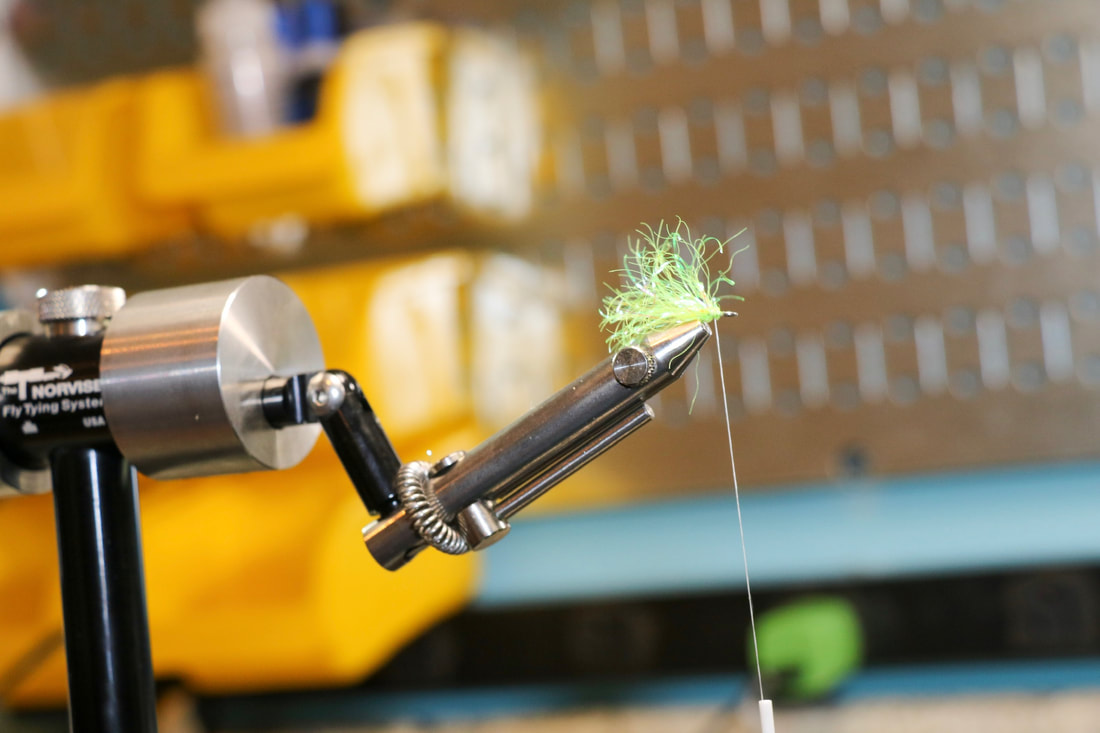
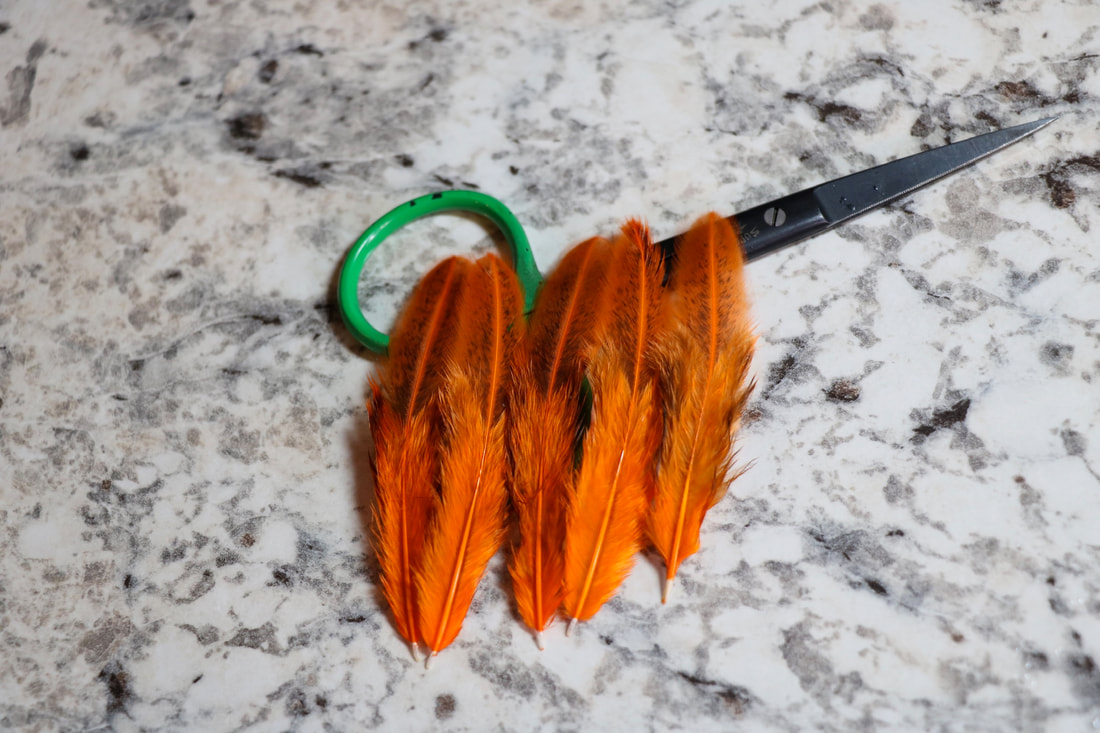
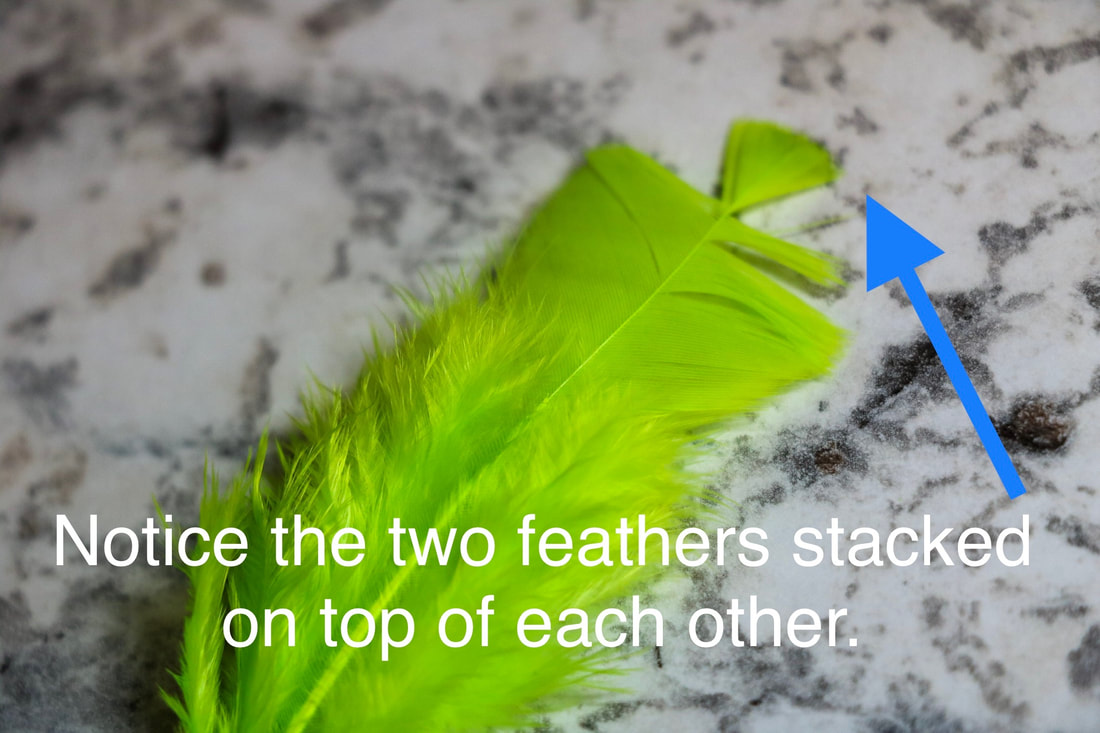
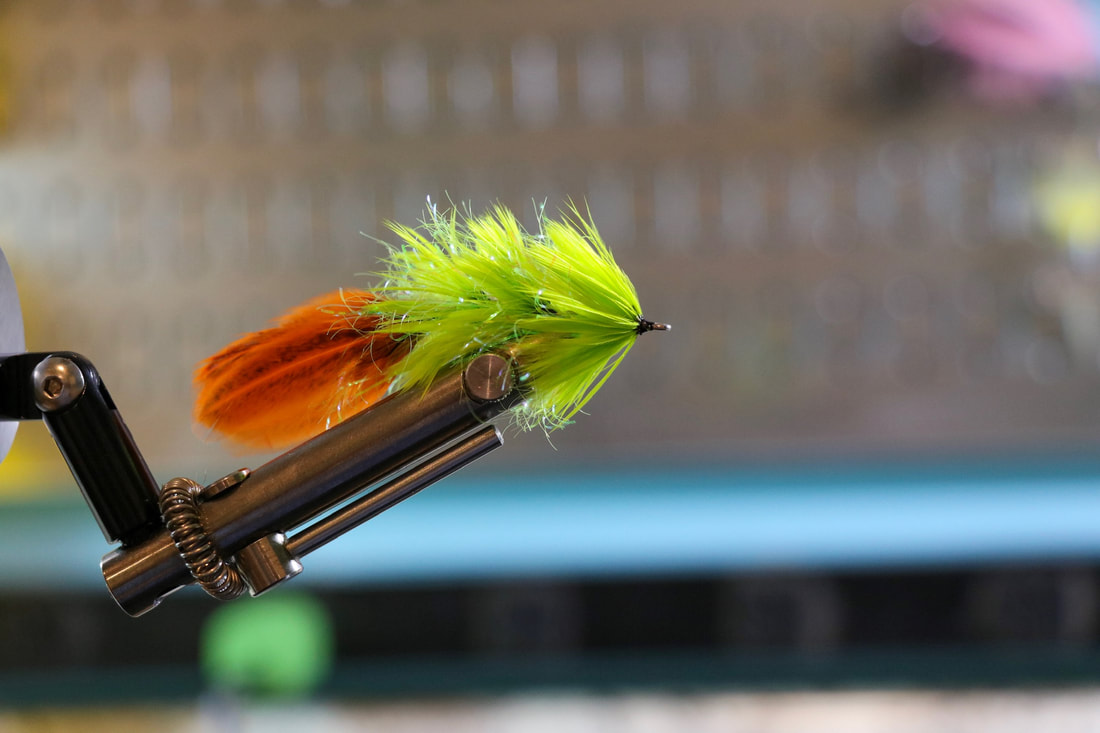
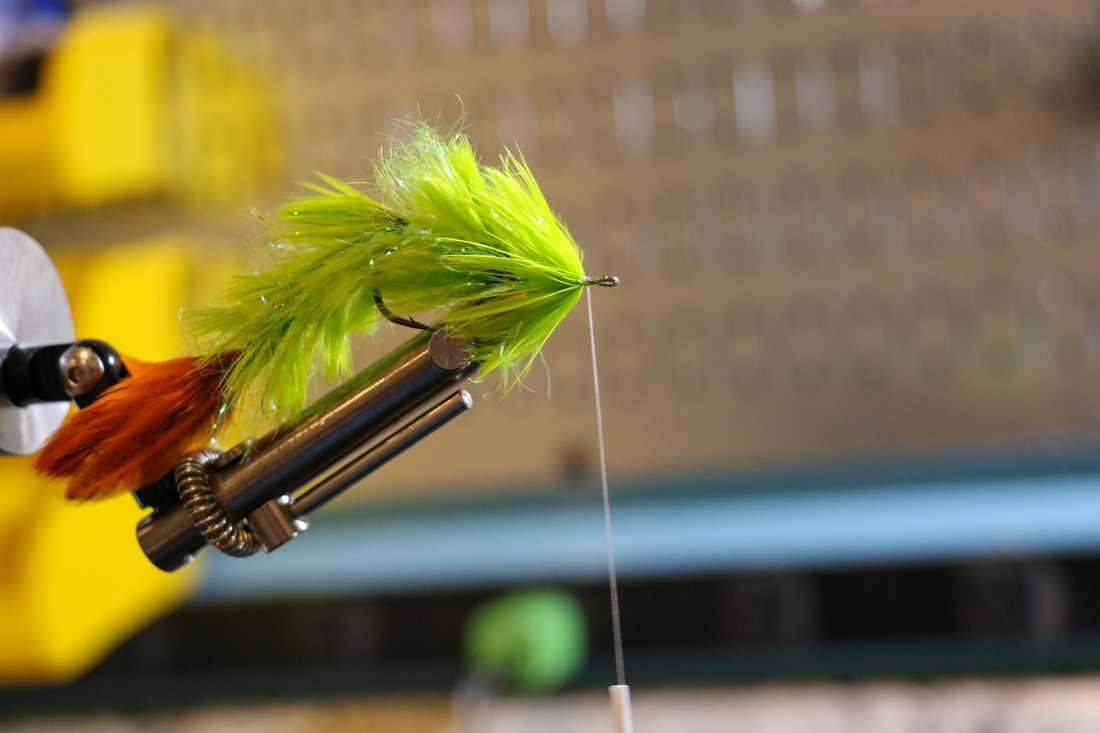
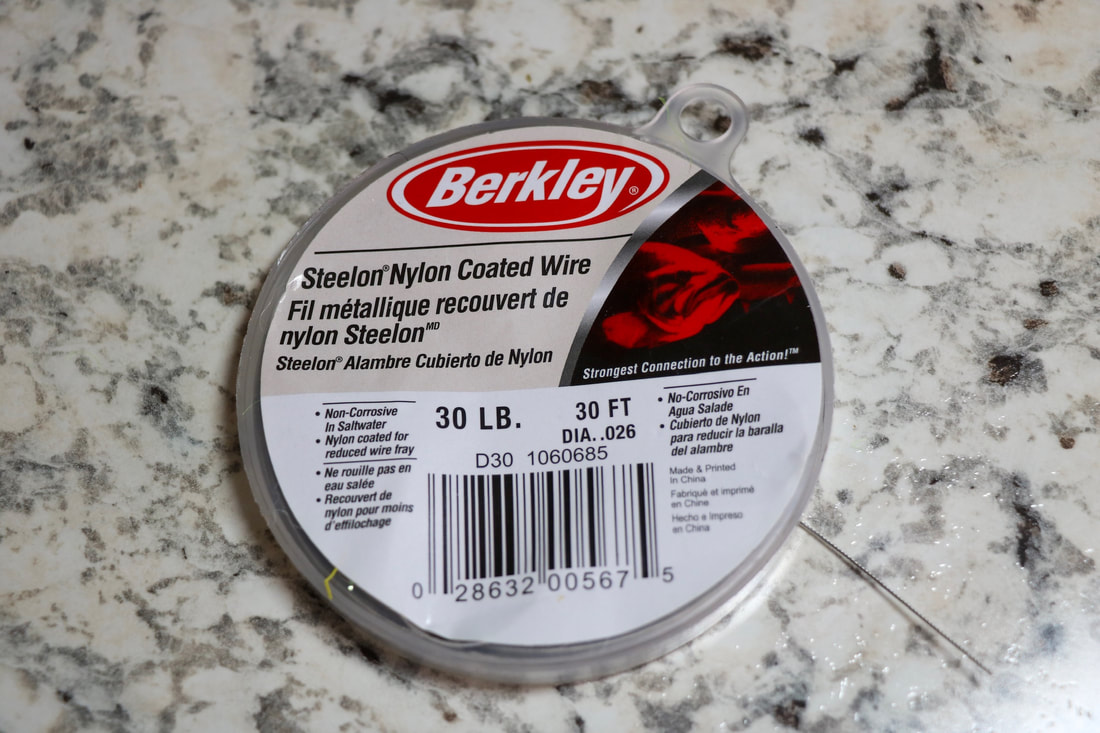
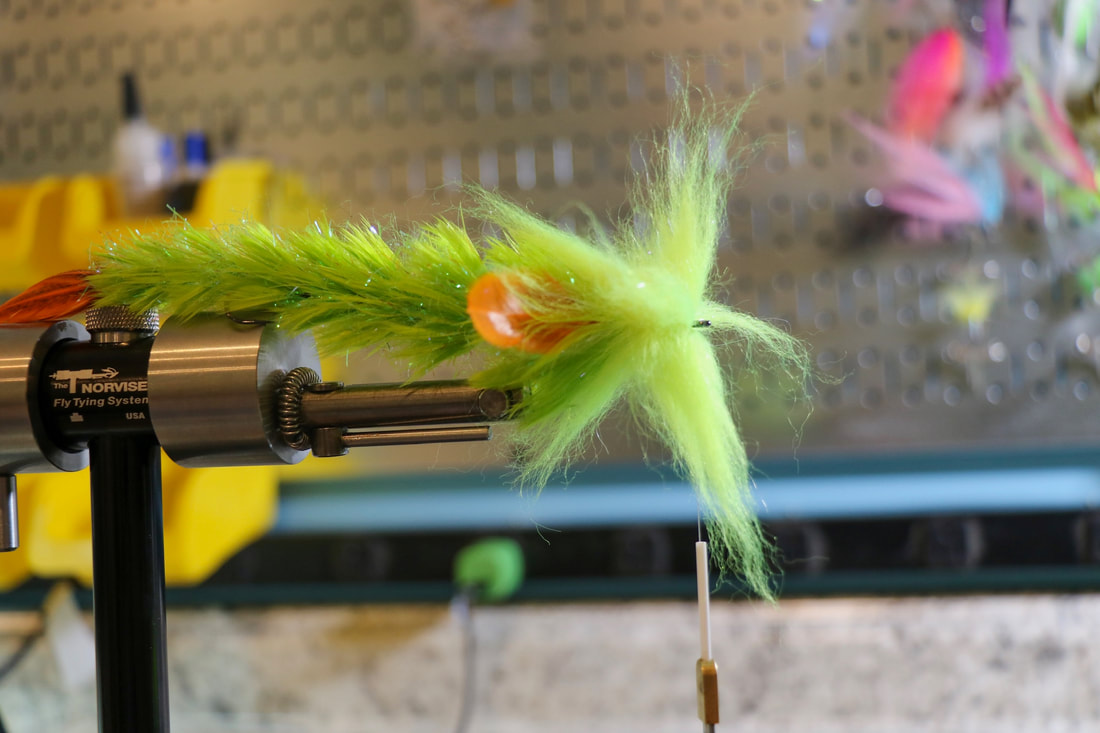
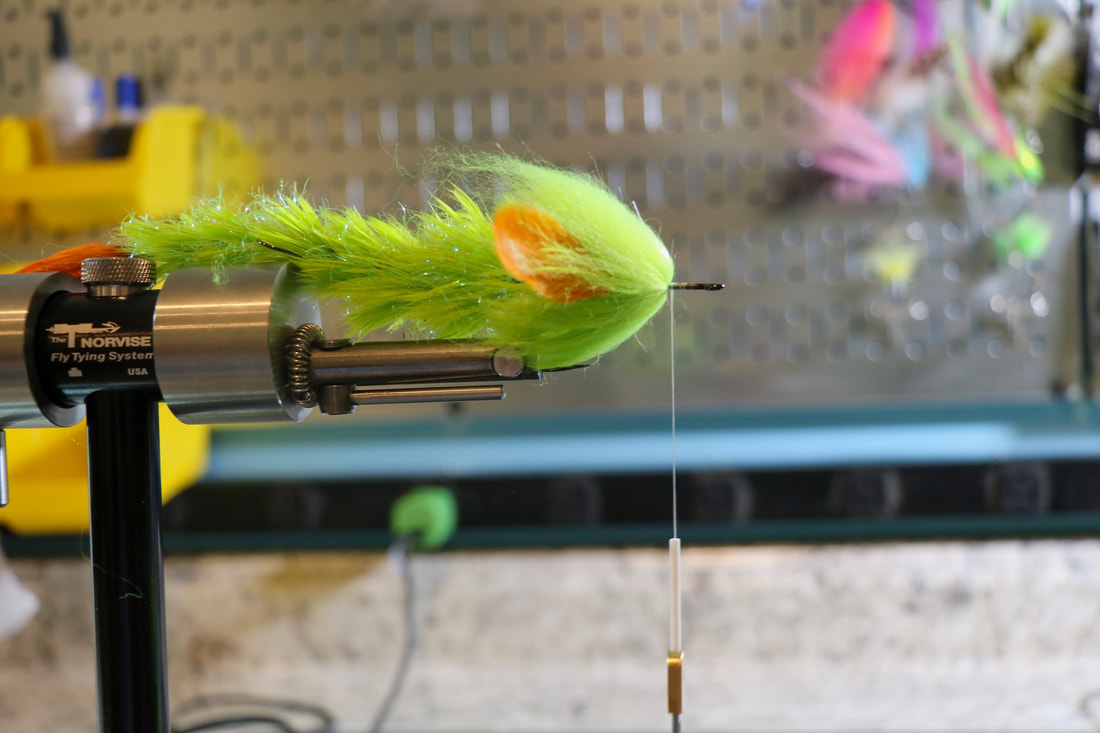
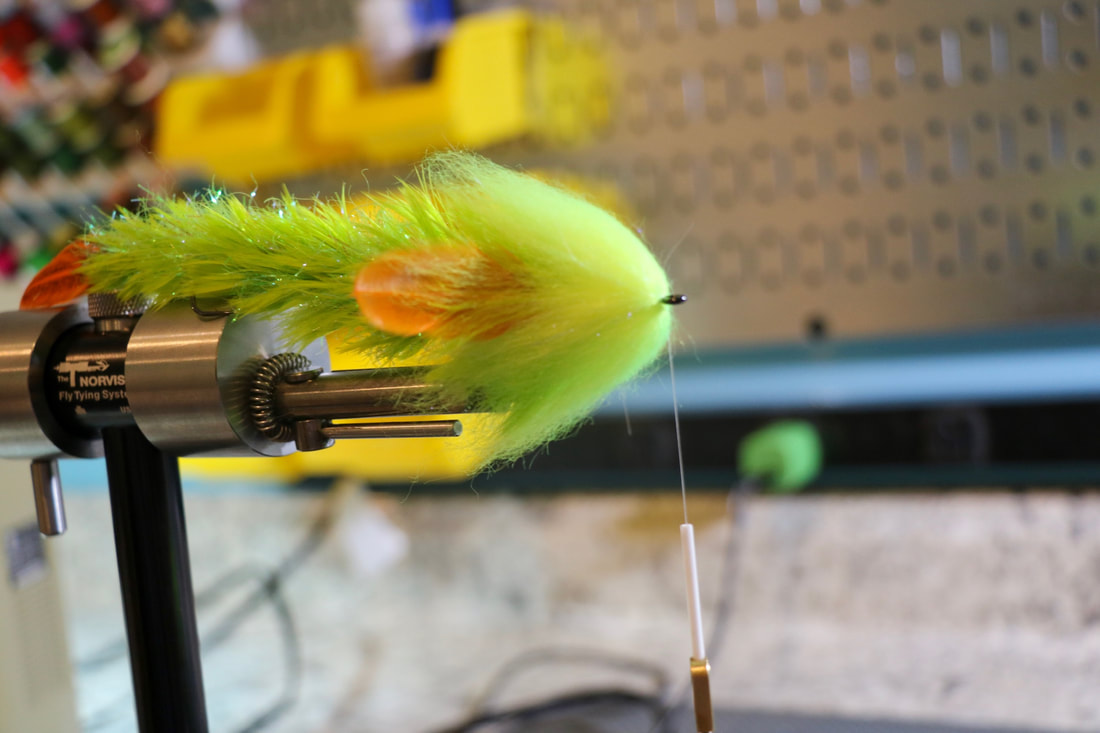
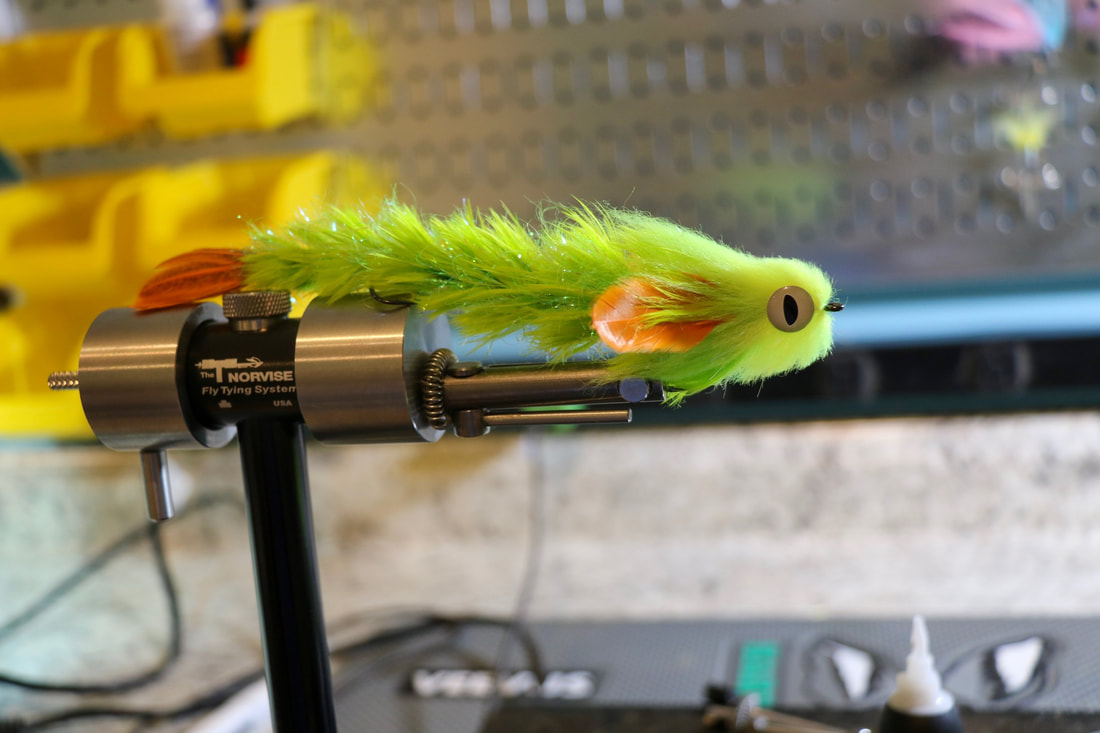
Norvise Legacy Vise Norvise Automatic Bobbin Norvise Standard Inline Jaws Norvise Fine Point Conversion Norvise Magnum Stainless Hubs (Coming soon to a fly fishing show near you) This picture shows how the Fish Spines chain together and where the proper hook placement is. The sequence that we like to use is a tailing shank (the one on the end with the 90 degree bend) 10 mm, 10 mm, 15 mm, Trailer hook (optional) 15 mm, 15 mm, 20 mm, Front hook. The secret is to gradually lengthen the shanks as you move up the fly. You can play with sizing and combo of your shanks, as mentioned, this is what we like to use. After placing the tailing shank in the vise (this is what the 90 degree bend is for) Put a SMALL amount of filler flash at the bend of the shank. 1 to 1 and a half wraps MAX! this bit of material will support and separate the tail. Prep 6 hackle tips to use as the tail of the fly, 3 for each side. You have options here for the tail, you can use marabou, hackle tips, I even saw Blane use material used for tying mop flies here. Put 1 to 1 and a half wraps of filler flash on at the bend of the tailing shank. This will help support and separate the tail feathers. After prepping the tail feathers and cutting the shafts to length tie 3 tips on each side of the shank. The feathers are tied on each side of the shank with the first section of filler in the middle of the feathers. Here we have added second tie in of filler flash at the tail. Palmer it up about 1/2 the length of the shank. Remember this is a small shank, it is VERY easy to overdress these. Less is more, we still have to get 2 Hen Saddle Feathers on here. Here is the completed tail section with the Hen Saddles tied in and palmered to the front. You can see how the filler flash is used to support the Hen feather. All of the materials work together to give this fly incredible movement. Tie off and whip finish a neat head and use head cement on EVERY section. I had mentioned this version of the fly is faster to tie than the original and it is. Fast is a relative term here, you are still going to invest over an hour in this fly. A long time for sure, we typically are throwing these on heavy tippet so you don't really loose that many so you want to glue the heads on each section so they are very durable. I have FGC's that have landed over 50 pickerel and they are still going strong so dont let the tying time scare you off. Here is a view of the tail from the top. You can see the filler flash in between the sides of the tail. You can also see how we are building a natural taper with our materials. Feathers; As mentioned we are using feathers from a Hen saddle. Hen feathers are a shorter, webby feather with softer fibers that make them perfect for this application. To build the taper is simple. As you move from the tail forward to the front of the fly you will select feathers that are progressively longer for each section. The easiest way to do this is to start at the top of your cape for the tail section and gradually pluck from a point lower and lower on the cape as you move up the fly. The lower on the cape you go the bigger (longer the fibers are) the feather is. The longer the feather the more taper you get. The picture above shows how to prep the feathers for tie in. We are tying in by the tip and palmering forward. Do not use the fuzzy part of the feather, I will typically strip this off before I tie in. On the tail sections we are typically using 2 feathers. As we move up the fly we are adding feathers on each section. By the time you get up to the head you are tying 4, maybe 5 feathers in at the same time. Always tie the feathers and palmer them at the same time, regardless of the amount using the filler flash as a support. The progression is actually pretty simple; With the exception of the tail section it is filler flash - feathers - whip finish- glue - repeat. you will need to adjust the amount of filler flash as the shanks (or hooks) get longer. Toward the tail the filler flash may be too wide, you may want to trim it so it is a little shorter (Measuring from the core out to the end of the fibers) than the fibers of the feather you are using. as you get to about the middle of the fly you can use the full width of the filler flash. We will use wider and more feathers as we work up the to the front of the fly. This will build bulk and natural taper into the fly, two very important things you need to get the silhouette and the movement you are looking for. The most important thing to remember is DO NOT CROWD THE EYE OF THE SHANK! if you do the fly will not move the way it is supposed to. Here the second section has been added. Here, several more sections and the trailer hook has been added. When you get to the point where you are adding a hook to the pattern we like to use a wire type leader material. This product from Berkley works well as does Surflon or a product called Beadalon you get in the craft stores. To make your connection cut a small piece of wire (about 4") and thread it through the eye of the shank folding it so the half way point is looped through the eye of the shank and equal lengths are pointing forward. Lay the section of the wire pointing forward on tip of the shank and use 3 or 4 loose wraps of thread to hold the wire on top of the hook shank. At this point you want to adjust the length of the loop coming off the back of the hook so the tail section of the fly has freedom to move, but is not so big it can foul. A good rule of thumb is to make the loop about the same size as the loop in the adjacent shank. Here we are working our way up the pattern by adding more shanks in front of the trailer hook. Here we are ready to add the front hook. This picture is a good example on how to do the wire connection. It also shows that Braden used a few wraps of lead on the bend of the front hook. this will help keel the fly and keep it swimming true. You can use lead wraps for this or, depending on the size of the hook, Tungsten Scud weights work fantastic for this step. Also notice Braden switched from the Norvise Fine Point jaws to the Standard inline jaws. We will typically use a hair clip to clip the back of the fly to the jaw to prevent it from flopping around when we are tying. Clipping the back of the fly to the jaws will also help to prevent us from sticking our fingers with the rear hook point. The Norvise Large, Saltwater jaw would be a good choice here as well. OK, we are tying on the front hook and close to bringing this pattern home. This is a cool technique that will really help bulk up the front of the fly. Tie in a long piece of filler flash in on the hook by the opposite ends at the bend of the front hook. This will make a loop of material hanging off of the shank of the hook. hang your dubbing twister in the loop and twist the 2 halves of filler flash together. This will tighten the core of the flash and really make the fibers stand out creating a platform for the 4 feathers you will use to finish the fly. After wrapping the twisted filler flash and the 4 hen saddle feathers to finish up the body of the fly we have added Hackle tips of either side of the fly to act as pectoral fins. This will help the fly swim and they just look way cool. NO we have a decision to make, what to do with the head. Just like the tail we have options here. We have used spun Deer hair, Slider or Popper heads, Fish Skulls or Masks, or my favorite palmered Schlappen. Here Braden has chosen to do a stacked laser dub head. This is the same technique we used in the collar for the popper and the slider on the last 2 patterns we tied. Pull a clump out, even up the tips and tie on the shank in the middle of the clump. Here Braden has tied 4 clumps, one at every 90 degrees. How far you bring the flash and the feathers will determine how big the head is. I like to use about 1/3 of the front hook shank for the head of the fly. Once the stacks of laser dub are tied in use a brush to brush out the fibers. Brush everything forward first, then brush everything back. This will give a very nice "airy" head that will veil back over the rest of the front section of the fly. Repeat these tie in's until you reach the eye of the front hook. Now you could call it quits here and this will fish just fine. Always tinkering and pushing the techniques of fly design. Here Braden trimmed the head a bit to give it the shape he wants and added some Flymen Dragon eyes. Here is the finished fly!
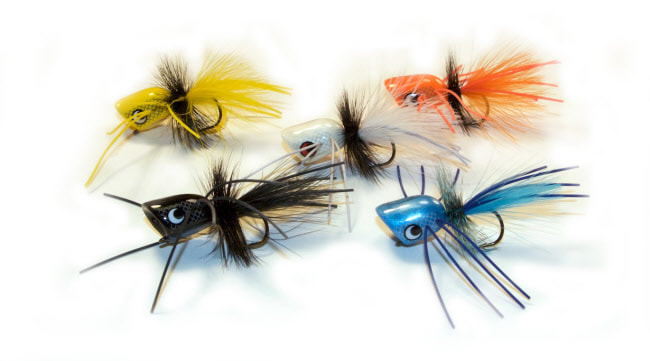
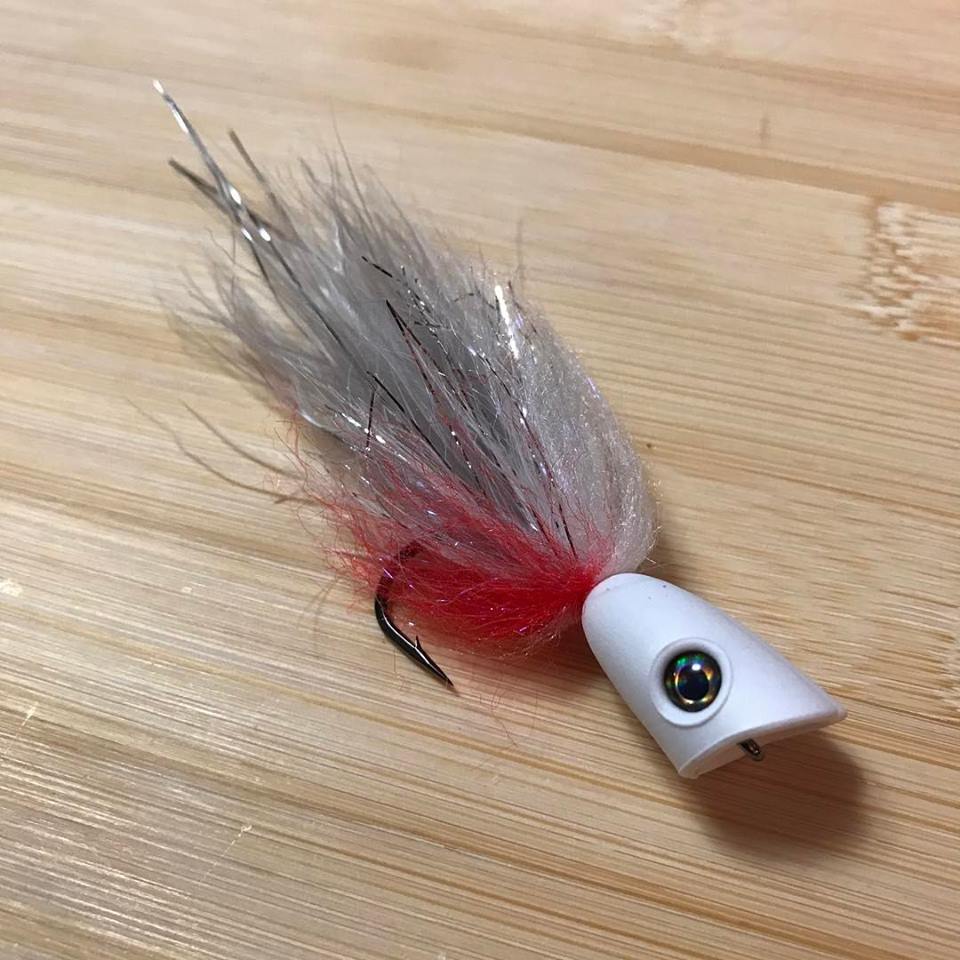
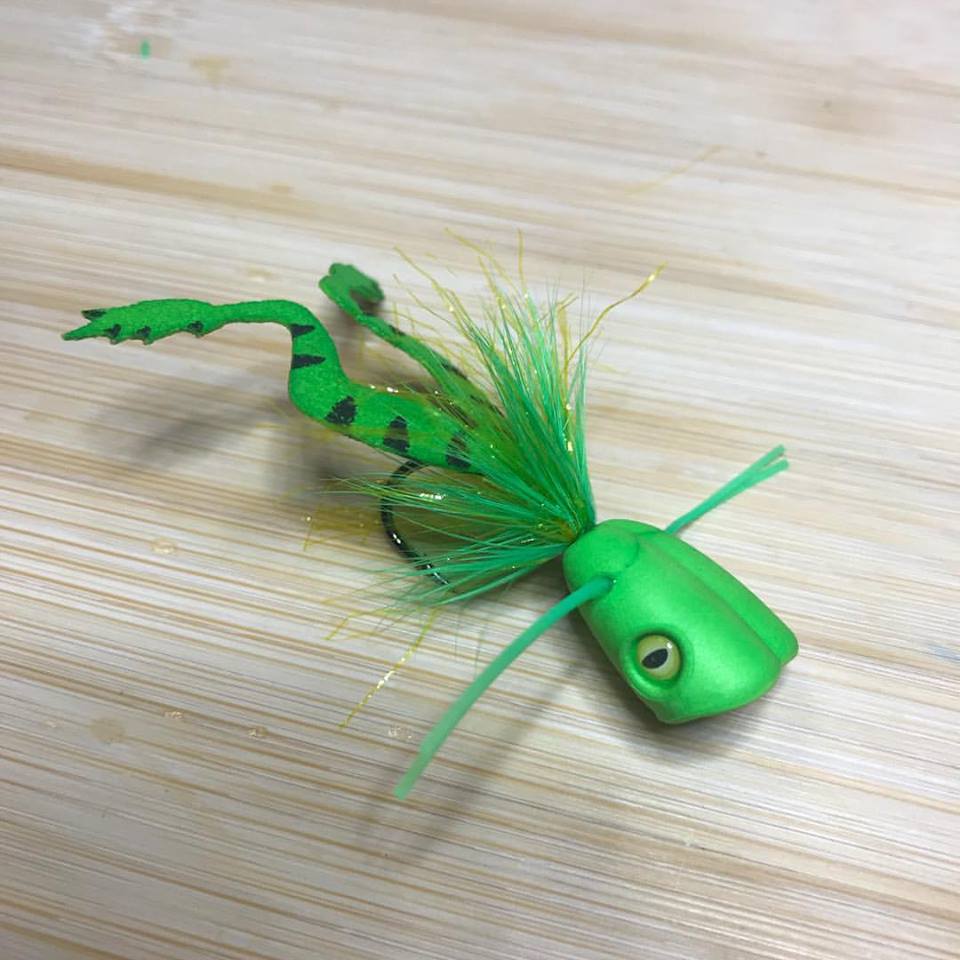
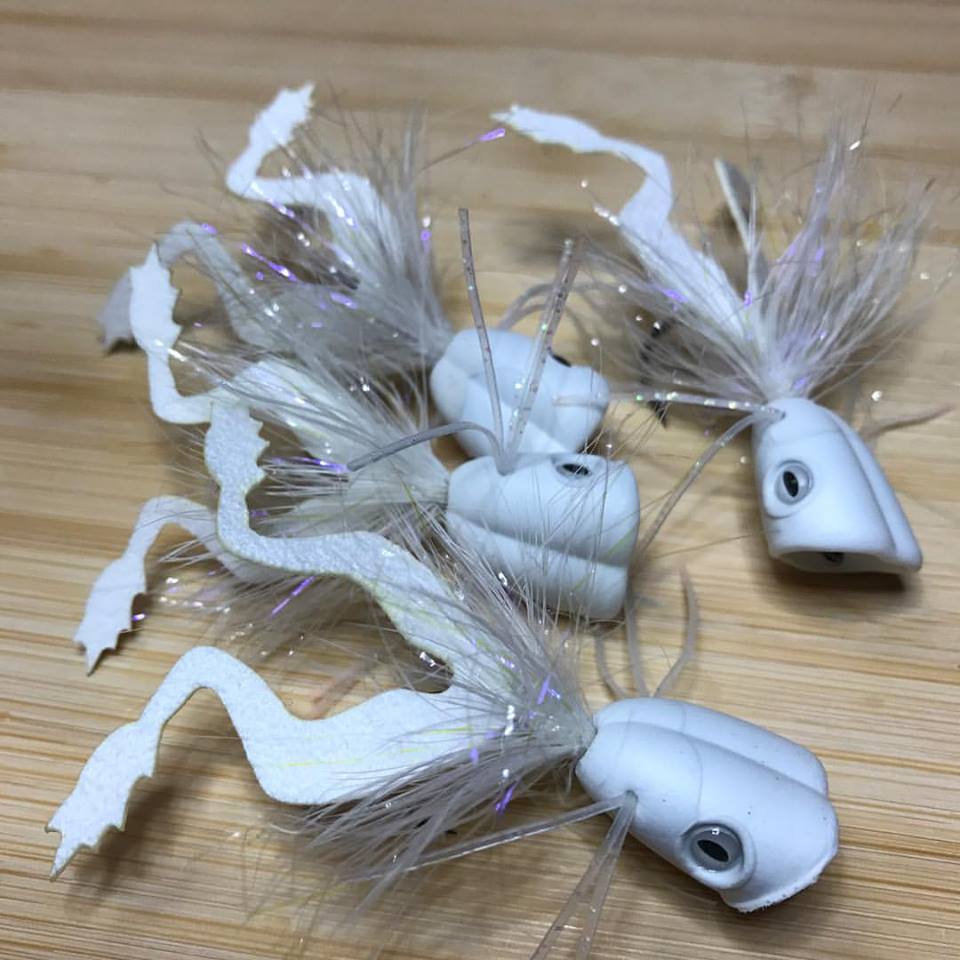
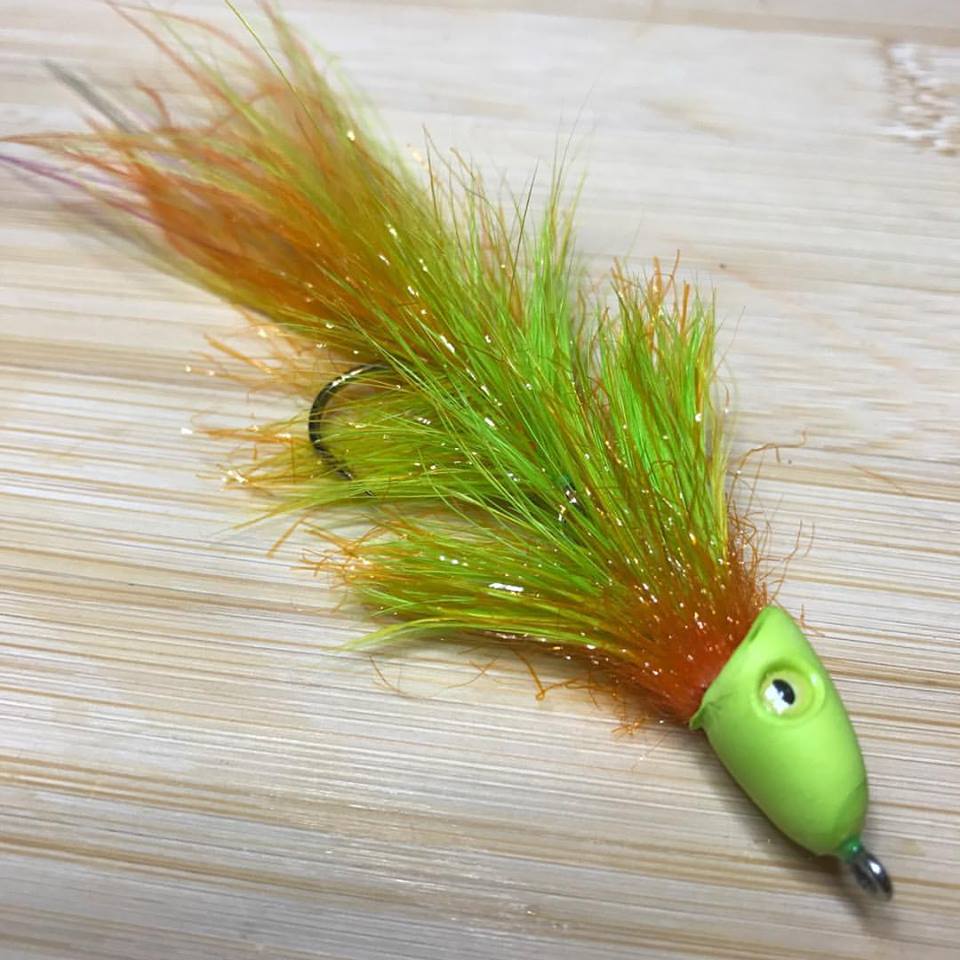
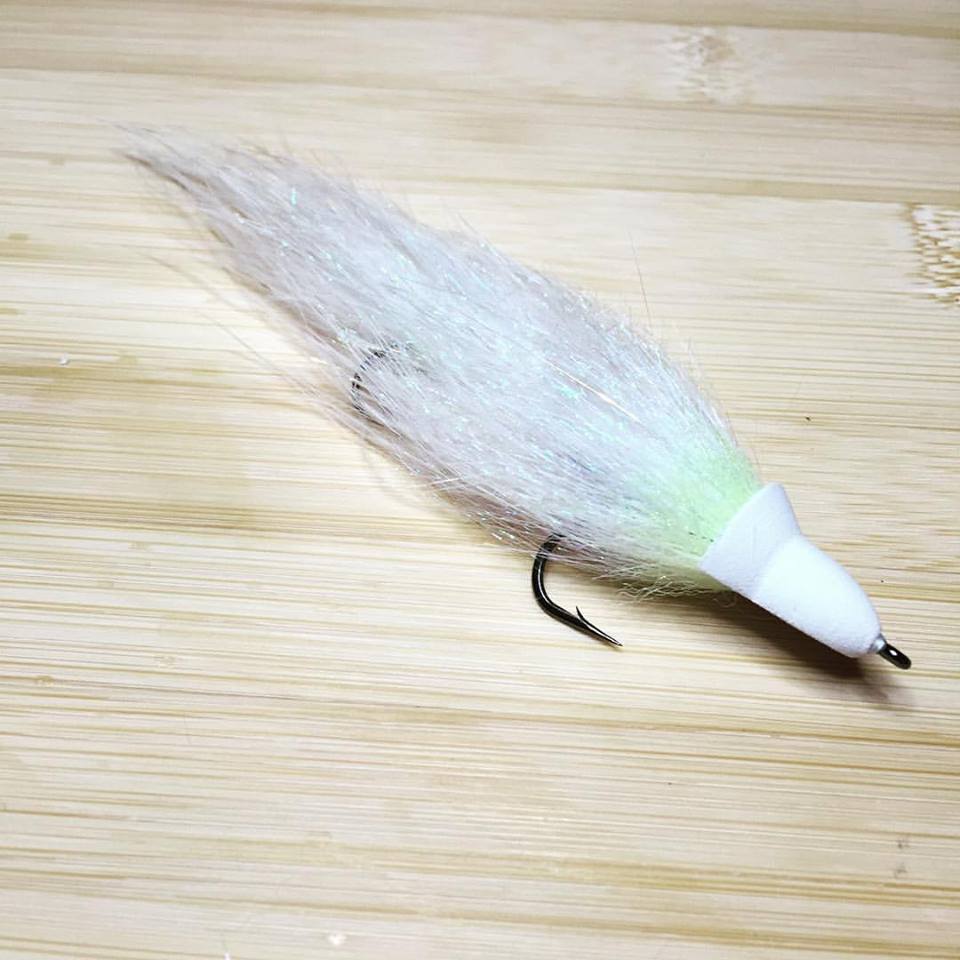
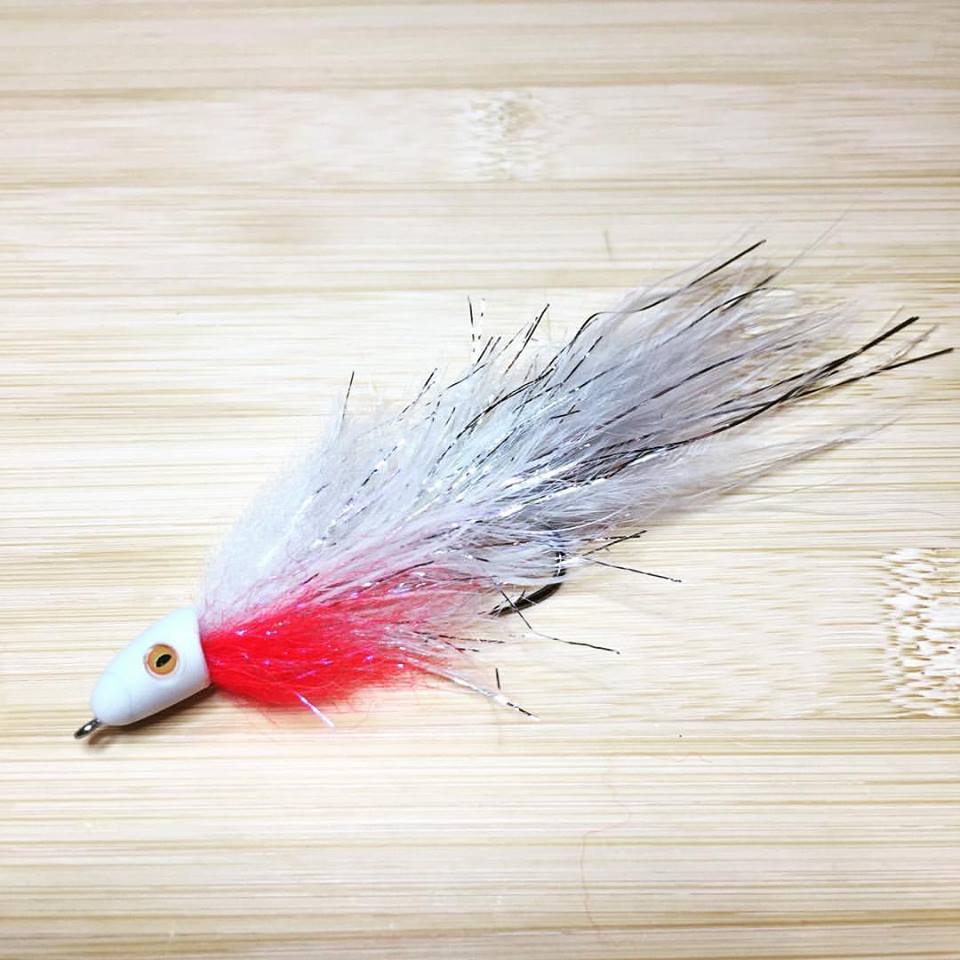
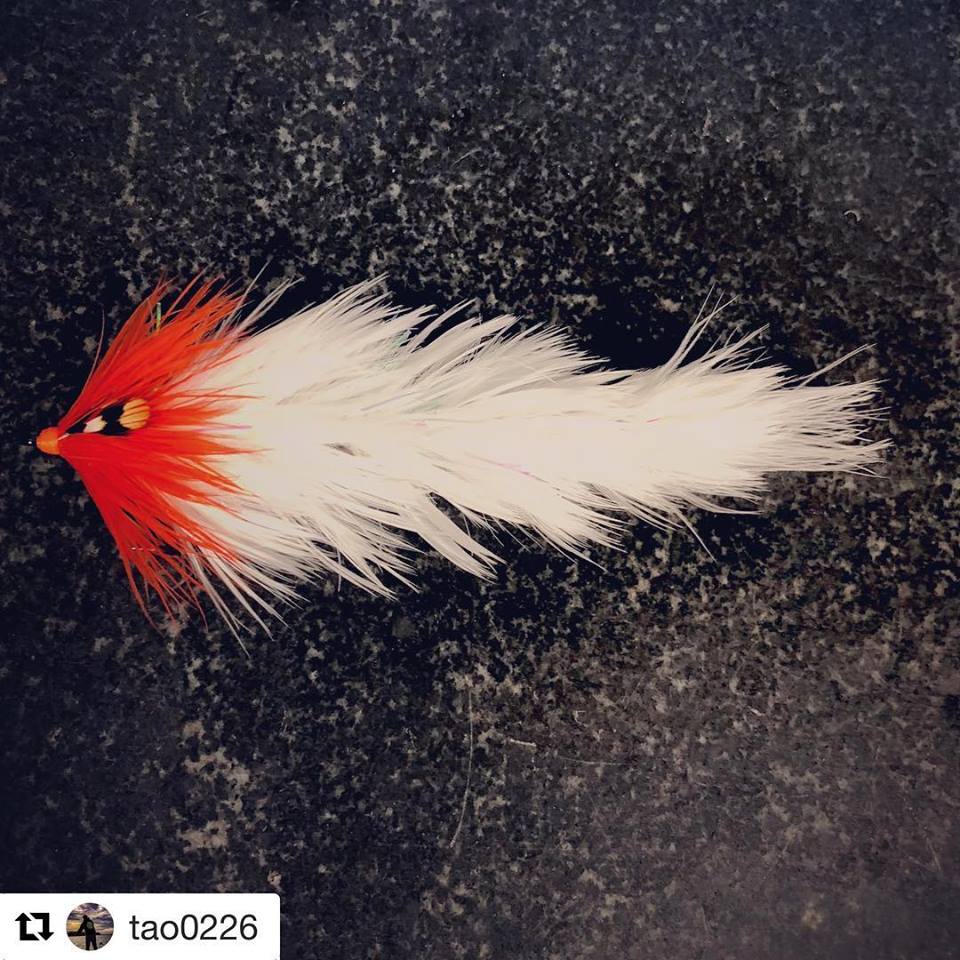
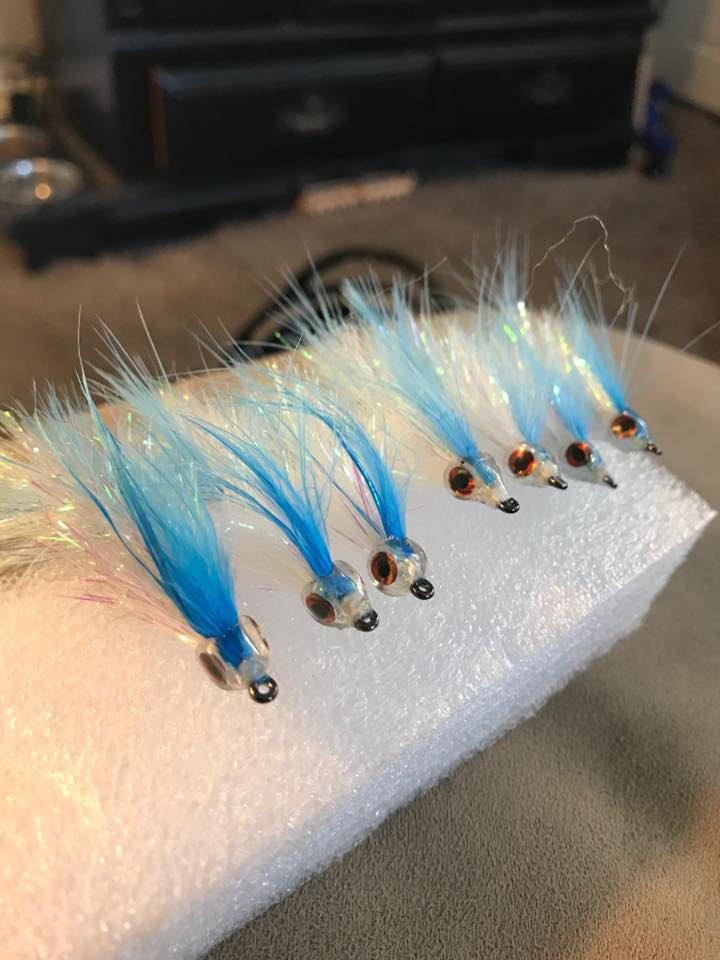
The Feather Game Changer really is not a difficult pattern to tie, it is basically repeating multiple sections of pattern over and over again. Once you see one of these in the water and better yet see how they produce fish I think you will understand why we spend the amount of time that we do to tie these. Your investment will be rewarded, trust me! Thank you Blane for coming up with such a fantastic pattern and a special thank you to Norvise ambassador Braden Miller for tying and photographing this step by step for us. I am sure the Norvise faithful appreciate your effort buddy! Till next time... Tight lines - Tim Most of my friends locally that know me know that I am a self proclaimed Smallmouth nut! They are my favorite fish and they are tailor made for fly fishing. Myself, Tyler and my friends spend many hours chasing Smallies each Summer. We have our rods, reels, and watercraft dialed in. We each carry several rods with different lines so we can cover the entire water column from top to bottom and we are very familiar with the rivers that we float. What does all of this mean? Well, we are fortunate enough to land several 18 to 20 inch Smallmouth each year. Our Smallmouth game is tight, and we take pride in that. I always say if you were to look into my working fly boxes you would probably be extremely underwhelmed. You may expect to see box after box with hundreds of different patterns in every color under the rainbow. While I do love tying flies, I love catching fish even more. and when I am all on the water it is all about the fish and catching them! While we are constantly experimenting, tweaking, and coming up with some new patterns. What follows are my core 5 Smallmouth flies. I call these "American Express Flies' because you don't leave home without them (you will have to be over 40 to get that reference) and you can bet if you see me on the river one (or 3) of these will be tied on my tippet. We are full into summer fishing right now (the heat index is 108 as I type this) so I thought for the next couple of blog posts I could do a series of my 5 favorite Smallmouth patterns followed by a step-by-step tutorial in the coming weeks of each pattern. If you are a Smallmouth Junkie like me this is a great opportunity to fill your boxes with some proven producers. Here we go... The ClawdadIf you told me I could only ever fish one fly for Smallmouth this may be the one. This fly has accounted for more 20+" fish in the last 8 years than any other fly I fish. Spawned from the mind of Chuck Craft and available through William Heresnaik in materials or whole at Eastern Trophies Fly Fishing this could possibly be the perfect Smallmouth fly. I typically ALWAYS have one of these rigged and fish it on the bottom on an intermediate or sinking line. Brown (or moccasin) is my go to color, we have also done well on olive and black. I tie mine a little bit different than the original dressing, just a few little tweaks. They probably don't really help and the original is probably best left alone. Fishing is 90% confidence and if I feel more confident in the pattern, I am going to fish it more effectively. PoppersAny Serious Smallmouth angler worth his salt loves fishing poppers. The fishing is very visual and the takes can be explosive. We have used several popper styles over the years, some tied and some purchased. we have settled on these 2 as our favorites. The Boogle Bug. A friend from Virginia turned me on to these several years ago. We got to talking about Smallmouth fishing and he said in his Virginian accent "you ever fish Boogles"? You have to say with the accent or it kind of looses the presentation. I had no idea what he was talking about. Boogles are a hard face popper tied with a hackle skirt and rubber legs. They are very durable and catch a ton of fish. The one thing I noticed is the hard face poppers, especially the Boogles have a higher pitch pop when you strip them. Something I believe the fish really key on at times. If interested check them out here. A few years ago the Flymen company came out with the Double Barrel popper heads. As soon as I saw them I knew I had to try them. The dual sound chambers and the semi-soft popping face gave us a sound that was very familiar. Remember the old Arbogast Hula Popper? The big gaudy, weird looking Bass hard bait? We fished these all the time as kids and they produced a deep, hollow pop it seemed the fish couldn't resist. Well, the Flymen Double Barrel popping heads come the closest to reproducing that sound. We quickly put these heads into some of our current designs (both mine and some of my friends) and the results have been fantastic. O'Neill's Controlled ChaosThis type of fly is really more of a tying style rather than a pattern. Mike Schultz of Schultz Outfitters came up with a great pattern Called a Swinging D. This was the first time I saw a foam popper head turned around backwards to create a diver type of fly. The Swinging D is a GREAT fly, it takes a long time to tie with a lot of steps. Many people, including me, have taken Mike's pattern and tweaked it a bit for various reasons, for me it was strictly tying time. This is probably my favorite pattern in the bunch and, like the Clawdad you will be hard pressed to see me without one if these rigged up. Throw this on an intermediate or a type 2 sink tip on a short leader. The foam head want's to naturally float the fly up and the sink tip wants to pull it down. This self imposed Tug -of War creates an action that is incredible! This pattern is ever changing and here are a few of the variations I have used over the past few years. I am currently working on a all Synthetic version of the fly using some of the great new brushes that have hit the market recently. Like I said, this is more of a basic platform pattern so have fun with it. The Feather Game ChangerAbout 8 years ago a fly hit the market that was truly a revolution in the fly tying world. Blane Chocklett's Game Changer is truly an innovation in the fly tying world. More of a platform for tying multiple patterns the Game changer is available in many variations today. My favorite is the Feather Game Changer. MUCH faster to tie that the original (not fast mind you, they still take 45+ minutes to tie) the best thing about this version is the taper is in the materials, there is little to no trimming. Now you are seeing variations with spun deer hair heads, popper heads and the like making this pattern very versatile. Check out one of the great videos on how to tie this great pattern by searching Feather Game Changer. Shumaker's Shimmering MinnowBrian Shumaker is one of the premier guides on Pennsylvania's Susquehanna River. You may have heard of the Susquehanna before as it is where the famous Clouser Minnow was born. The Shimmering Minnow is a bit of a wide body baitfish pattern, a perfect match for the juvenile Shad the Bass in my area enjoy. Easy to tie and fishy as any fly out there it is easy to see why this pattern has become a staple in my buddy Ed's Fly box. You can tie this in Multiple colors, we prefer the pearl / grey version. To date I believe the shimmering Minnow has landed something like 40 different species from Smallmouth on the Susquehanna to Steelhead in Erie, it is just a great all around fly. Well, there you have it, my top 5 Smallmouth flies. Stay tuned in the coming weeks for tutorials on how to tie all of these great patterns. Till next time...
Tight lines - Tim |
Archives
June 2024
Categories
All
|

 RSS Feed
