|
Back in August Tyler and I had the pleasure of spending 2 days in the boat of Pennsylvania's premiere Smallmouth Guide Brian Shumaker. Brian is a friend that has been guiding Pennsylvania's Susquehanna river for over 30 years. For those not familiar the Susquehanna is the river where arguably the most famous streamer ever tied, the Clouser Minnow was born! Bob and Brian are close friends and have spent years bouncing ideas and theories about Smallmouth off of one another. You can check out Brian's guiding service, Susquehanna River Guides HERE The "2 rivers in 2 days" package is well worth the investment.
During lunch the second day the conversation turned to fly design. We had worked our way through many patterns, the in's and out's and what makes a certain pattern effective. About this time Brian pulls two Shimmering Minnows out of his box, one he tied and one tied by somebody else. He was pointing out the differences between the two flies and what made one of them "right" and what made the other one well, not so right. I will give you 3 guesses and the first 2 don't count as to who tied the "right" one. Anyway after pointing out the differences, subtle, but different for sure, we swam each of the two flies on the same rod / reel / line and leader. The swimming action of the fly tied correctly was un-mistakable! The subtle differences in the fly made a BIG difference in how it swam. I knew this post was coming up and at that point I asked Brian if he would do the step-by-step for me. I figured, "who better to show us how to tie it than the guy that invented the pattern" I want to extend a personal thank you to Brian for taking time out of his busy guiding schedule to do this step-by-step for Norvise, we really appreciate it. Below is the un-altered step-by-step sent to me from Brian, I assure you, this is the "right" way to tie this fly! Shimmering Minnow By Brian Shumaker The Shimmering minnow is a pattern I developed to catch smallmouth bass somewhere around 2012. I was looking for something that was quick to tie and that I could easily match the bait fish that I would find in the rivers that I fished. I also wanted something that I could fish in the middle water column. I started out using a single hook and it worked well and caught fish, but I still wasn’t satisfied. I started playing around with shanks trying to add articulation to the fly and it worked very well, I had some trouble with the shank fouling so I add a bead to prevent this. The Shimmering Minnow was catching a lot of fish and I was happy and so were my clients. I was tying at a show one winter and stumbled upon the Flymen Fishing Company Fish Mask and I decided to try it on the Shimmering Minnow and it was the last piece that really made the fly look complete. What is good about the Shimmering Minnow is that you can tie the fly to match the baitfish that are common to the water that the angler is fishing, by coloring the fly using different colored markers. The possibilities are endless, from the different color combinations to the size you can make it by adding shanks. So far, the Shimmering Minnow has caught, smallmouth bass, largemouth bass, trout, stripers, speckled trout, redfish, and snook. (Norvise note; it has caught Steelhead too) Materials: Fish Skull Articulated Fish-Spine 15 mm Shank Gamakatsu B10S Size 2 hook or Fire Hole 811 Competition Size 4 Thread 6/0 white Strung Marabou White, Olive, Burnt Orange Palmer Chenille Med Pearl Fish Skull Fish-Mask #5 Fish Skull Living Eyes-Ice 3D Beads: White, Black, Gray, Light olive Rio Powerflex Wire Bite: 20 lb Flashabou: Pearl, Sliver, Gold Loon UV Clear Fly Finish Thick and Thin UV light Marker: Copic Warm Gray, Baby Blue, Spanish Olive Norvise products used; Norvise Standard Vise Norvise Standard Inline Jaws Norvise LED Lamp / magnifier Norvise Magnum Stainless Hubs (Coming soon to a fly fishing show near you) O'Neill' Bearded Dragon Fly Here at Norvise we always get excited each year when all of the new tying materials come out. We always wonder what new products we can work into our existing patterns or, a totally new pattern may emerge. The Bearded Dragon is a great example of new materials and new techniques coming together to make a functional pattern. This fly is one of Tyler's creations and it fills just about all of the O'Neill criteria for a successful pattern. It can be tied in multiple sizes and colors, it can be tied rather quickly, it can be used on many different species and will work equally well in fresh and salt water. We are full on into our Smallmouth Bass season and this little (or BIG) fly packs quite a punch, responsible for many landed Smallmouth, Largemouth and Striper so far this summer. Check out the O'Neill's Bearded Dragon and tie a few up. When you see them in the water you will be glad you did. Till next time... Tight Lines - Tim Recipe: Hook: Ahrex TP610 2/0 Tail: Magnum's Mini Dragon tail Rear Body: 3" RD Fly Fishing Polar fiber Brush, 3 wraps Middle Body: Blane Chocklett's Filler Flash Front Body: 3" RD Fly Fishing Polar fiber brush, 4 wraps Collar: Senyo' Laser Dub Head: Flymen Fish Mask (appropriate size for pattern) Eyes: Flymen Living Eyes (Appropriate size for Mask)  After clamping the hook in the jaws and "spinning" on a thread base use some 20# mono to form a loop at the bend of the hook. This is to prevent the tail from fouling around the hook shank while casting. The loop should extend back past the entire bend of the hook. This one should be a bit longer. Also notice, beings this is a 2/0 hook Tyler is using his Norvise Large Inline Jaws for this tie. 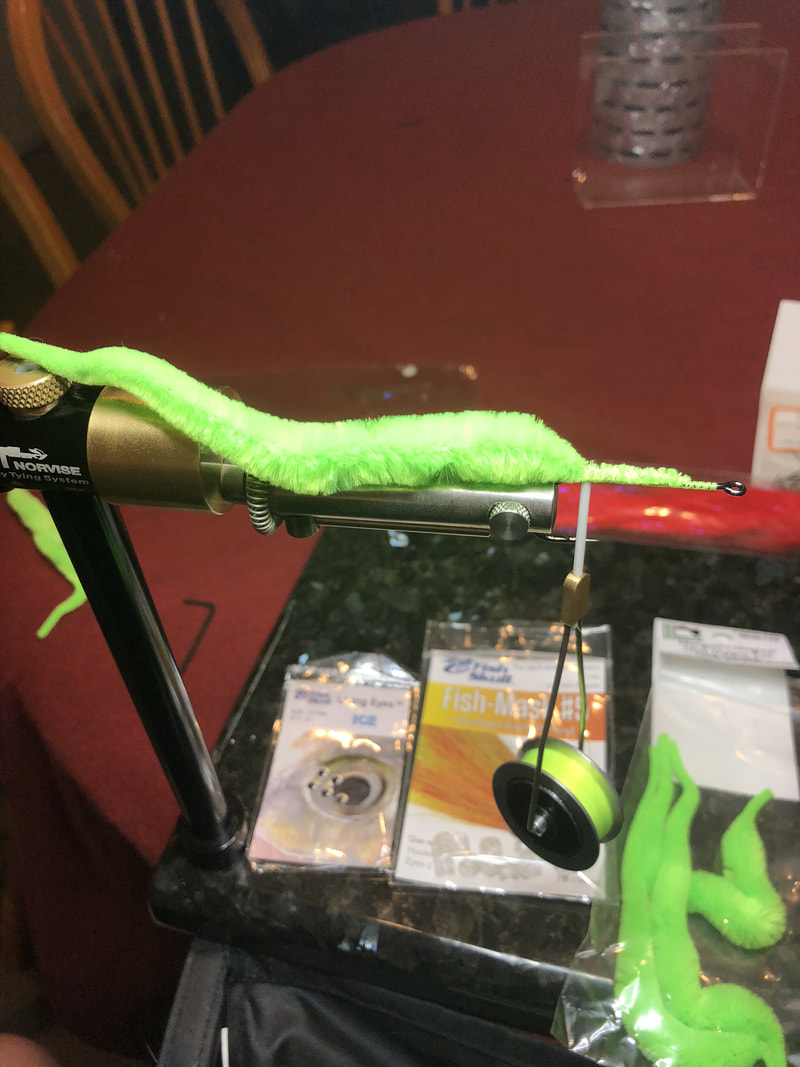 Tie in the Dragon Tail. It may be a good idea to lay down a little Flex Cement on the hook shank / thread wraps prior to tying down the tail. Also, you may want to dab the tip of the tail with a little Flex as well to prevent it from fraying.  For the rear body, apply 3 wraps of RD Fly Fishing's 3"Polar fiber brush, stroking backward each wrap 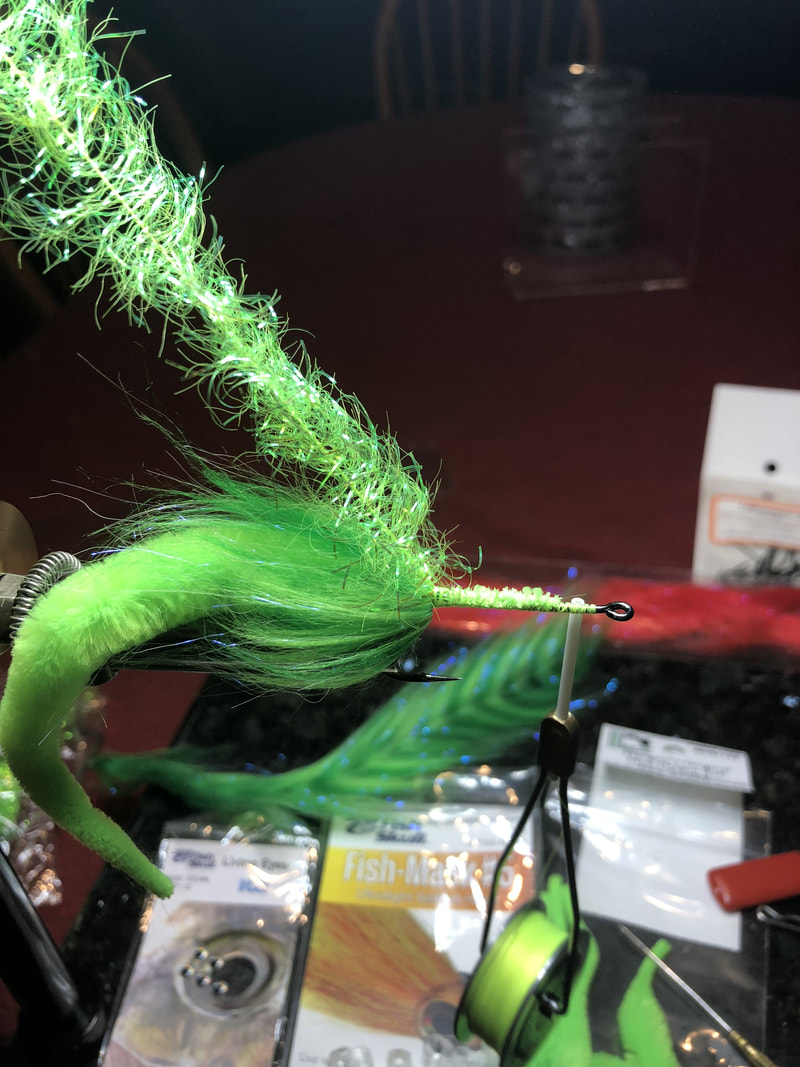 For the mid body, wrap roughly 3/4" of the shank with Blane Chocklett's Filler Flash. Filer Flash is one of our favorite new products. It is a great way to build bulk under the body material and gives the fly just the right amount of flash showing through. 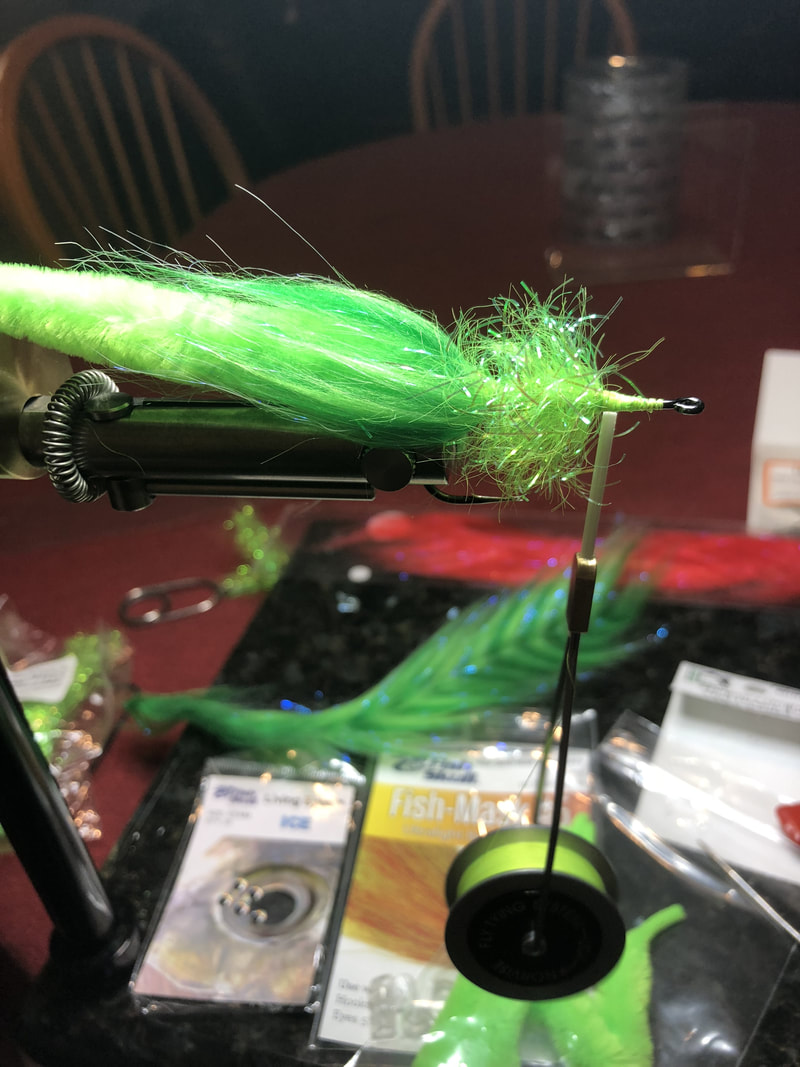 This is what the Body will look like after the Filler Flash is tied off. 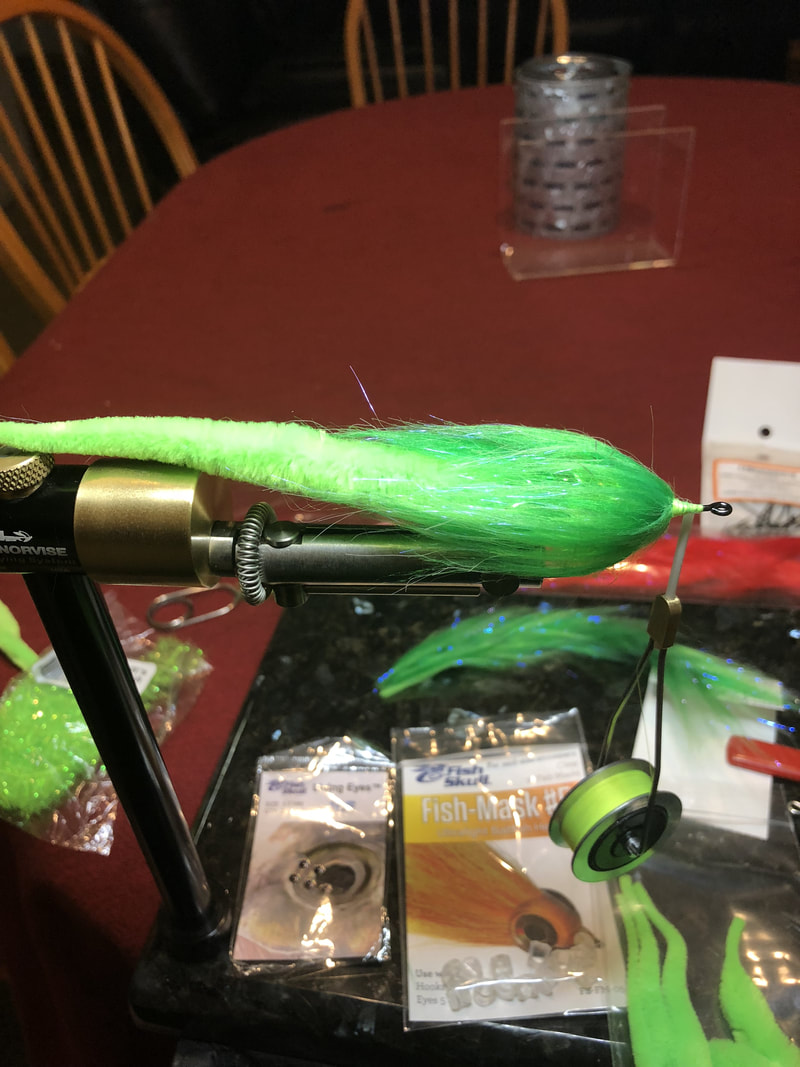 For the front of the body, add 4 more wraps of the 3"polar fiber brush, stroking back each time. We are trying the get the Craft Fur Brush to "veil" over the Filler Flash. The flash will help support the Craft Fur giving the illusion of bulk without adding actual weight to the fly. This is a great technique to build "shoulders" into your pattern. 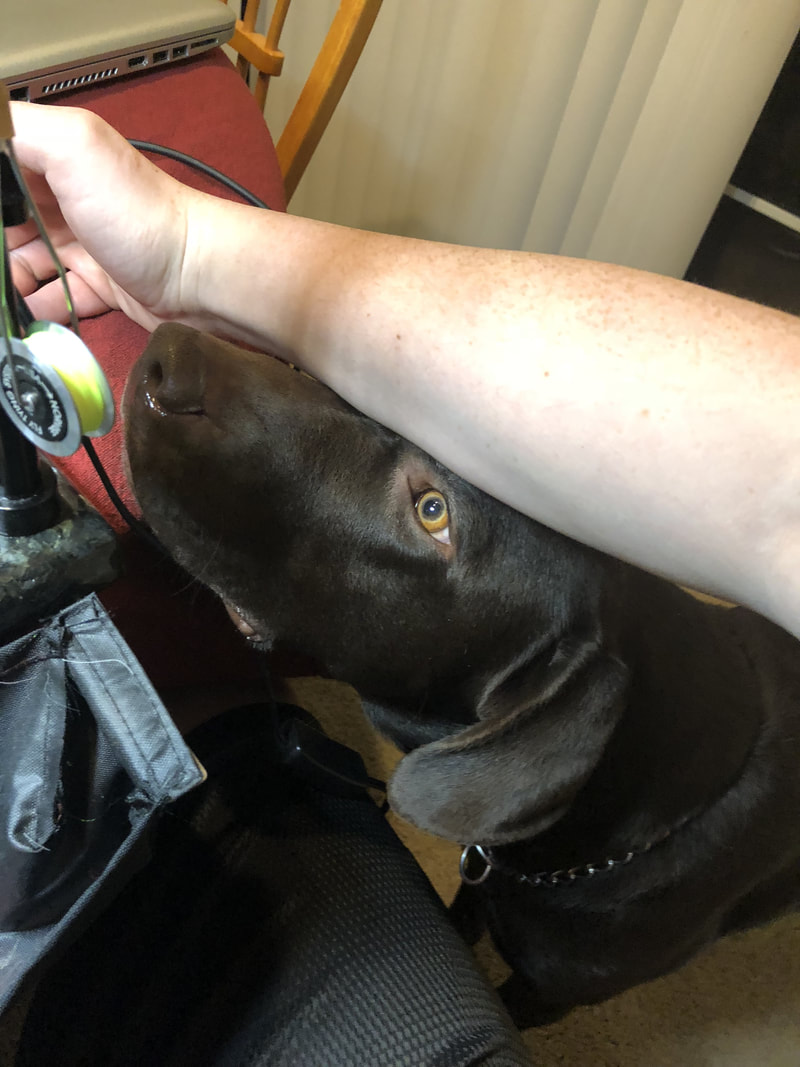 At this point, Sadie, the Norvise Chocolate Lab approves so we can continue. 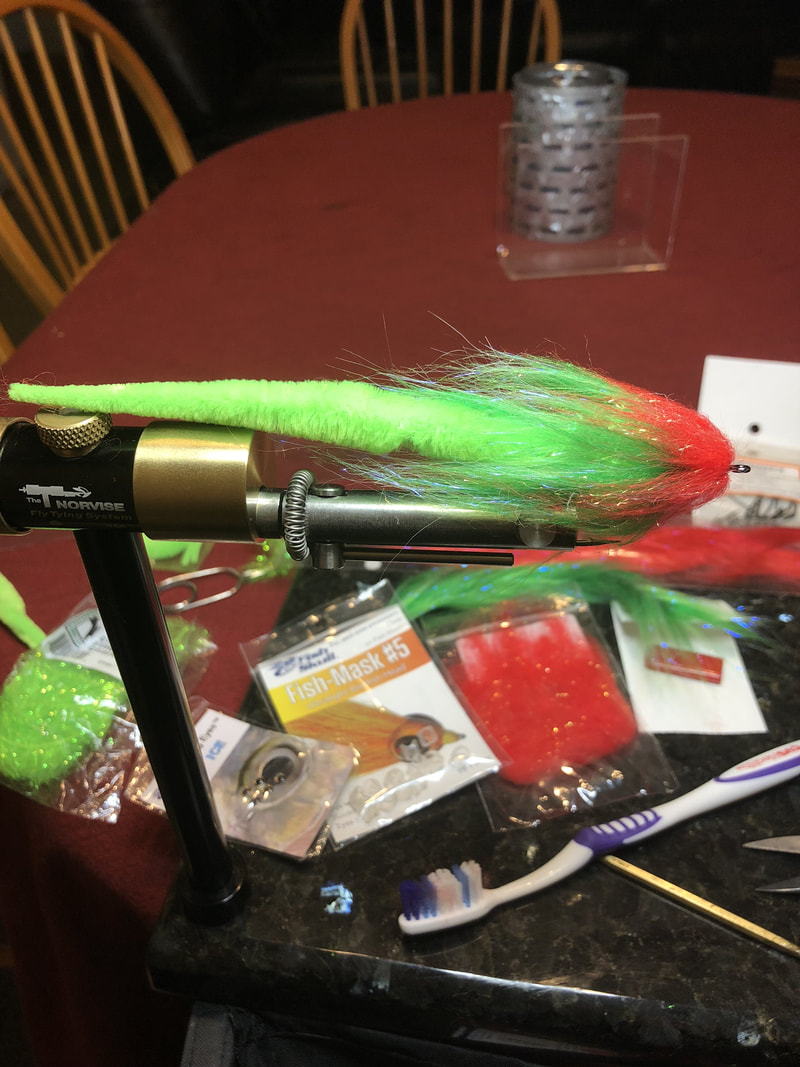 Finish off the body with a Senyo's Laser Dub Collar. Use the hi tie technique for this. We will will typically do one clump on the top and one clump on the bottom of the hook. Here we have used all red, more often we will use 2 colors to give a little contrast to the pattern. Example; when we do a collar on all of our Bleeding Shad series of flies the top will be white or grey laser dub and the bottom will be red. 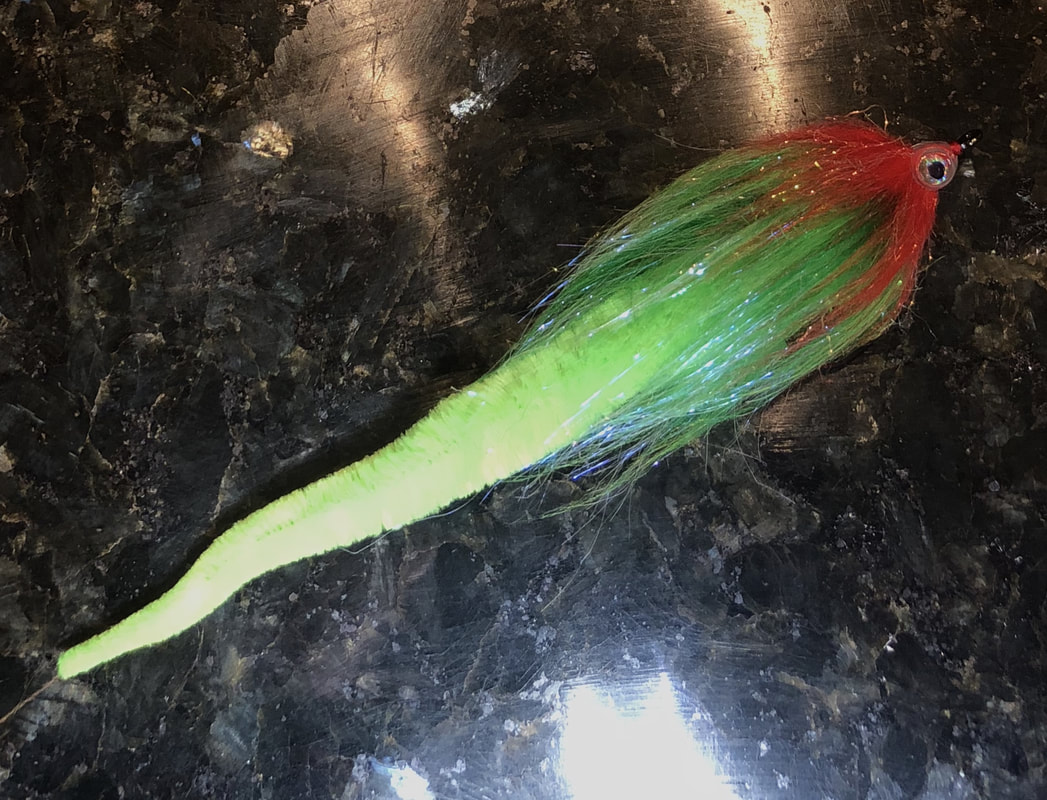 After applying the Flymen Fish mask and the Living eyes you are ready to fish! 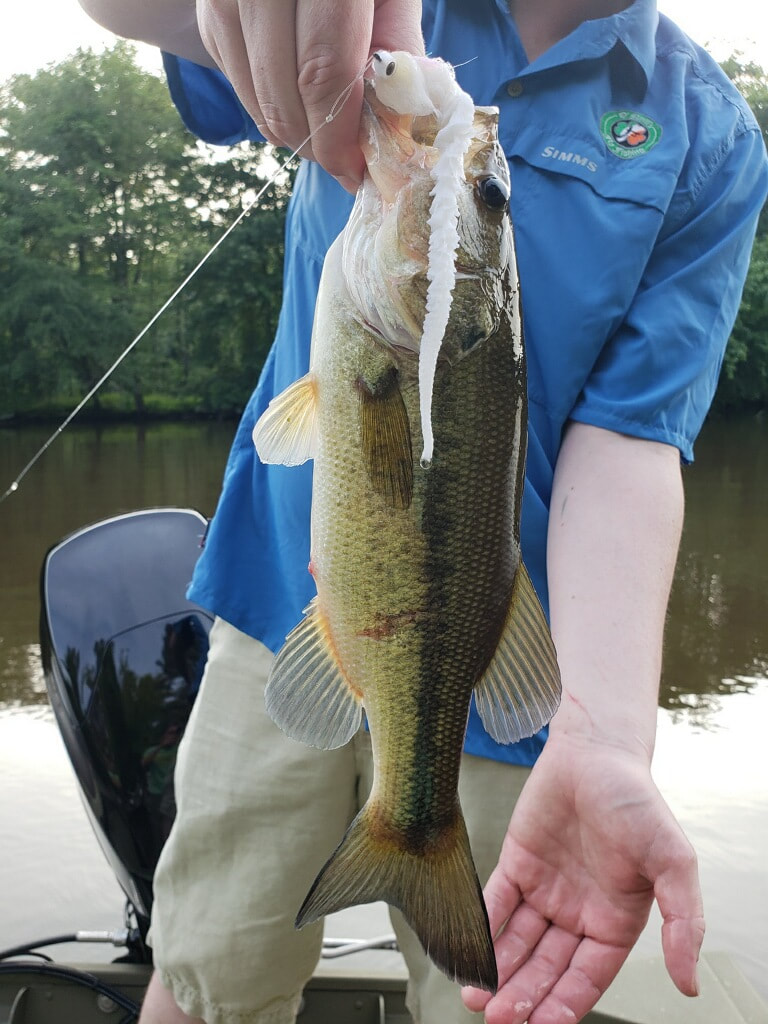 They always say the "proof is in the pudding" well, first time out with the Bearded Dragon, third cast....
|
Archives
June 2024
Categories
All

Get Your Norvise! Click Here!
|

 RSS Feed
