|
By Norvise ambassador Brian Davenport Congratulations on your new purchase. Hopefully you also bought a Norvise Automatic Bobbin as well. If you haven’t- you should go do that right now! The two go together like peanut butter and jelly. The only way to get the full potential of the Norvise system is to have both the Norvise and the Norvise Automatic Bobbin There is a bit of a learning curve with the Norvise, but there are some things you can do to shorten the curve tremendously! First things first, start by watching the video that came with your Norvise to see how the system works. If your brand new to fly tying this will be a great help and you will learn a lot. If you’re a seasoned tier, this will show you how to use the system, and how it differs from your prior setup. (to see the video Brian is talking about click HERE) After watching the video, I sat down behind my Norvise and got to work. Now a Norvise Automatic Bobbin is a special tool that you will learn to love! In the video, Norm demonstrates how to wrap the thread around the leg of the bobbin, to provide adequate tension. Here is a little trick to help with that. Once you have the thread through the tube on the bobbin, attach it to the thread post across from your vise. Do this by placing a few wraps of thread around the button. At this point, your bobbin will be hanging from the button on the thread post. Make sure the bobbin is oriented with the thread coming off the bobbin towards you. With your thumb, push the thread through the legs of the bobbin, and catch it with your finger on the back side. Bring it down, around the spool. Do this twice and then the tension is set. This helps so that you don’t accidentally pull the thread back out of the bobbin-- and once you’re done it is already secured to the post. 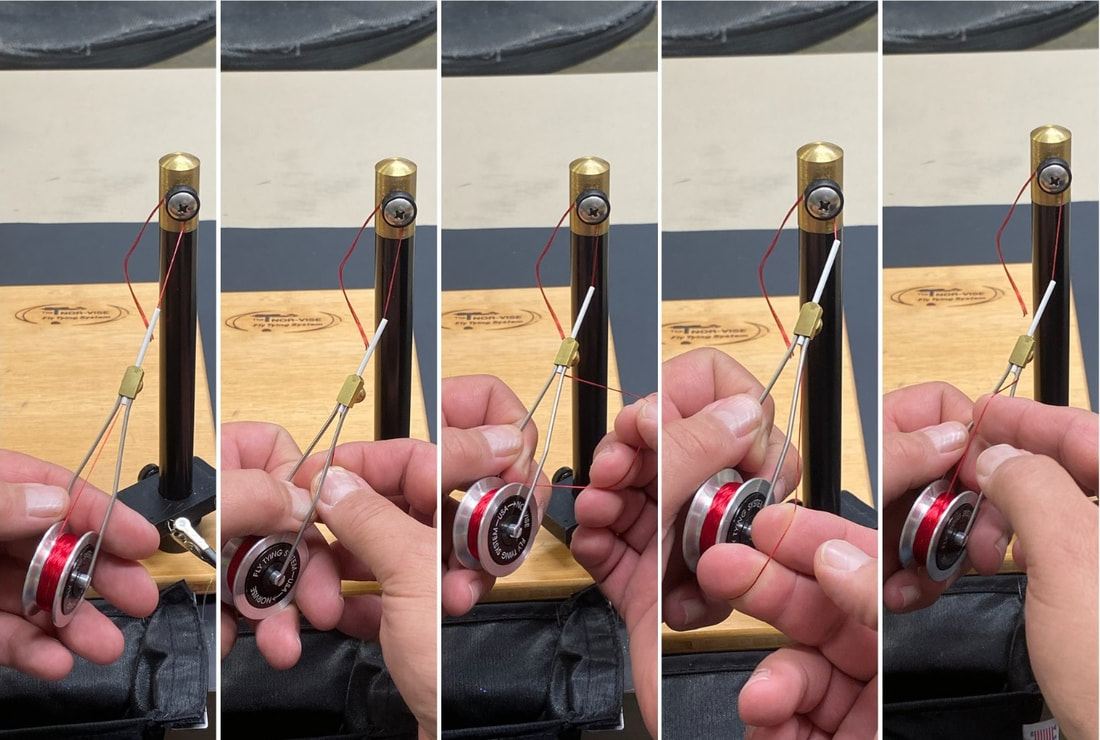 During the learning curve, this will be something you do quite a bit of! Part of the learning curve is to make sure when you cut your thread, to use your hand to put tension on the bobbin hub, so that it doesn’t zip the thread back through. It will happen-so just prepare for it! After a few times of having to rethread your bobbin, you’ll get the muscle memory down to do it and then you will do it without even thinking about it. One of the things I missed when watching the video, is which way you spin the vise. It seems pretty straight forward, but I had a few issues with my flies until I watched the video a second time. If you watch carefully, Norm spins the vise towards him, rather than away from him. When I really thought about how I used my old vise and wrapped the thread on the hook, it makes sense. You need to turn the vice toward you so that it will wrap the thread away from you like on your old vise. Small detail, but easy to miss. And can make your first few interactions on your new vise frustrating if you don’t get it right. Learn to tie a half hitch. The half hitch is your best friend when using the Norvise system. If you break your thread, it will save your fly from completely unraveling. It will also help when you use the vise for other techniques such as dubbing. Also, when you go to move the bobbin off the thread post, be sure to keep enough tension on the thread, so that your material doesn’t unravel. One final thing— materials go on the hook very easy with the Norvise—sometimes too easy! So it is very easy to crowd the hook eye. If you start your thread in the spot where you want your materials to end 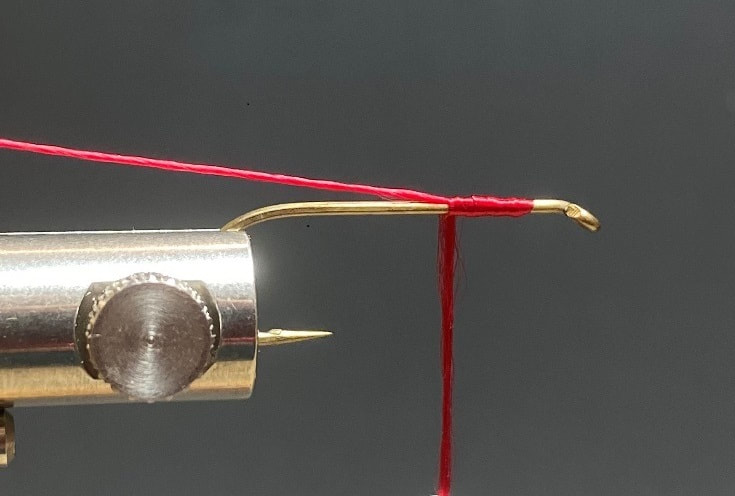 Brian gives some sound advise in this article about the vise and the bobbin. Hopefully this will shorten the learning curve with your new Norvise. Till next time...
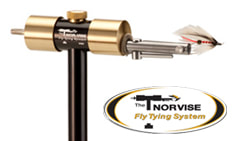
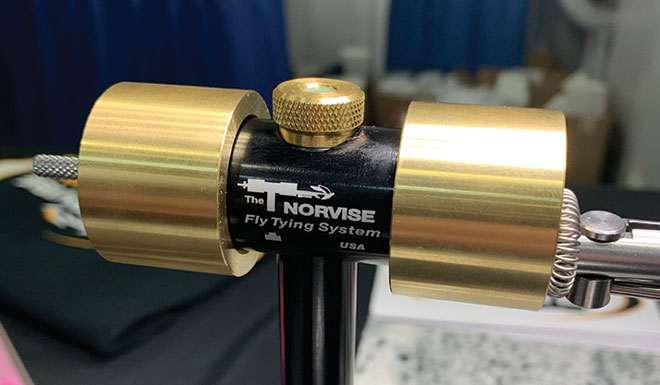
Tight Lines, Tim This is a very proud moment for us here at Norvise. We are honored that our new Magnum Brass Hubs have been chosen for an Editors Choice Award from Fish Alaska Magazine. Here is what they wrote; Norvise Magnum Hubs are bigger, thus 40% heavier than standard hubs, and they spin a little longer and with more momentum than the standard hubs. Our tester has used these for the past several months and comments he doubts he will go back to the standard hubs. All three Norvise jaw configurations will fit in Magnum Hubs.
We are so humbled that one of our products have been chosen to receive this award. It is really cool for Norvise to have received this award. You have probably heard me say this before, machining is the best trade in the world! In what other career can you take an idea from your head, draw it on a computer, turn raw material into a finished product and then win an award for it. I am so proud to be able to do just that.
Thank you to Fish Alaska Magazine for choosing us for this award. It really means a lot to us! Check out Dave's recap of his club's last monthly meeting. High Country Fly Fishers, Utah’s chapter #599 of Trout Unlimited, has been serving Summit and Wasatch counties since 1989. Recently the club found itself looking for a new monthly meeting location. We were welcomed by the Deer Valley Lodge and manager Anthony Bartholomew. Mickey Anderson owner of Fish Tech Outfitters and a local T.V. personality on KSLOutdoors would be our first presenter. Dave Allison past president, and Norvise ambassador, was asked to do the tying presentation. Dave demonstrated the Purple Chubby Chernobyl Ant and a Hippie Stomper on his Norvise Legacy. The meeting was well attended with 52 members. I would have to say, High Country Fly Fishers has found a new home.  In this video Norvise ambassador Brittany Davenport of Hackles and Hurl shows us a cool hair wing Steelhead pattern. I really like this video for many reasons. First Britt does a fantastic job of explaining what she is doing during each step. This is something I believe is lost in a lot of today's videos. It seems, instead of teaching, many of today's video posters have adopted a "look at me" mentality and they forget the instructional part of tying videos. There are also several instances here where the Norvise and it's rotary function is used perfectly. Great video Brittany, thank you for sharing it with us. Here is a simple yet effective pattern from Norvise ambassador John Schultz. John is a stillwater trout junkie. That concept is so foreign to me as we don't really have Trout in stillwater out here in Delaware. I can see this pattern fitting in in multiple situations; Trout, Smallmouth, Largemouth, Steelhead, basically anything that eats Minnows. Awesome job John, thank you for sharing this with us. I am going to have to get out there and fish those stillwater fish with you sometime. Till next time...
Tight lines - Tim For this weeks post I have chosen a video by Norvise Ambassador John Schultz. As the weather cools my mind and thoughts change from Smallmouth and worm water species to Trout and ultimately Steelhead through the winter months. John and his buddy Dave Allison (also a Norvise ambassador) spend a lot of time chasing Trout in the still waters of their home area. Still water Trout fishing has always intrigued me. I have never done it, and I want to learn more about the tactics and tricks for catching Trout in still water. IN this video John shows us a very simple, yet effective Damsel Fly pattern. I really like the way he blends the 2 body materials to get the taper or silhouette he is looking for, good stuff. Also, you just gotta love "box filler patterns". Flies that are effective that you can crank out in a hurry after a long day of fishing. We will be posting more videos in the coming weeks. If you have something you think you might like to see let me know, I will see if I can get one of our guys to shoot a video of a particular pattern or technique. That was a great video, Thanks for sharing it with us John. Till next time...
Tight lines - Tim Recently our friends Rob Giannino of the "Fly Fishing Journeys" podcast and Tim Cammisa of Trout and Feather recently took a trip to fish the North Platte River in Casper WY. Rob's podcast Fly Fishing Journeys is a fantastic place to hear some of the great names in our sport. If you attended any of the "Fly Fishing Shows" last you probably heard Rob and a guest live casting right there at the show. Tim Cammisa is a master fly tyer and his You Tube channel, Trout and Feather is jam packed with videos of fly patterns and tying, Fishing and product review. Tim did a fantastic, in-depth review of the Norvise system back in 2016. You can see that review HERE. I have watched this review and I believe it to be one of the fairest, and best reviews on the Norvise out there. We look forward to working with Tim and Rob more in the future. So, take a look a their Wyoming adventure. Our journey brought us to Casper, WY. I heard stories of the legendary North Platte River and how the fishery will impress in both size and numbers. I wanted to find out for myself, but I needed to assemble a team for the mission. Tim Cammisa, a master fly tier and Harrison Hughes, a professional photographer and film maker were up for the adventure. Let’s go!  Tim Cammisa of Trout and Feather wasted no time getting hooked up. Back in August Tyler and I had the pleasure of spending 2 days in the boat of Pennsylvania's premiere Smallmouth Guide Brian Shumaker. Brian is a friend that has been guiding Pennsylvania's Susquehanna river for over 30 years. For those not familiar the Susquehanna is the river where arguably the most famous streamer ever tied, the Clouser Minnow was born! Bob and Brian are close friends and have spent years bouncing ideas and theories about Smallmouth off of one another. You can check out Brian's guiding service, Susquehanna River Guides HERE The "2 rivers in 2 days" package is well worth the investment.
During lunch the second day the conversation turned to fly design. We had worked our way through many patterns, the in's and out's and what makes a certain pattern effective. About this time Brian pulls two Shimmering Minnows out of his box, one he tied and one tied by somebody else. He was pointing out the differences between the two flies and what made one of them "right" and what made the other one well, not so right. I will give you 3 guesses and the first 2 don't count as to who tied the "right" one. Anyway after pointing out the differences, subtle, but different for sure, we swam each of the two flies on the same rod / reel / line and leader. The swimming action of the fly tied correctly was un-mistakable! The subtle differences in the fly made a BIG difference in how it swam. I knew this post was coming up and at that point I asked Brian if he would do the step-by-step for me. I figured, "who better to show us how to tie it than the guy that invented the pattern" I want to extend a personal thank you to Brian for taking time out of his busy guiding schedule to do this step-by-step for Norvise, we really appreciate it. Below is the un-altered step-by-step sent to me from Brian, I assure you, this is the "right" way to tie this fly! Shimmering Minnow By Brian Shumaker The Shimmering minnow is a pattern I developed to catch smallmouth bass somewhere around 2012. I was looking for something that was quick to tie and that I could easily match the bait fish that I would find in the rivers that I fished. I also wanted something that I could fish in the middle water column. I started out using a single hook and it worked well and caught fish, but I still wasn’t satisfied. I started playing around with shanks trying to add articulation to the fly and it worked very well, I had some trouble with the shank fouling so I add a bead to prevent this. The Shimmering Minnow was catching a lot of fish and I was happy and so were my clients. I was tying at a show one winter and stumbled upon the Flymen Fishing Company Fish Mask and I decided to try it on the Shimmering Minnow and it was the last piece that really made the fly look complete. What is good about the Shimmering Minnow is that you can tie the fly to match the baitfish that are common to the water that the angler is fishing, by coloring the fly using different colored markers. The possibilities are endless, from the different color combinations to the size you can make it by adding shanks. So far, the Shimmering Minnow has caught, smallmouth bass, largemouth bass, trout, stripers, speckled trout, redfish, and snook. (Norvise note; it has caught Steelhead too) Materials: Fish Skull Articulated Fish-Spine 15 mm Shank Gamakatsu B10S Size 2 hook or Fire Hole 811 Competition Size 4 Thread 6/0 white Strung Marabou White, Olive, Burnt Orange Palmer Chenille Med Pearl Fish Skull Fish-Mask #5 Fish Skull Living Eyes-Ice 3D Beads: White, Black, Gray, Light olive Rio Powerflex Wire Bite: 20 lb Flashabou: Pearl, Sliver, Gold Loon UV Clear Fly Finish Thick and Thin UV light Marker: Copic Warm Gray, Baby Blue, Spanish Olive Norvise products used; Norvise Standard Vise Norvise Standard Inline Jaws Norvise LED Lamp / magnifier Norvise Magnum Stainless Hubs (Coming soon to a fly fishing show near you) With the advent You Tube, Facebook, and Instagram fly tying has become, in my opinion, a big melting pot of ideas, twists and tweaks of different fly patterns. In our last post, I talked in depth about how the particular pattern we were tying, O'Neill's Controlled Chaos, was really a stripped down version of 2 other flies. I do believe it was different enough from the originals that I could call it my own, some may disagree with that statement and that is fine, what I am saying is in today's day and age it is challenging to come up with a truly new idea for a fly pattern. Think about some of the staple patterns invented years ago; The Clouser Minnow, Lefty's Deceiver, Brooks Blond, The Gurgler, Ray's Fly, The Adams, Pheasant Tail, Zebra Midge, The list goes on and on and on. These patterns are originals and many, many flies have been designed using these as inspiration. I am not saying designing a new pattern can't be done, I am saying that 1) it is not as easy due to the great evolution of fly tying over the past 20 years and 2) many people come up with “original” patterns that are basically the same as flies tied years ago and they really are not “original”. Sorry guys, but it is the truth. Every so often something comes along in the world of fly tying that is truly revolutionary that has never been done before, Blane Chocklett’s Game Changer is one of those patterns. I guess I first saw the Game Changer close to 10 years ago, a bait fish fly that actually moved like a fish…who would have thunk it. The challenge is many times coming up with the idea is the easy part, bring the idea to life well, that can be the challenge. The game changer has gone through many variations over the years and I believe the “Feather” version to be the best. It is a pattern with fantastic movement, both in the design and the materials, it is faster to tie that some of the other versions, and you can tie it in a multitude of colors. It is lighter and easier to cast than some of the original flies, and they are very durable. Truly a revolution, below is a step by step of a Feather Game Changer tied and photographed by Norvise ambassador Braden Miller. Materials;
Norvise Legacy Vise Norvise Automatic Bobbin Norvise Standard Inline Jaws Norvise Fine Point Conversion Norvise Magnum Stainless Hubs (Coming soon to a fly fishing show near you) 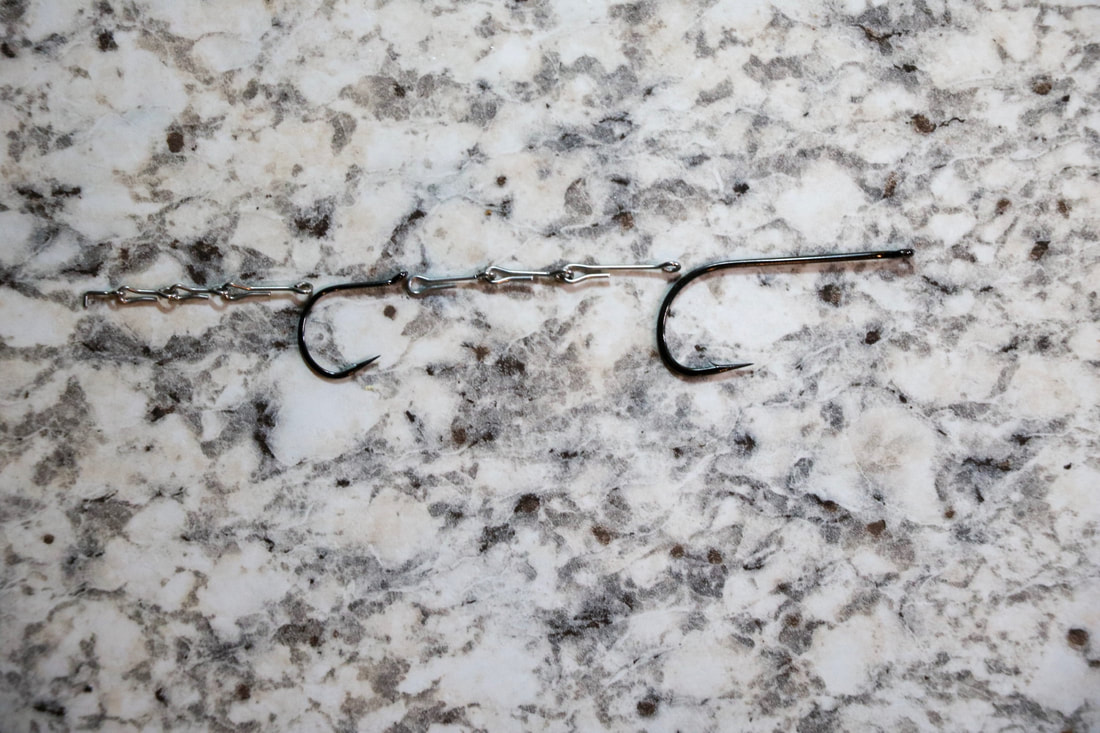 This picture shows how the Fish Spines chain together and where the proper hook placement is. The sequence that we like to use is a tailing shank (the one on the end with the 90 degree bend) 10 mm, 10 mm, 15 mm, Trailer hook (optional) 15 mm, 15 mm, 20 mm, Front hook. The secret is to gradually lengthen the shanks as you move up the fly. You can play with sizing and combo of your shanks, as mentioned, this is what we like to use.  After placing the tailing shank in the vise (this is what the 90 degree bend is for) Put a SMALL amount of filler flash at the bend of the shank. 1 to 1 and a half wraps MAX! this bit of material will support and separate the tail.  Prep 6 hackle tips to use as the tail of the fly, 3 for each side. You have options here for the tail, you can use marabou, hackle tips, I even saw Blane use material used for tying mop flies here. 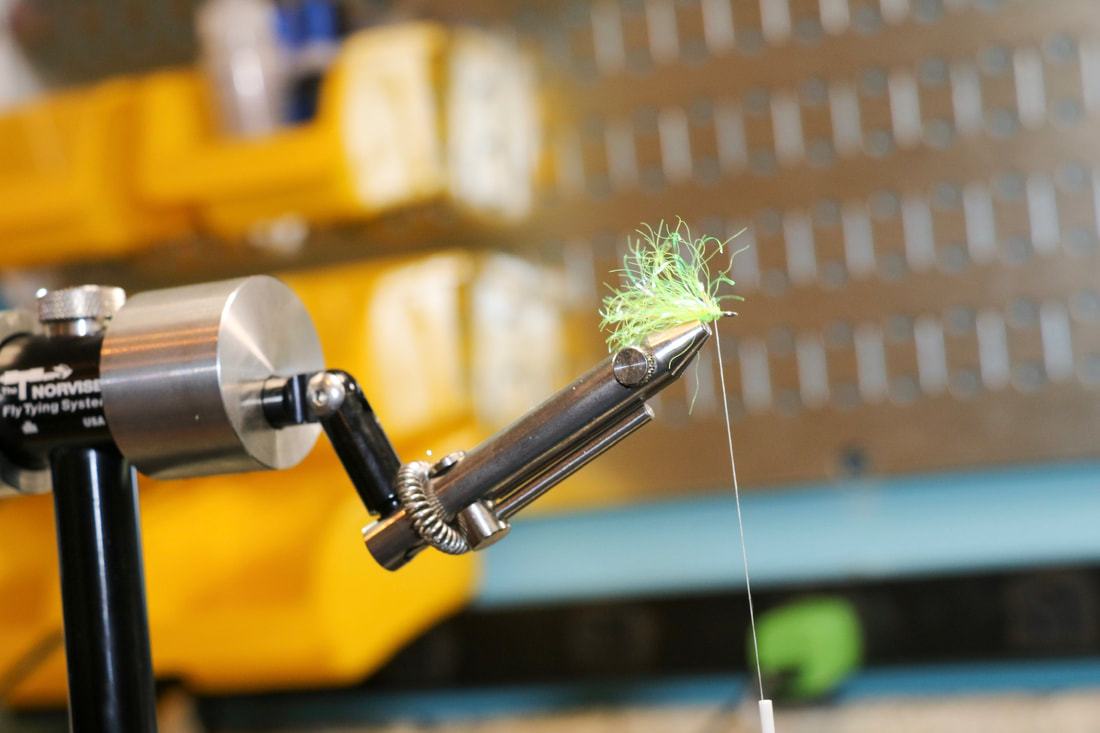 Put 1 to 1 and a half wraps of filler flash on at the bend of the tailing shank. This will help support and separate the tail feathers. 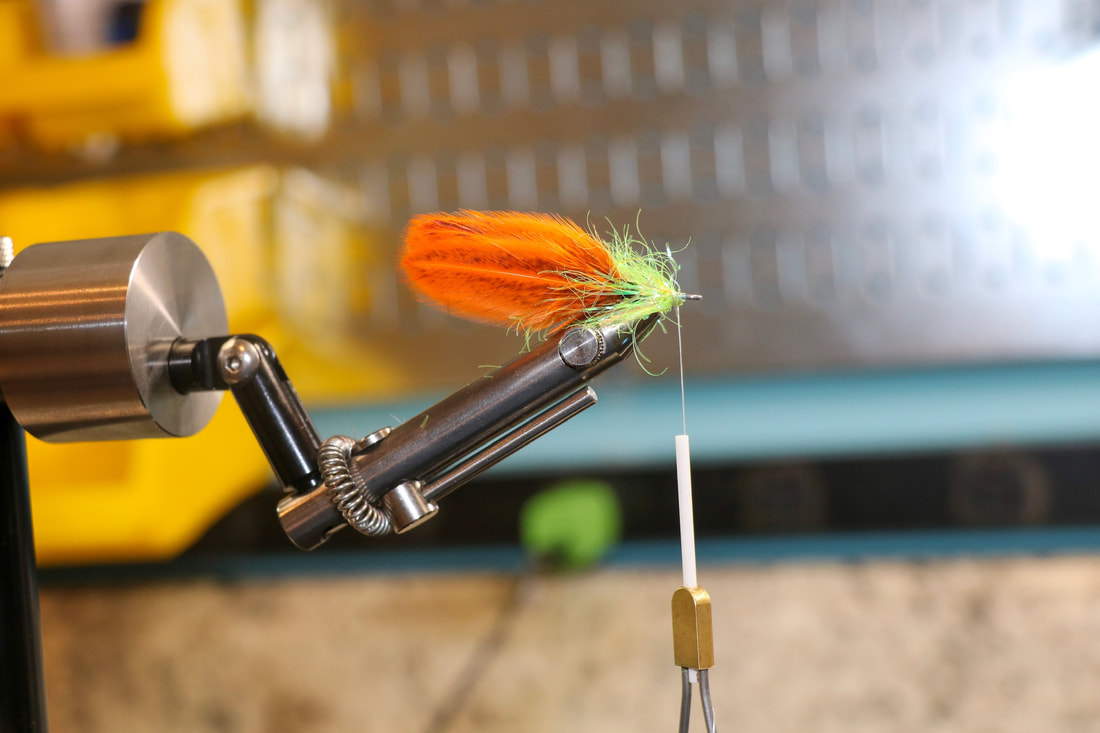 After prepping the tail feathers and cutting the shafts to length tie 3 tips on each side of the shank. The feathers are tied on each side of the shank with the first section of filler in the middle of the feathers. Here we have added second tie in of filler flash at the tail. Palmer it up about 1/2 the length of the shank. Remember this is a small shank, it is VERY easy to overdress these. Less is more, we still have to get 2 Hen Saddle Feathers on here. 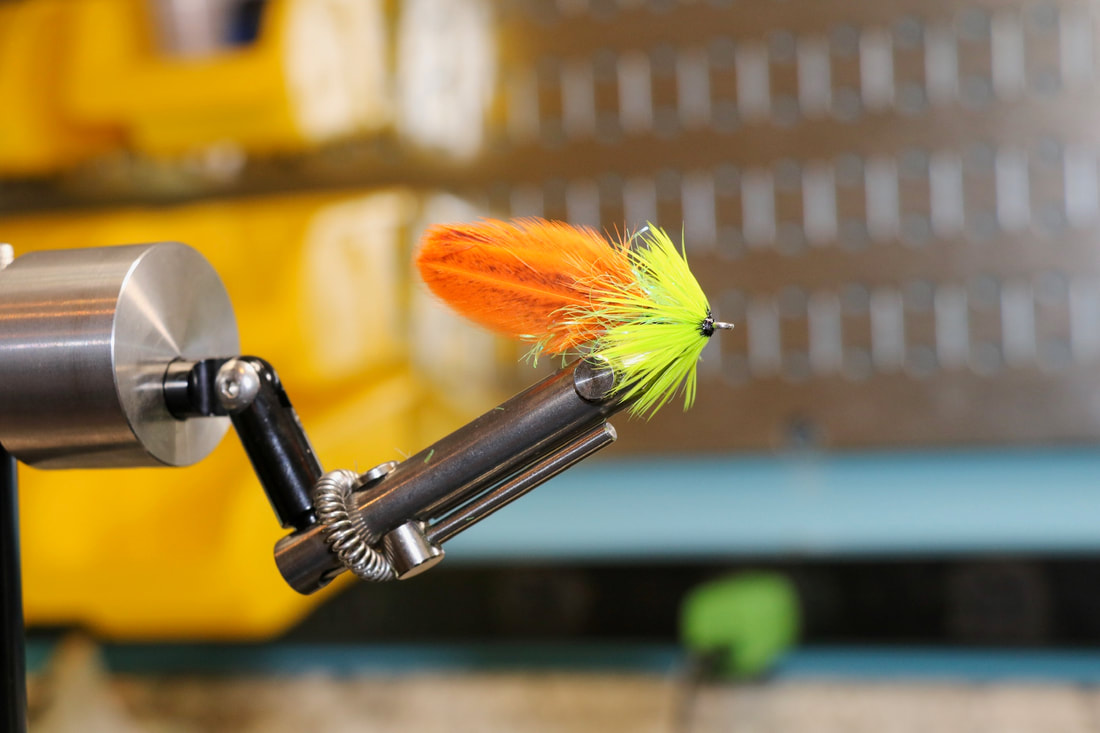 Here is the completed tail section with the Hen Saddles tied in and palmered to the front. You can see how the filler flash is used to support the Hen feather. All of the materials work together to give this fly incredible movement. Tie off and whip finish a neat head and use head cement on EVERY section. I had mentioned this version of the fly is faster to tie than the original and it is. Fast is a relative term here, you are still going to invest over an hour in this fly. A long time for sure, we typically are throwing these on heavy tippet so you don't really loose that many so you want to glue the heads on each section so they are very durable. I have FGC's that have landed over 50 pickerel and they are still going strong so dont let the tying time scare you off. 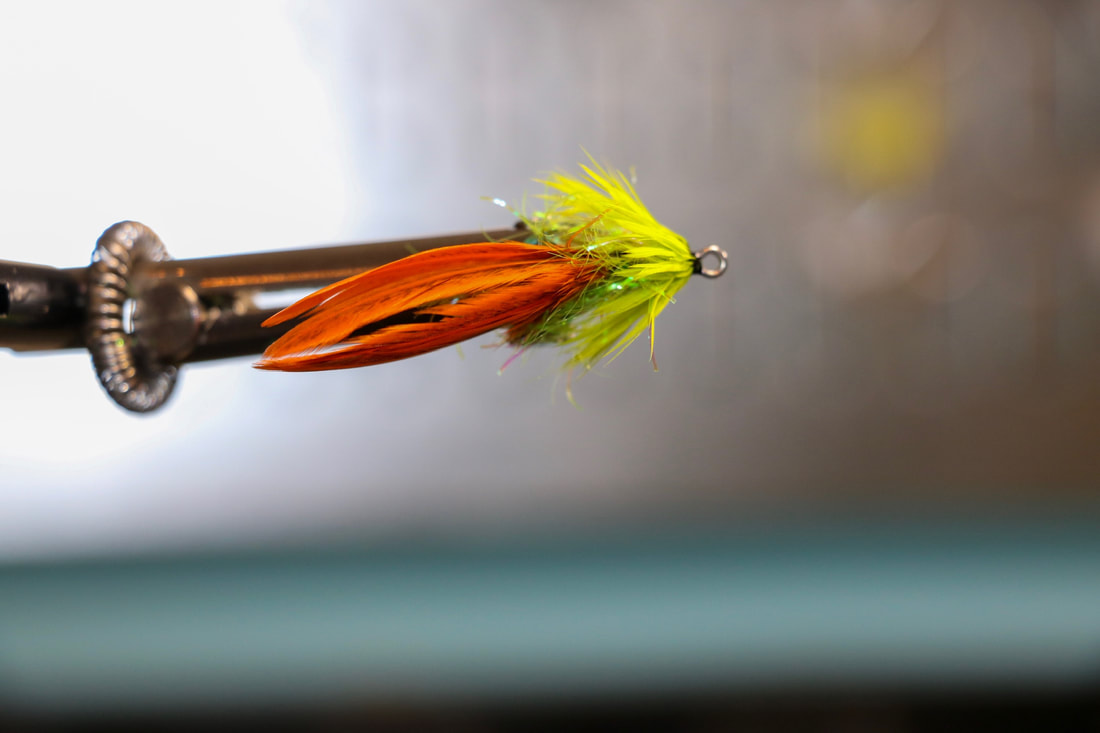 Here is a view of the tail from the top. You can see the filler flash in between the sides of the tail. You can also see how we are building a natural taper with our materials.  Feathers; As mentioned we are using feathers from a Hen saddle. Hen feathers are a shorter, webby feather with softer fibers that make them perfect for this application. To build the taper is simple. As you move from the tail forward to the front of the fly you will select feathers that are progressively longer for each section. The easiest way to do this is to start at the top of your cape for the tail section and gradually pluck from a point lower and lower on the cape as you move up the fly. The lower on the cape you go the bigger (longer the fibers are) the feather is. The longer the feather the more taper you get. The picture above shows how to prep the feathers for tie in. We are tying in by the tip and palmering forward. Do not use the fuzzy part of the feather, I will typically strip this off before I tie in. On the tail sections we are typically using 2 feathers. As we move up the fly we are adding feathers on each section. By the time you get up to the head you are tying 4, maybe 5 feathers in at the same time. Always tie the feathers and palmer them at the same time, regardless of the amount using the filler flash as a support. The progression is actually pretty simple; With the exception of the tail section it is filler flash - feathers - whip finish- glue - repeat. you will need to adjust the amount of filler flash as the shanks (or hooks) get longer. Toward the tail the filler flash may be too wide, you may want to trim it so it is a little shorter (Measuring from the core out to the end of the fibers) than the fibers of the feather you are using. as you get to about the middle of the fly you can use the full width of the filler flash. We will use wider and more feathers as we work up the to the front of the fly. This will build bulk and natural taper into the fly, two very important things you need to get the silhouette and the movement you are looking for. The most important thing to remember is DO NOT CROWD THE EYE OF THE SHANK! if you do the fly will not move the way it is supposed to.  Here the second section has been added.  Here, several more sections and the trailer hook has been added. 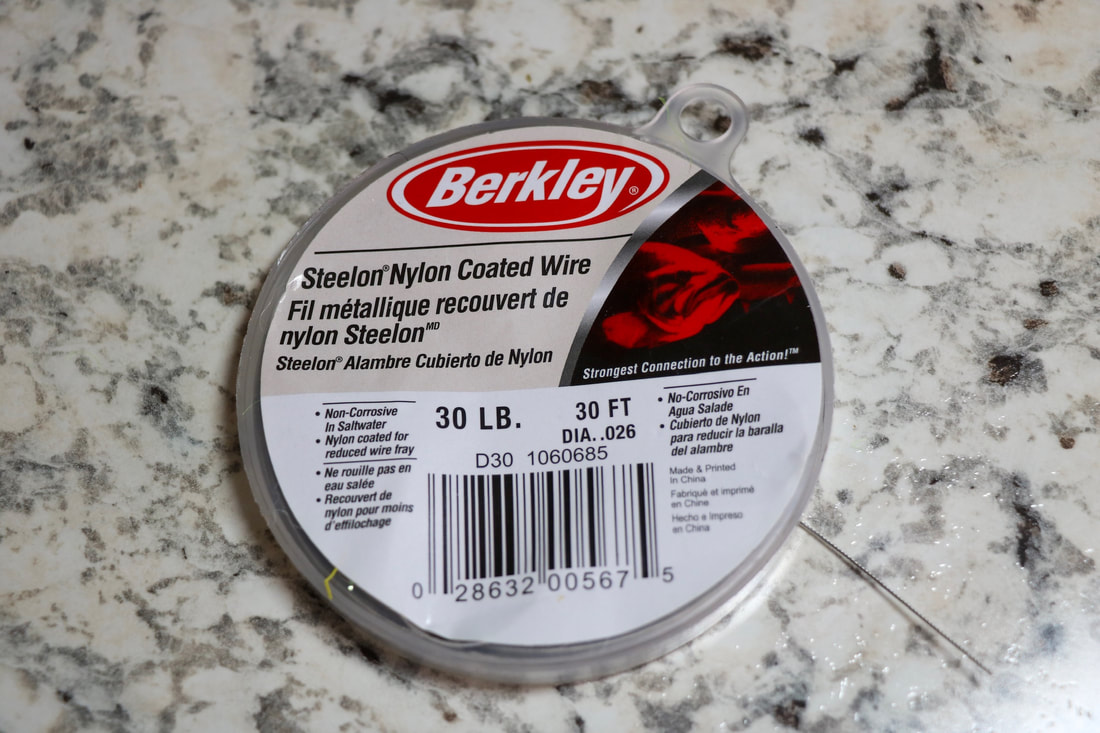 When you get to the point where you are adding a hook to the pattern we like to use a wire type leader material. This product from Berkley works well as does Surflon or a product called Beadalon you get in the craft stores. To make your connection cut a small piece of wire (about 4") and thread it through the eye of the shank folding it so the half way point is looped through the eye of the shank and equal lengths are pointing forward. Lay the section of the wire pointing forward on tip of the shank and use 3 or 4 loose wraps of thread to hold the wire on top of the hook shank. At this point you want to adjust the length of the loop coming off the back of the hook so the tail section of the fly has freedom to move, but is not so big it can foul. A good rule of thumb is to make the loop about the same size as the loop in the adjacent shank. 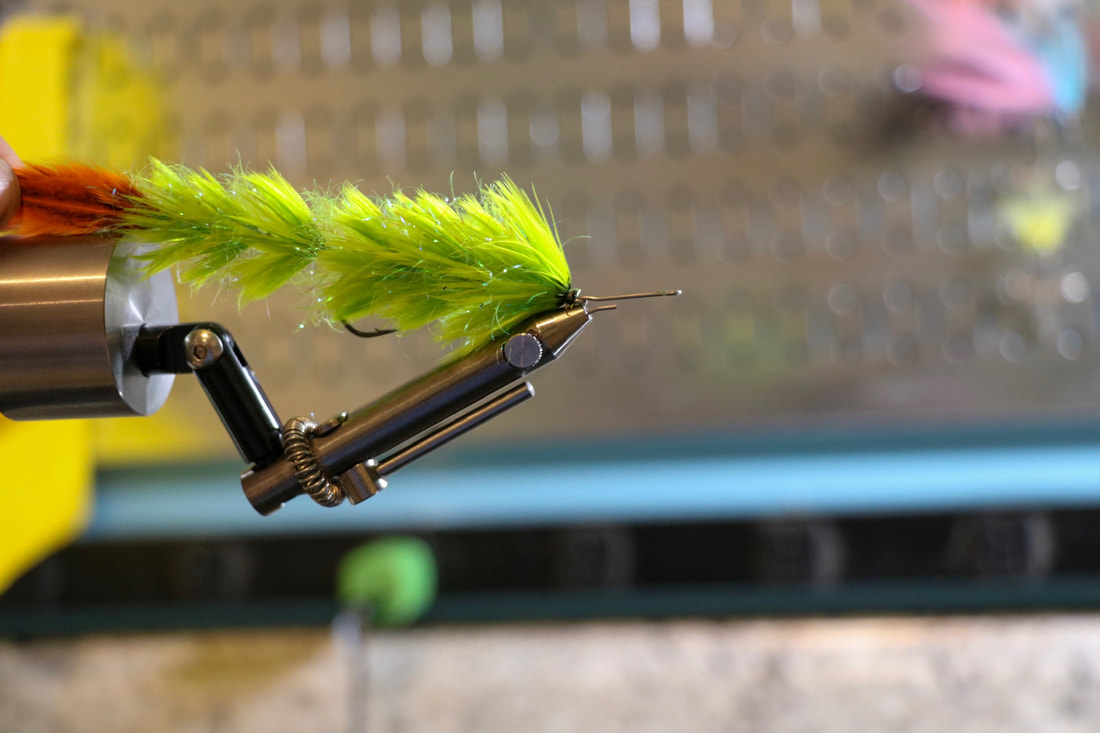 Here we are working our way up the pattern by adding more shanks in front of the trailer hook. 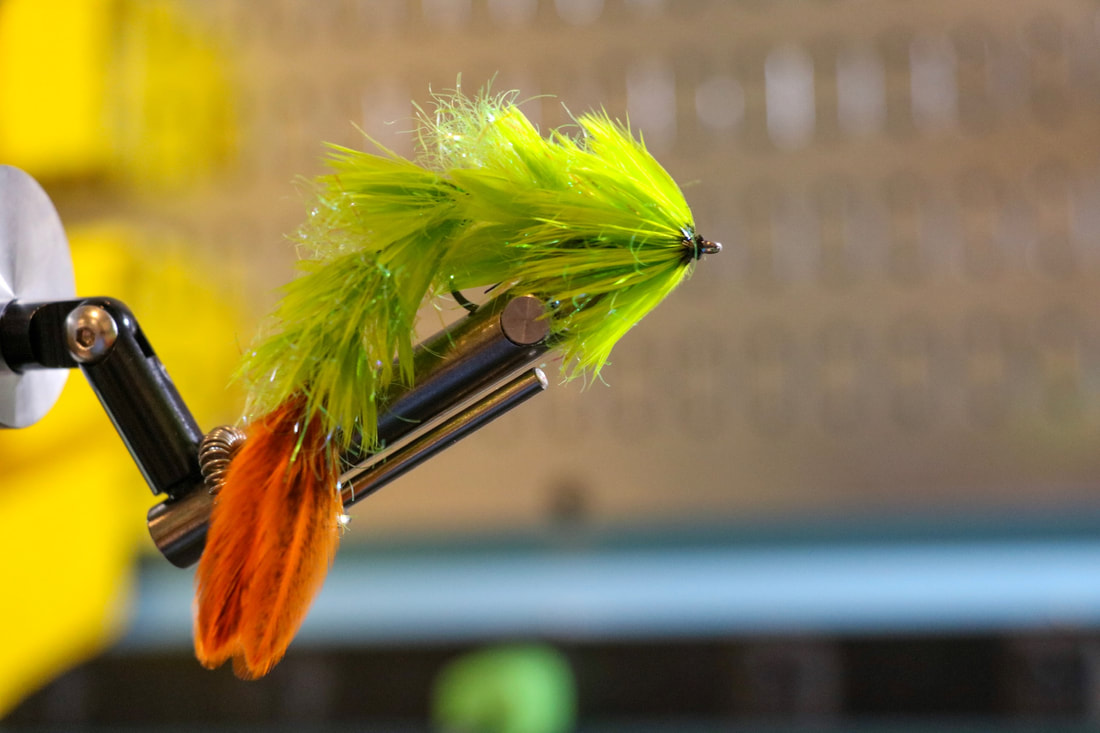 Here we are ready to add the front hook. 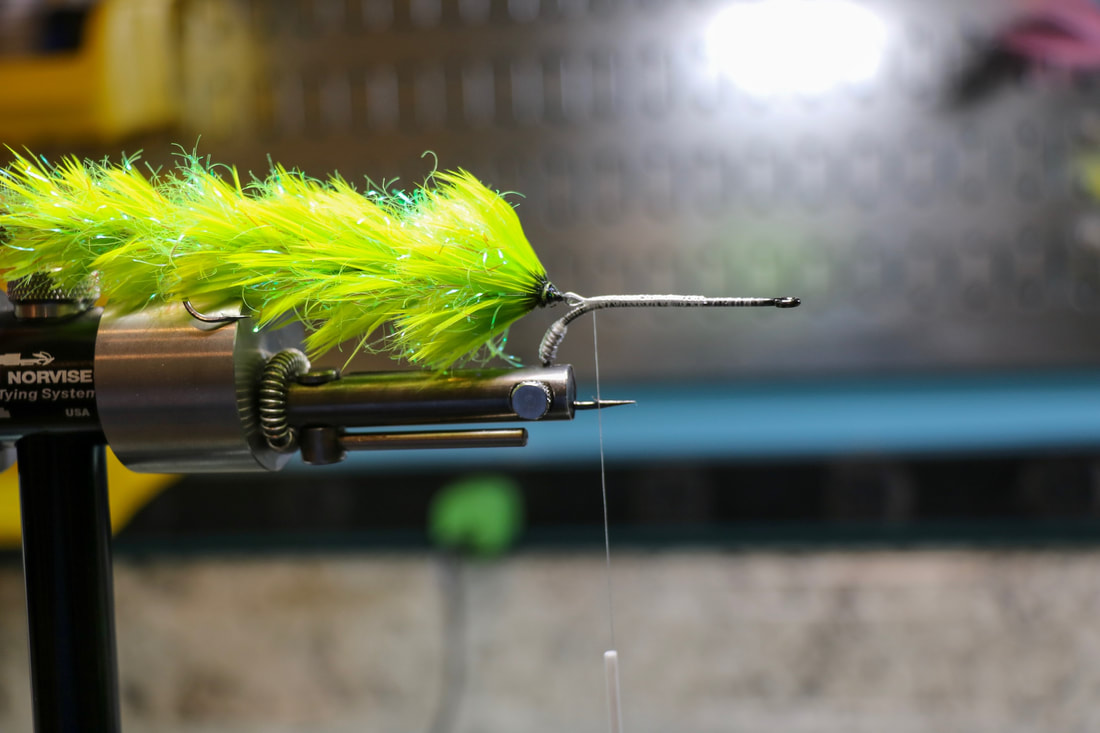 This picture is a good example on how to do the wire connection. It also shows that Braden used a few wraps of lead on the bend of the front hook. this will help keel the fly and keep it swimming true. You can use lead wraps for this or, depending on the size of the hook, Tungsten Scud weights work fantastic for this step. Also notice Braden switched from the Norvise Fine Point jaws to the Standard inline jaws. We will typically use a hair clip to clip the back of the fly to the jaw to prevent it from flopping around when we are tying. Clipping the back of the fly to the jaws will also help to prevent us from sticking our fingers with the rear hook point. The Norvise Large, Saltwater jaw would be a good choice here as well.  OK, we are tying on the front hook and close to bringing this pattern home. This is a cool technique that will really help bulk up the front of the fly. Tie in a long piece of filler flash in on the hook by the opposite ends at the bend of the front hook. This will make a loop of material hanging off of the shank of the hook. hang your dubbing twister in the loop and twist the 2 halves of filler flash together. This will tighten the core of the flash and really make the fibers stand out creating a platform for the 4 feathers you will use to finish the fly.  After wrapping the twisted filler flash and the 4 hen saddle feathers to finish up the body of the fly we have added Hackle tips of either side of the fly to act as pectoral fins. This will help the fly swim and they just look way cool. NO we have a decision to make, what to do with the head. Just like the tail we have options here. We have used spun Deer hair, Slider or Popper heads, Fish Skulls or Masks, or my favorite palmered Schlappen. Here Braden has chosen to do a stacked laser dub head. This is the same technique we used in the collar for the popper and the slider on the last 2 patterns we tied. Pull a clump out, even up the tips and tie on the shank in the middle of the clump. Here Braden has tied 4 clumps, one at every 90 degrees. How far you bring the flash and the feathers will determine how big the head is. I like to use about 1/3 of the front hook shank for the head of the fly. Once the stacks of laser dub are tied in use a brush to brush out the fibers. Brush everything forward first, then brush everything back. This will give a very nice "airy" head that will veil back over the rest of the front section of the fly.  Repeat these tie in's until you reach the eye of the front hook.  Now you could call it quits here and this will fish just fine.  Always tinkering and pushing the techniques of fly design. Here Braden trimmed the head a bit to give it the shape he wants and added some Flymen Dragon eyes. Here is the finished fly!
The Feather Game Changer really is not a difficult pattern to tie, it is basically repeating multiple sections of pattern over and over again. Once you see one of these in the water and better yet see how they produce fish I think you will understand why we spend the amount of time that we do to tie these. Your investment will be rewarded, trust me! Thank you Blane for coming up with such a fantastic pattern and a special thank you to Norvise ambassador Braden Miller for tying and photographing this step by step for us. I am sure the Norvise faithful appreciate your effort buddy! Till next time... Tight lines - Tim We have been Pretty busy the past few weekends here at Norvise. We will get back to the top 5 Smallmouth flies next week, I promise. I wanted to share this with you first. Many of you may know that Project Healing Waters is a program that was near and dear to Norm's heart and we have continued that tradition. Anyone involved in PHW as a participant, volunteer, program lead or administrator will receive a 40% discount on any Norvise product. We believe wholeheartedly in this organization and believe it to be one of the best programs out there for helping our veterans. This past weekend we got to see an organization as passionate about PHW as we are. Stars and Stripers is an annual outing for disabled veterans from Project Healing Waters. The Kent Island Yacht club id located right off of Rt 50 in the Stevensville, Maryland area. One day, typically in August many boat captains, mates, cooks, and volunteers descend on the club to host this great event. This year, the tenth year for this event, around 25 boat captains donated their time (and boat) to take close to 50 PHW veterans fishing for the day. We were invited down to set up a area to tie flies and show the veterans how we do what we do. This was such a rewarding day getting to tie and talk with several of the veterans. The event was very well run, and the food was fantastic! We would like to thank the Stars and Stripers organization for having us, we are already looking forward to next year! Check out some of the pictures from Saturday. 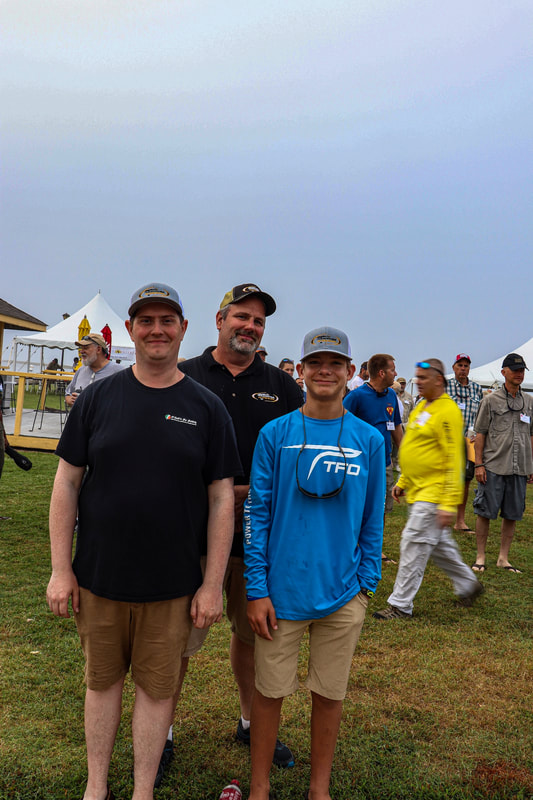 Team Norvise at the event; Tyler, Myself and Braden Miller 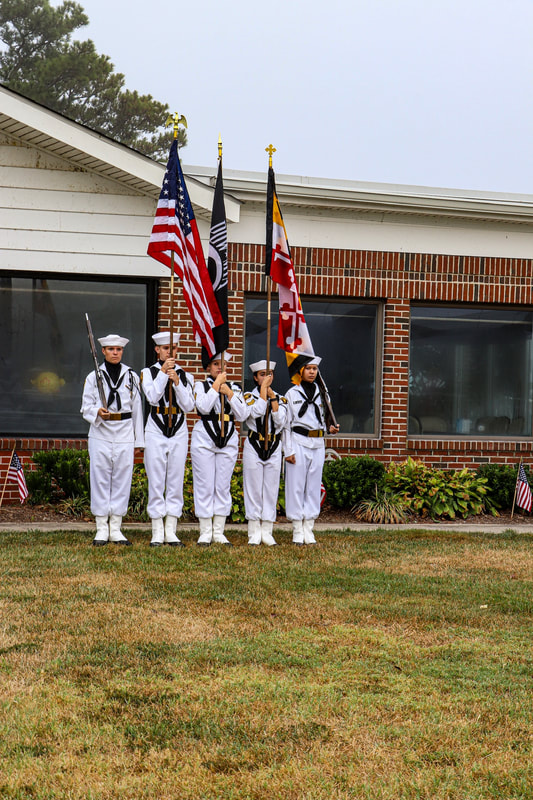 Presenting the colors.  Mark was the organizer of the event, the MC, and the gentleman who invited us to participate. Truly a class act.  There were some sweet rigs at the boat dock in the morning. 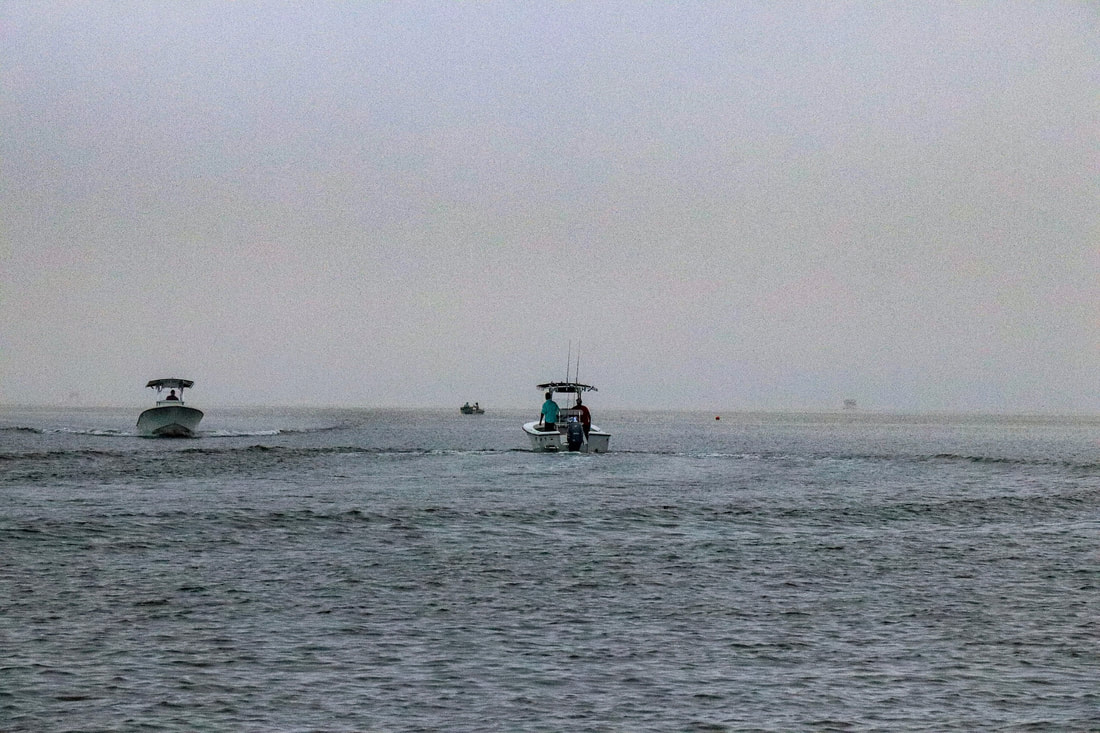 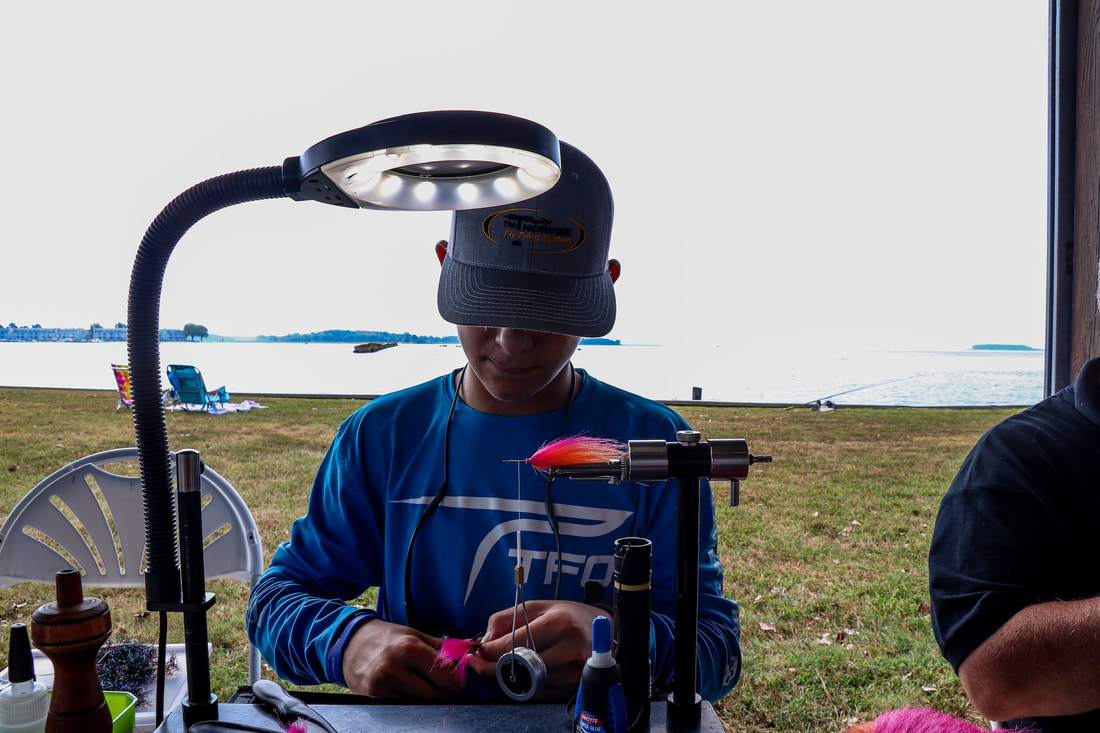 Braden spinning up a Fair Flies Fly Fur baitfish. 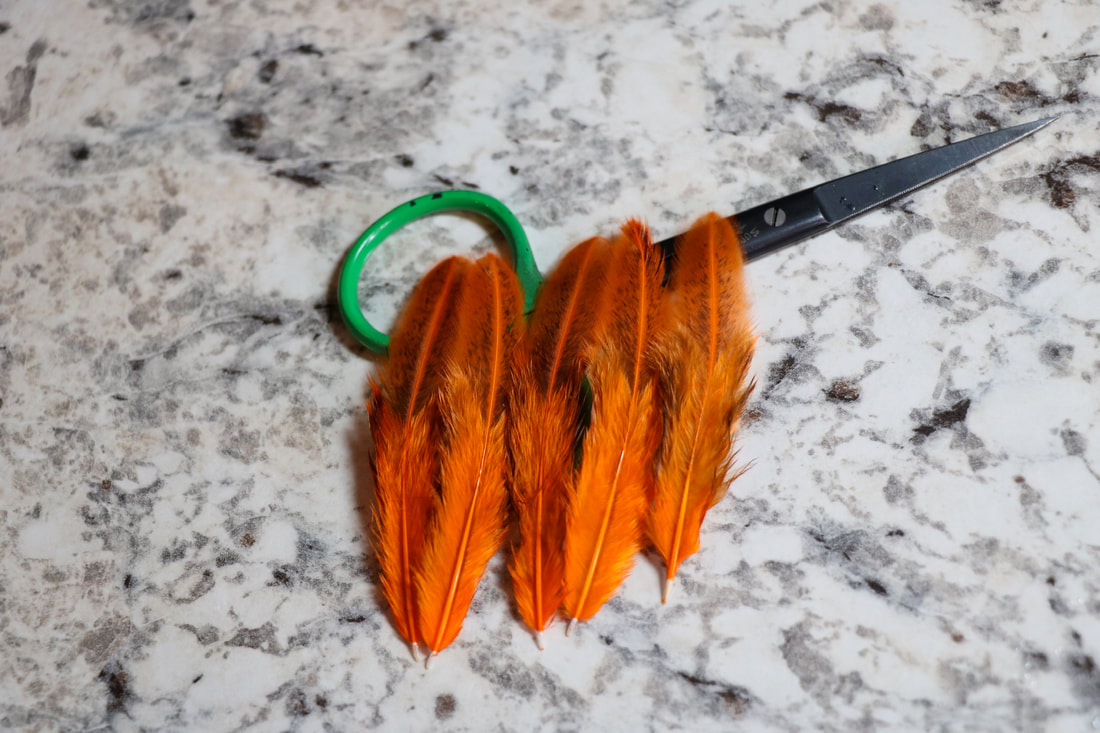 This and all of the great pictures were taken by our staff photographer Casey Miller (Braden's Mom). 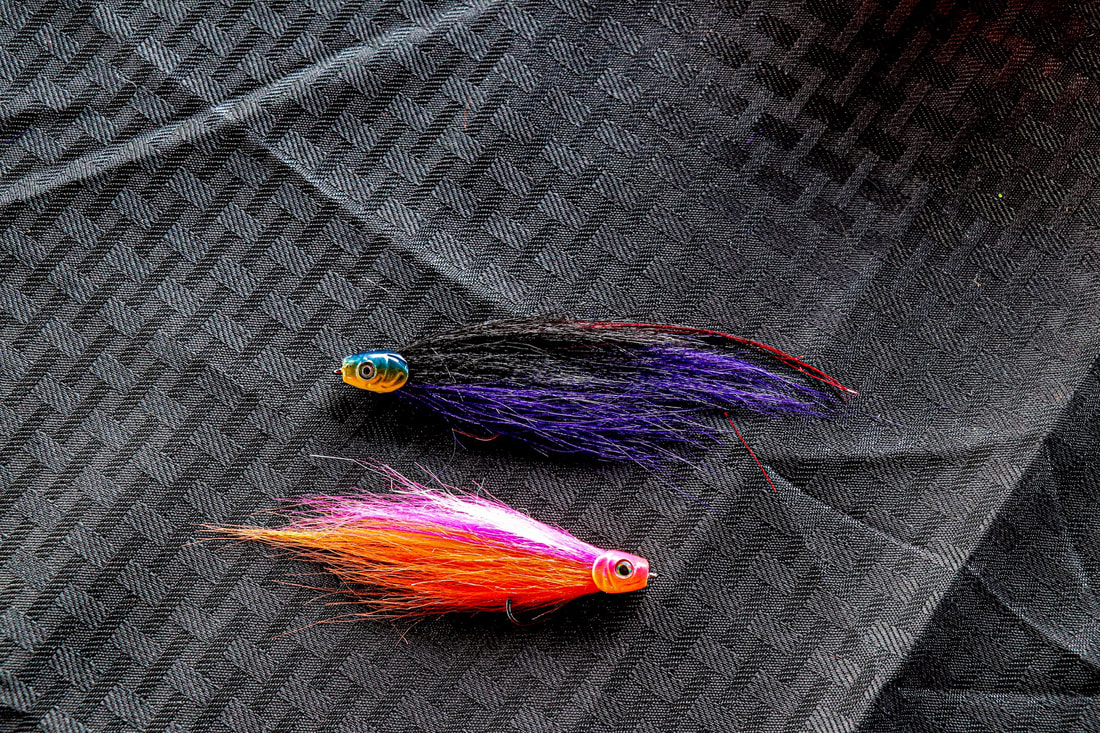 Spawn Fly heads rock! 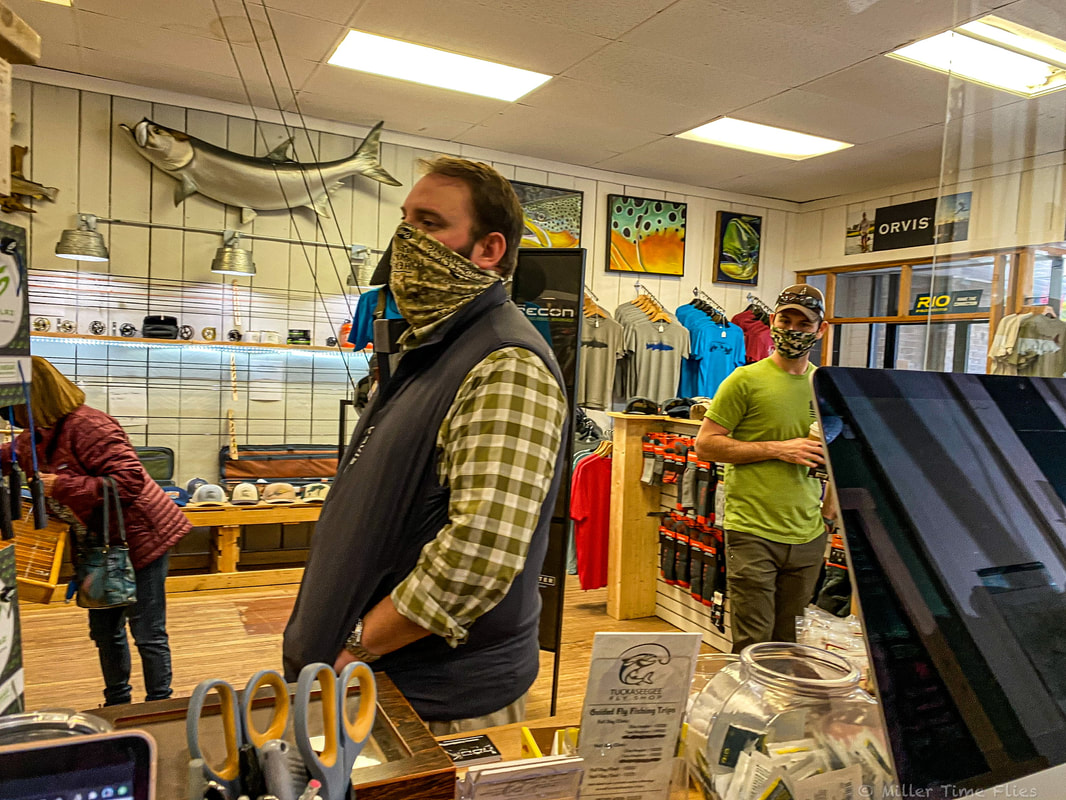  Braden working with one of the veterans as he spun his first bug on a Norvise! 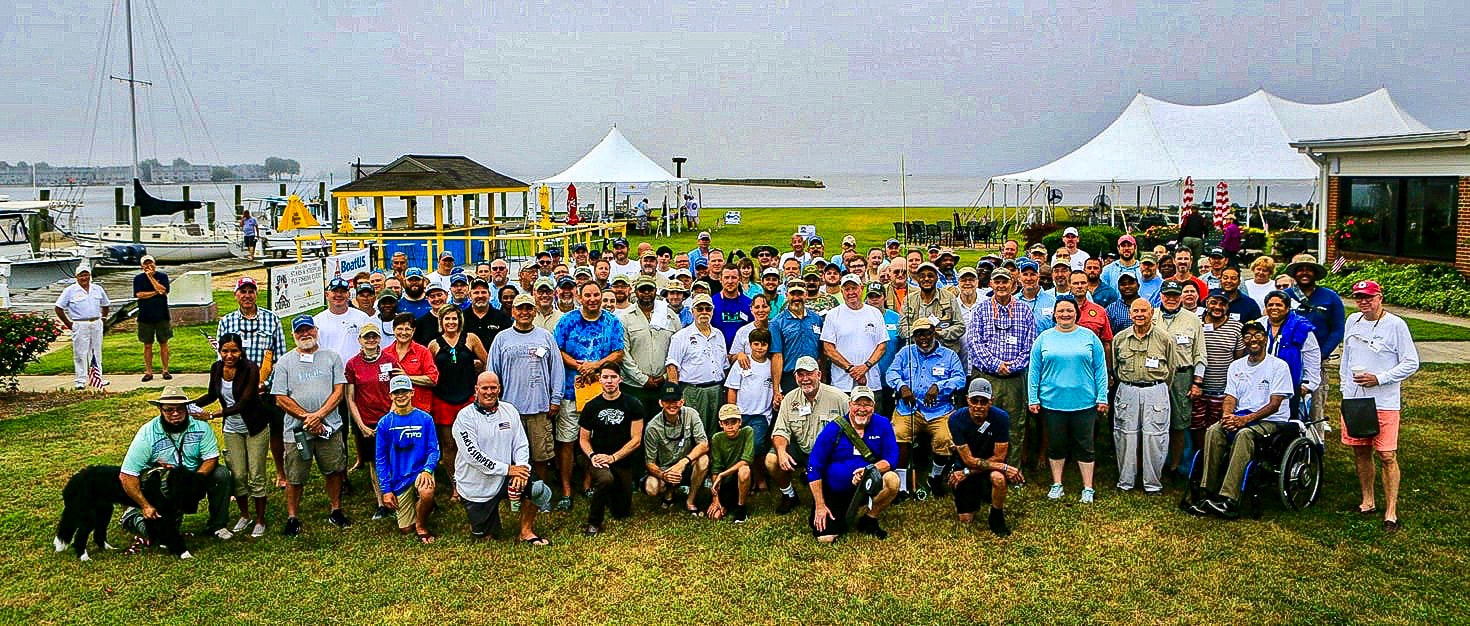 The group photo. This is a big event with a lot of moving parts. Great job to all involved for pulling it off without a hitch. As mentioned it was a great day, very fulfilling and for a great cause. I would encourage everyone in the fly fishing industry to be involved with Project Healing Waters on some level. These great men and women risk it all so that we can live in the greatest country in the world and do things like this everyday. Honestly, we owe it to them and it is the least we can do. Till next time...
Tight lines - Tim |
Archives
April 2024
Categories
All
Get Your Norvise! Click Here!
|


 RSS Feed
